We all have at least one of those dreaded, jam-packed drawers filled to the brim with ... what even is it? Half a deck of playing cards? A silicone straw to help save the turtles? Does this pen have ink in it? Is this a calendar from ... 2017?
The junk drawer is where the things we can’t bear to throw away live. It’s literally, as the name suggests, a drawer for junk. Can it be salvaged? I think so.
At the beginning of quarantine, when I thought we’d be locked down for three weeks maximum, I made a to-do list for myself. I hoped that keeping myself busy with projects (replanting plants, bleaching all of my whites, flipping the mattress) would help the time pass faster. It absolutely did not, but revamping my junk drawer did help ease my mind (relatively speaking).
For more like this, follow TMRW on Instagram at @tmrwxtoday.
Here are three easy steps you can follow to organize the messiest drawer in your home — whether it's in your kitchen, your bedside table or even your bathroom.
1. Be precise with your measurements.
My junk drawer is the same size as my silverware drawer, about 24 inches by 20 inches. I began my search with Pinterest and it seems I wasn't the only one with this brilliant idea. The top suggestions? Buy organizing bins (duh) or make your own with tissue boxes (unfortunately, I am not crafty).
The most important thing to remember when buying drawer bins is to measure very specifically; as in to the millimeter. You want bins that will perfectly fit. Not that will basically fit, not that will sort of fit, not that won’t fit. They have to fit. Measure! It’s an extra step but it really will save you time, money and the headache of returning bins that don’t work for your drawer.
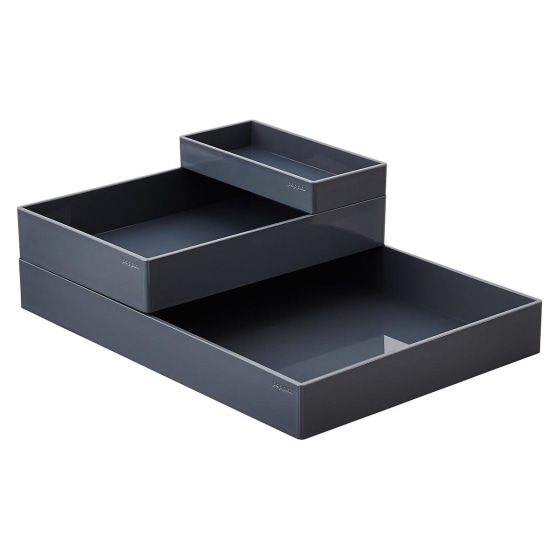
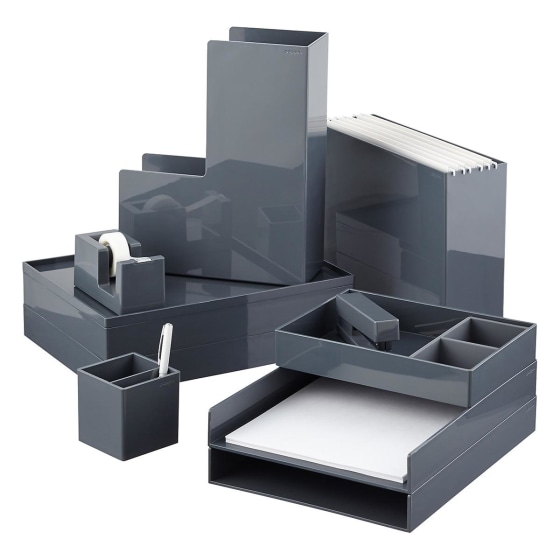
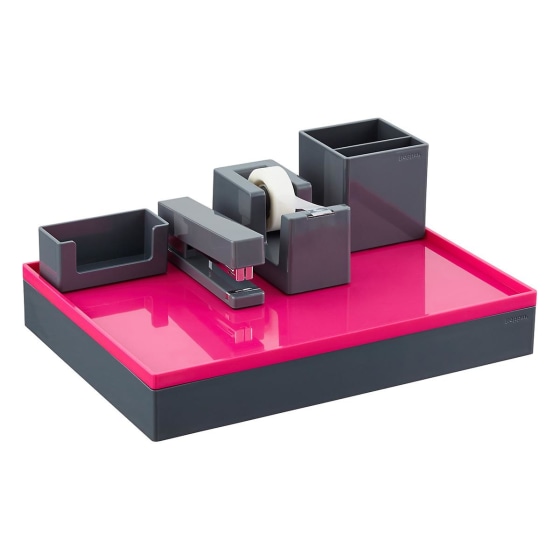
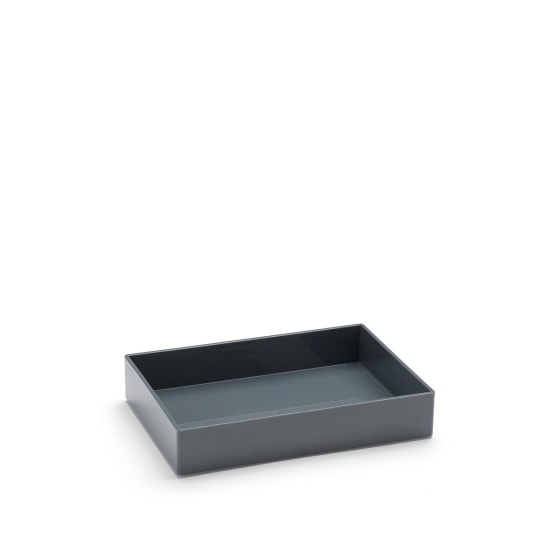
Poppin Accessory Trays
I bought two sets of these Poppin trays from the Container Store, but you could probably check your local dollar store’s offerings and come back with something similar. I had hoped to be able to mix and match the bins a bit to see what works, but before I could do that, I had to take inventory of what I had in the drawer.
2. Decide what actually belongs in your junk drawer.
The big trick is changing the function of the drawer. Organizing your junk, I have learned in the past, is like a Band-Aid for a bullet wound.
This time around, I decided that this drawer would be best used to store tape, scissors, pens, paper clips, rubber bands, matchbooks and fridge magnets. That meant old calendars, scrap paper, first-aid supplies, random kitchen tools and junk mail needed to either find a real home in my house or be tossed for good.
Goodbye, old calendars and scrap paper — they went to the recycling bin. I found a mostly unused notebook in the junk drawer (because for some reason I thought maybe I would need to take phone messages?) and the first-aid supplies went into the, wait for it, first-aid kit. The random kitchen tools went in their own spot in the silverware drawer. The junk mail was sorted and recycled. Every pen, marker and pencil was tested on scrap paper to determine if it actually worked. No stone, or Post-it, was left unturned.
3. Create an intuitive system with what's left.
After assigning a new home to all superfluous items, organizing the bins was easy. If you’re super determined and have a label maker, you can make tags to indicate exactly what goes where. If you live on your own and don't need to broadcast your organization system to the rest of the household, you can probably skip the label maker.
No matter which direction you take your junk organization, your drawer — and your sanity — will thank you.
