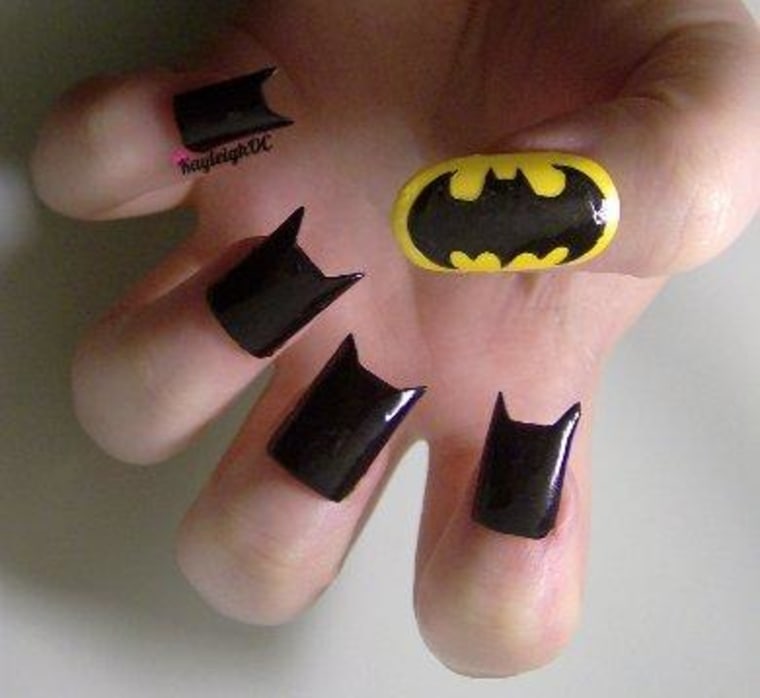
For British nail artist Kayleigh O'Connor, dressing up your hands isn't something to do just for Halloween, it's an everyday hobby. The 25-year-old from Birmingham, England got her start as a teenager 9 years ago when she started using simple, plain colors to cover up her badly-bitten nails.
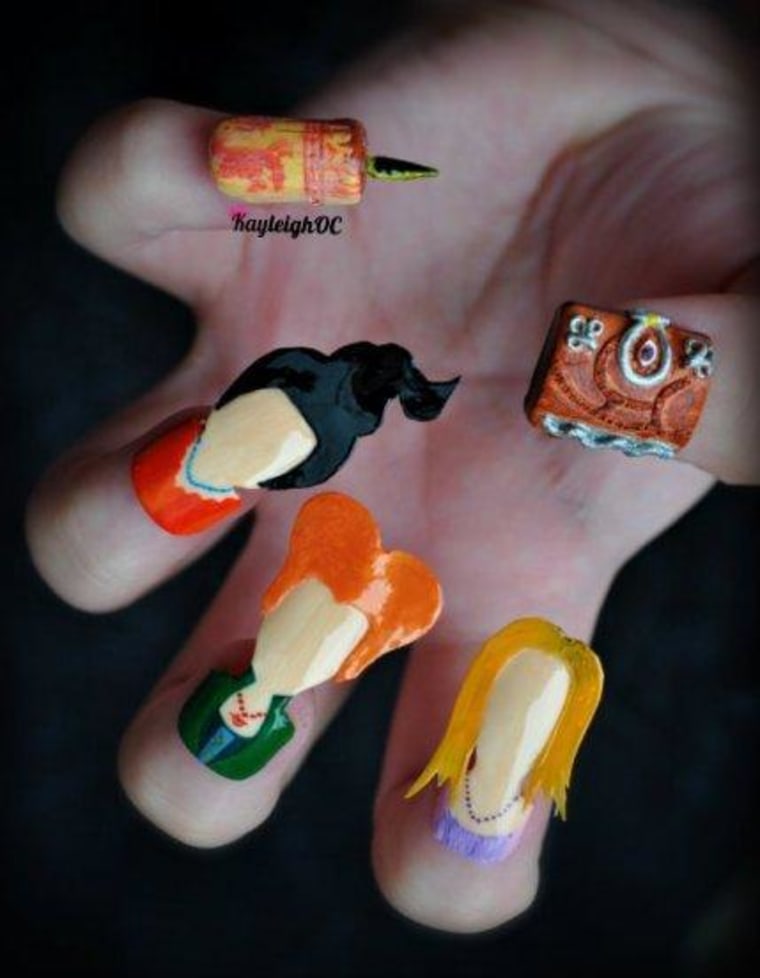
Now her intricate pop culture and 3D designs are receiving international attention since she began posting photos of them on Facebook and deviantArt.
"I was just happy to have a hobby that I enjoy so I have been amazed at all the positive feedback I've been getting online through it, I'm really amazed!" O'Connor, who recently got a university degree in media and communications, told TODAY.com in an email.
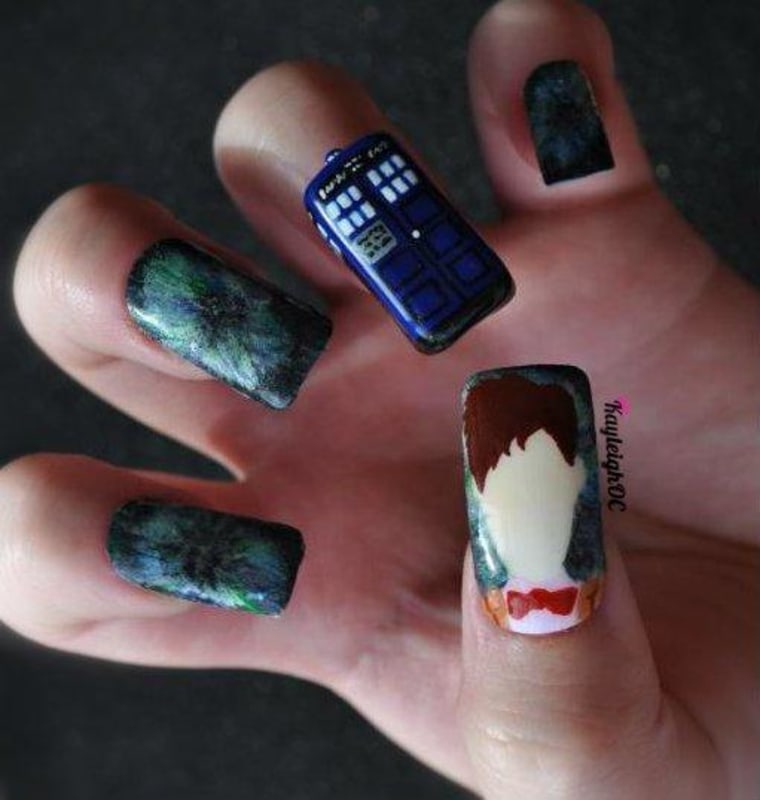
As complicated as her designs appear they don't take her long to create at all. When O'Connor gets an idea she jumps right in, taking about 10 minutes to plan the design and 1 to 2 hours to complete a set.
"My favorite thing about starting a new set is working out what to put on each nail (and seeing it all come together in the end). And wearing them, of course!" said O'Connor, who is setting up a small video production company with friends.
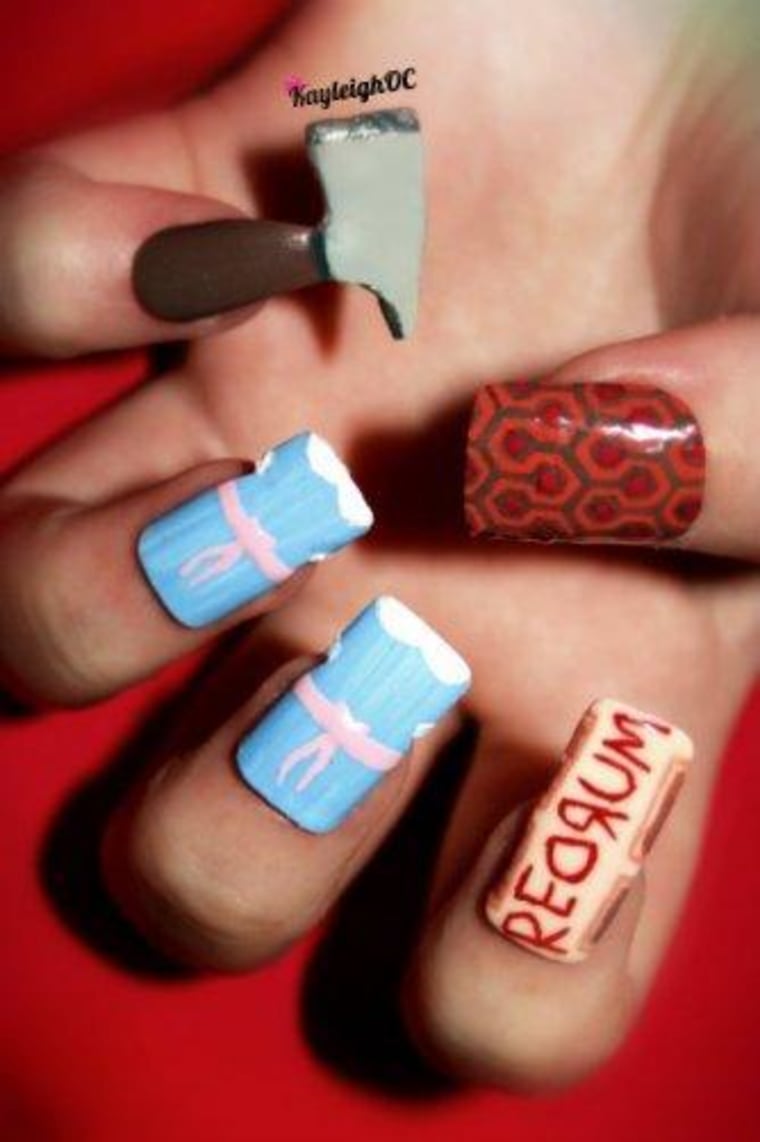
While replicating her intricate designs may seem daunting to a nail art newbie, O'Connor shared with us some simple steps you can take to give your nails a Halloween theme this year with one of her "The Shining" designs.
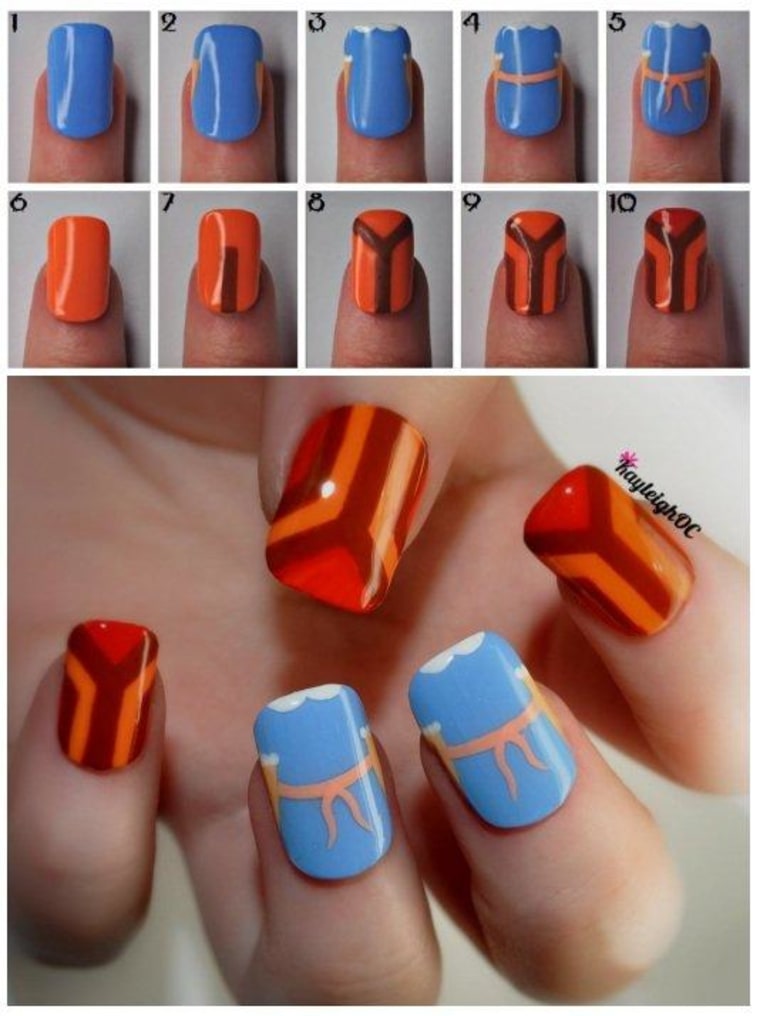
Tutorial for "The Shining" Grady twins and carpet pattern nails:
Materials
- Seven different shades of nail polish (light blue, cream, white, pink, orange, brown and red)
- A thin paintbrush or toothpick
Kayleigh's tutorial
- I decided to paint the Grady twins’ dresses on my ring and middle fingers but you can choose any two of your nails which you think will be best. The first step is to paint both nails light blue and then wait for these to dry.
- From now on you must use a thin paintbrush or a toothpick to create the look for the rest of the outfits. Once the blue has dried, use a cream colored varnish to paint thin triangles on both sides of these nails. These act as the twins’ arms and create the dress shapes.
- Use a white varnish to paint two small, joined semi-circles at the tips of the nails to create a collar. Then, add dots to the ‘sleeves’ of the dresses to create a frilly look.
- Now use a pink varnish to paint a thin line across the middle of the dresses, where you imagine the waist would fall.
- Little flicks with the pink varnish (falling downwards from the center of the line) create ribbons, completing the dresses.
- Moving on to the rest of the design, begin by painting your other nails orange and wait for these to dry.
- Paint a brown line upwards from your cuticle, stopping around two thirds of the way up your nails. Use your paintbrush or toothpick for this and for the next steps if you find this easier.
- Create a 'V’ shape on top of this line, connecting it with the top corners of your nails.
- Leaving a gap for the orange to show through, use the 'Y' shape you’ve now created as a guide to complete the other brown sections of the carpet pattern.
- Fill in the top and side areas with red varnish as shown and the design is finished! After everything dries, use a clear top coat to give the nails an extra sleek finish and to prevent the design from chipping.
Now that you know how to create this design you will be able to feature the Grady girls on your nails “for ever, and ever, and ever…” Happy Halloween!
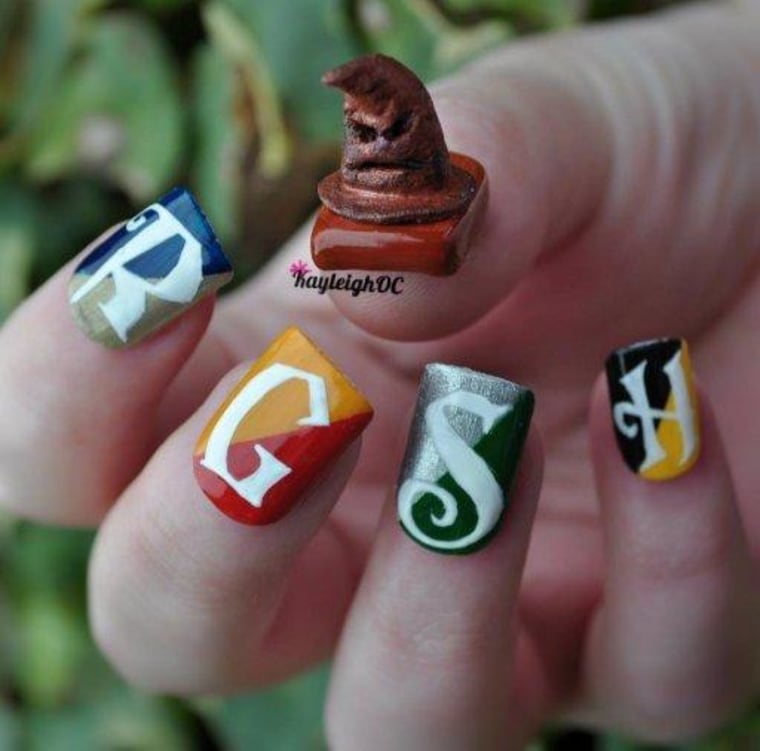
TODAY.com writer Lisa Granshaw just had to talk to O'Connor after seeing her "Harry Potter" sorting hat nails. If she had an ounce of artistic talent, she would definitely try to replicate that design for Halloween!
More: