When Zoe Hunt and her family moved into a new house in Cary, North Carolina, they though it was beautiful, but sometimes lacked character. To add some personality, they added DIY touches throughout the house, but there was one project of which they're particular proud that was easy and inexpensive.

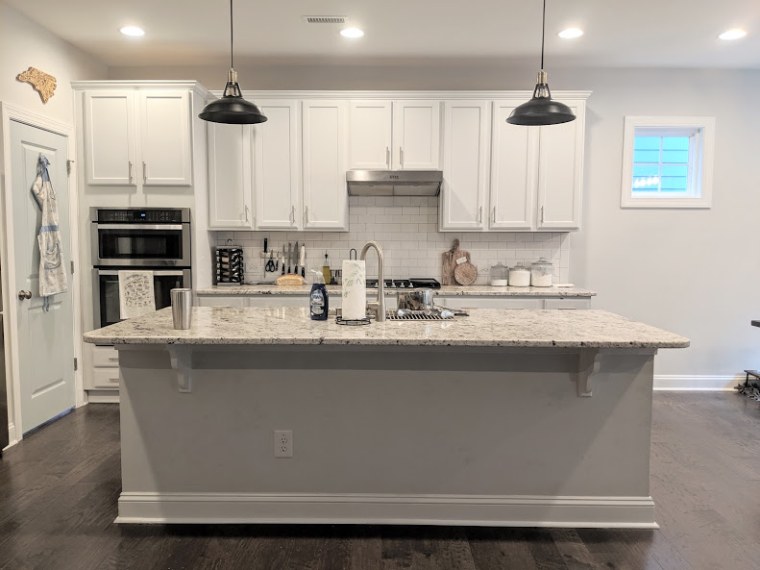
“The original (kitchen) island was the definition of builder grade,” Hunt told TODAY Home. “It was painted the same color as our walls, which was close to our cabinets, but not quite. Because of that, it always looked unfinished to us.”
Another problem was that it was painted in a flat paint which meant it was susceptible to scuffs and scratches. “(The front of it) was covered in dark blue jean stains and was difficult to clean,” she said.
Hunt decided to add some personal touches to the island, and the transformation took only one day to complete and cost a total of $45.

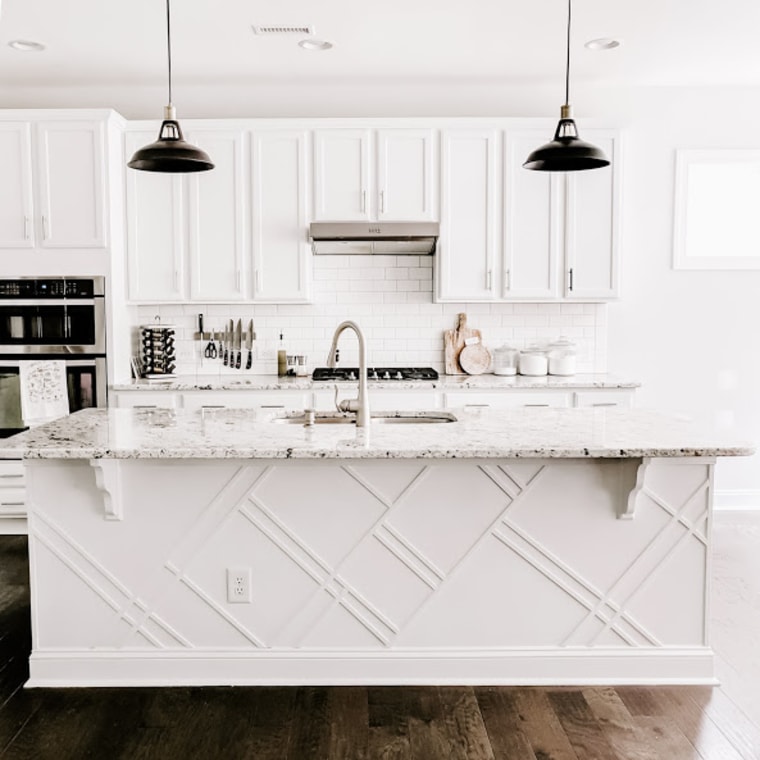
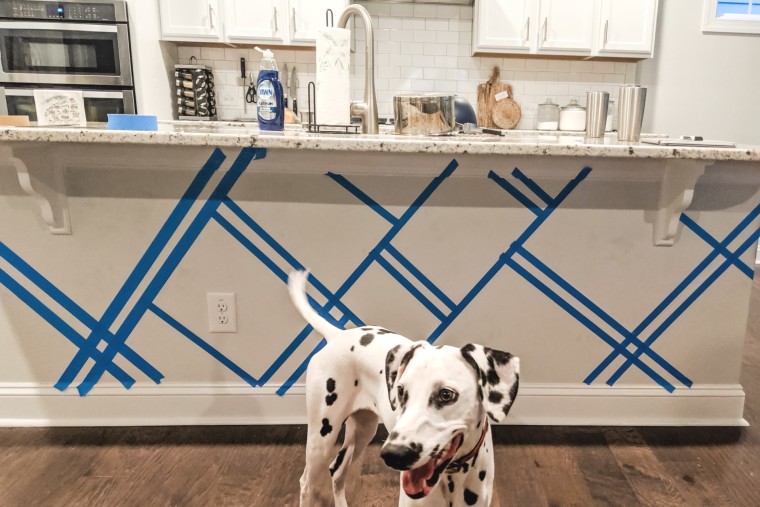
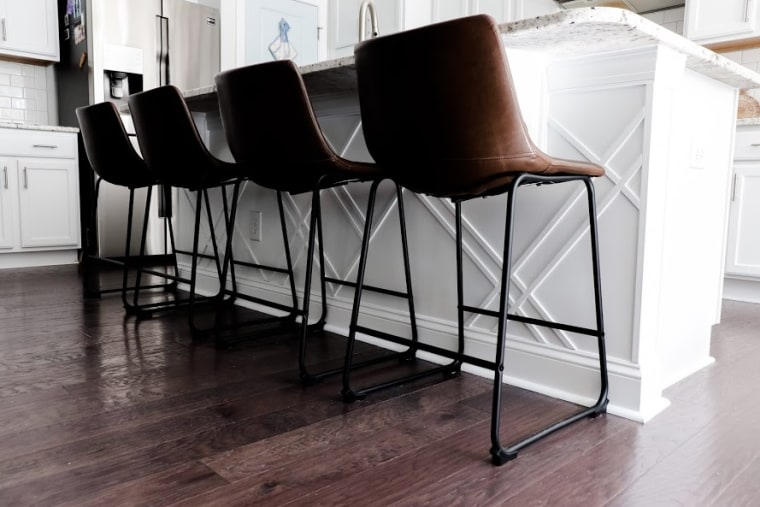
Using pine corner moulding, Hunt created a geometric design to add texture to the front of the island. “Even though this pattern looks complicated, you can use tape to quickly design it and get all the measurements,” she said, adding that you may not even need measuring tape.
Once you have your design sketched out, cut the moulding to fit. “It wasn't a terribly difficult project, but since the boards were so thin, we couldn't cut them with our miter saw,” Hunt explained. “Instead, we had to break out the hand saw and saw every piece by hand.”

After the moulding is cut, you can install it using liquid nails. Then, it’s time for paint.
Hunt said they first tried a black paint on the island, but found that it absorbed all the light. So, they went for a bright white. “Now, the trim pops even more and the space feels bright and airy again,” she said.
“A big takeaway for us was that paint color can have a drastic impact in a room. We've always known it, but we never thought about the complications of having a really dark color and it absorbing all the light,” she continued.

Since finishing the project in September, the completed result has held up great.
“One of the big issues we had with the original island was that it scuffed easily, so it looked dirty,” Hunt said. “So far, we haven't had any issues despite the color being lighter than it was before. The fact that the paint is glossy rather than flat goes a long way in helping it stay clean."
And the family’s guests have been impressed with the update. “They think it looks like a custom addition when really it's just a couple of cheap trim boards," she said.
See more pictures and tutorials at Hunt’s DIY blog Crafted by the Hunts.
