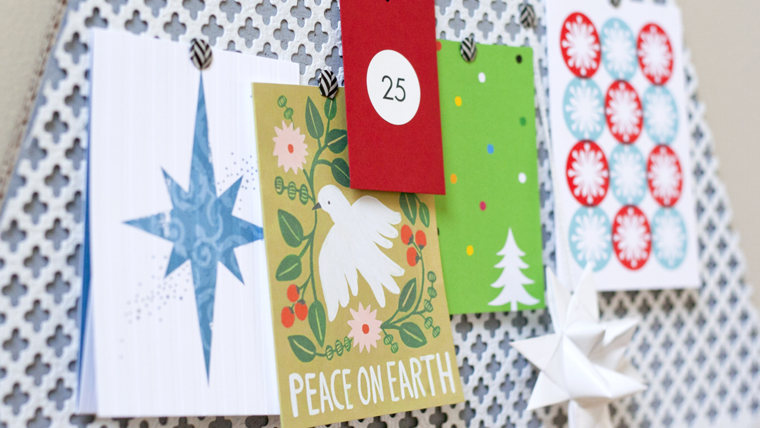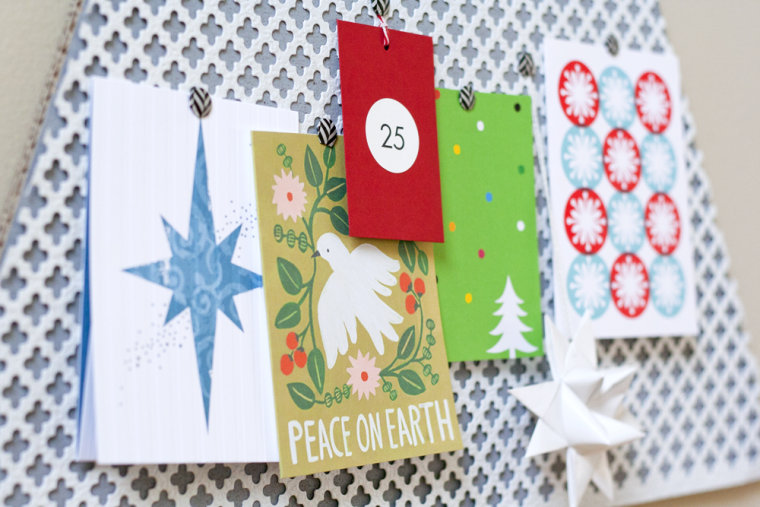
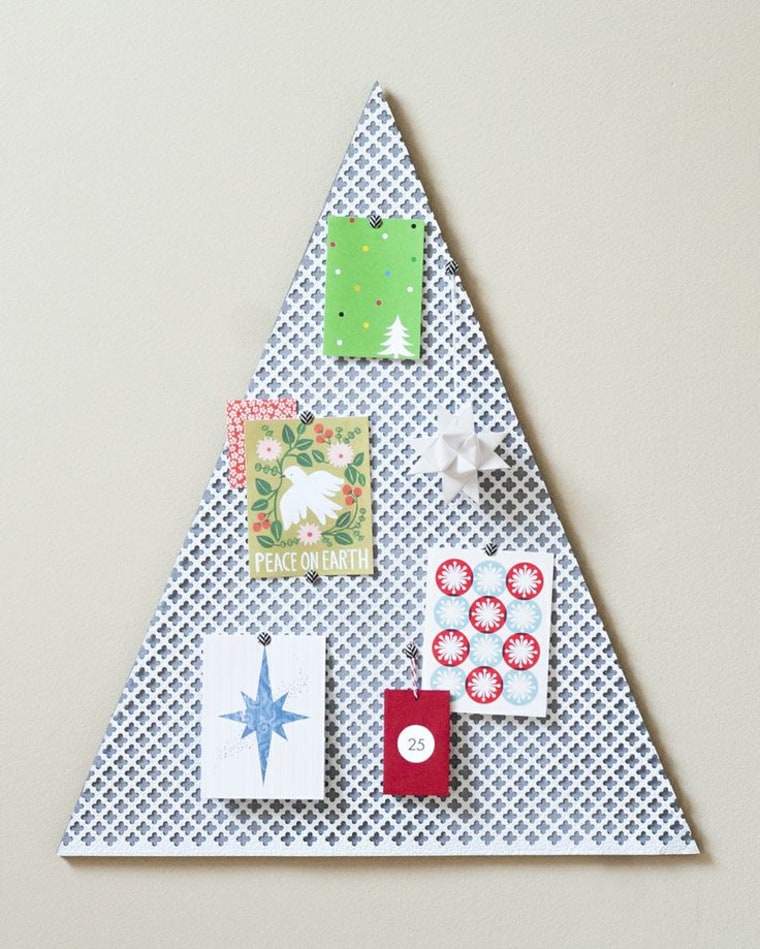
'Tis the season where you'll receive dozens of holiday cards and struggle to not let them pile up on the counter. A DIY card holder is an easy and festive way to show off your beautiful cards without letting them get lost among your other decor. Blogger Jennifer Kirk from Ambrosia Creative shows how to create one you will be happy to display in your home.
What you'll need:
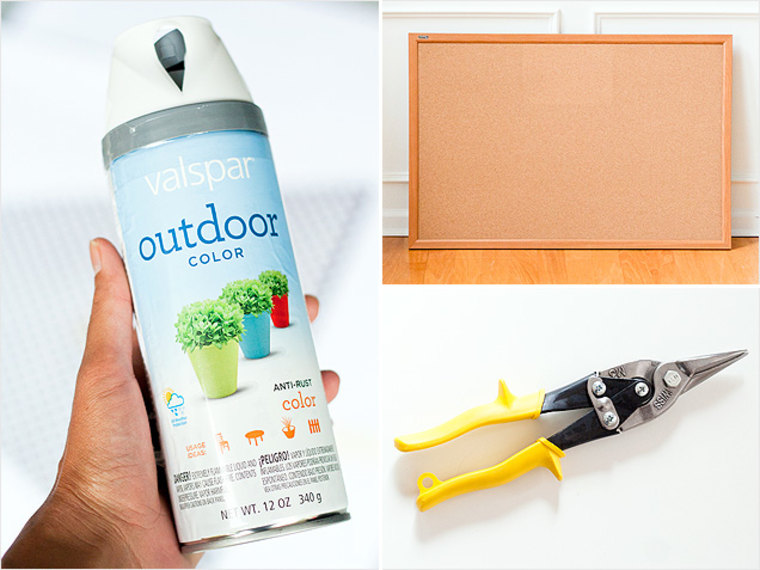
- 24-inch x 36-inch cork board
- Patterned metal radiator cover (sold near the sheet metal at a home improvement store)
- White spray paint suitable for metal
- Gray acrylic paint
- Foam brush
- White all-purpose glue
- X-Acto knife or box cutter
- Cutting mat
- Metal cutter
- Measuring tape
- 32-inch to 36-inch metal ruler
- Pencil
- Masking tape
Step 1:

Measure in from the bottom of the cork board longways and make a mark eight inches away from the edge. Make several marks along the width of the board at eight inches because we'll be connecting them to make a straight line later on. This will form the bottom of the card holder.
Step 2:
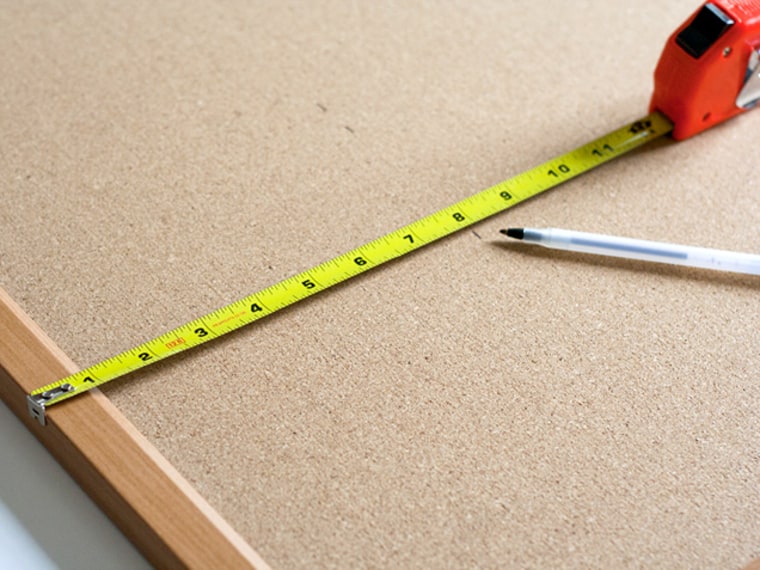
Lay the measuring tape across the top of the cork board and make a mark halfway through at 12 inches. This will be the point of the triangle we're creating.
Step 3:
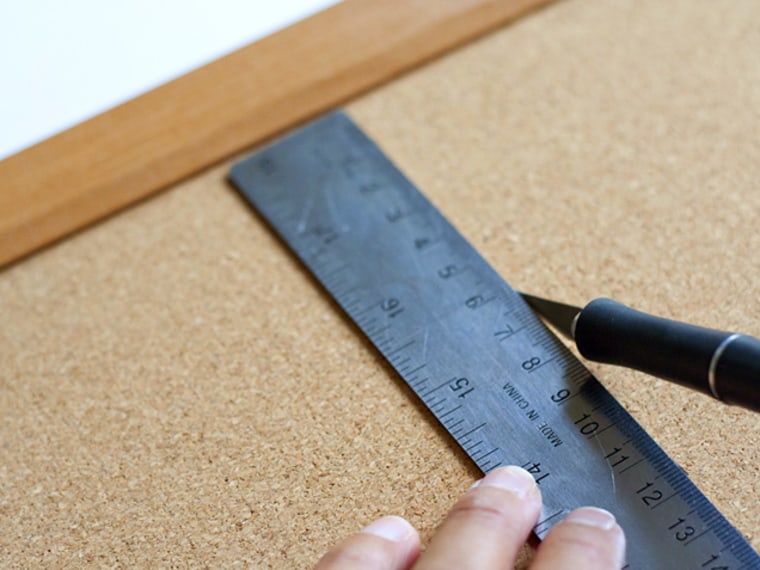
With a ruler, connect the marks you made in step one and cut a straight line across with your box cutter or X-Acto knife. A couple medium-to-shallow cuts is more effective (and safer) for me than to do one deep cut all the way through the board.
Step 4:
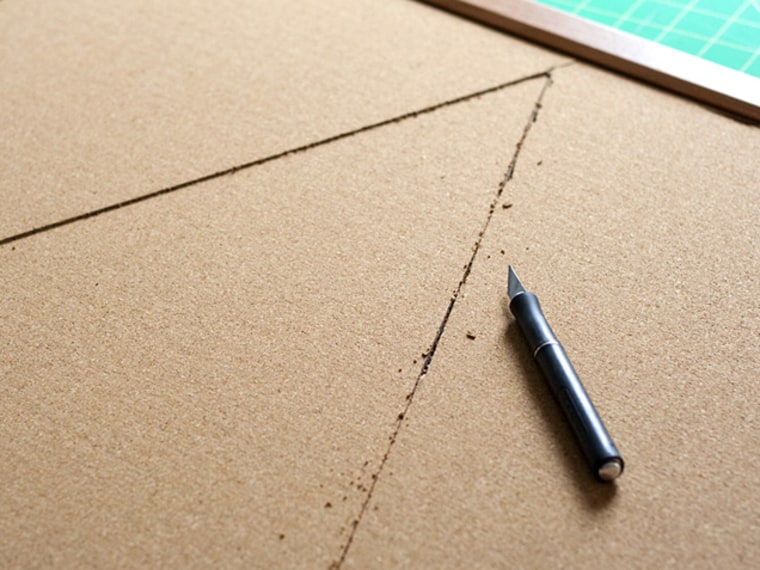
Connect the point at the top with the edge of the line at the bottom of cork board using the ruler. Cut through and repeat on the other side of the triangle. Flip the board over to make sure your cuts went all the way through.
Step 5:
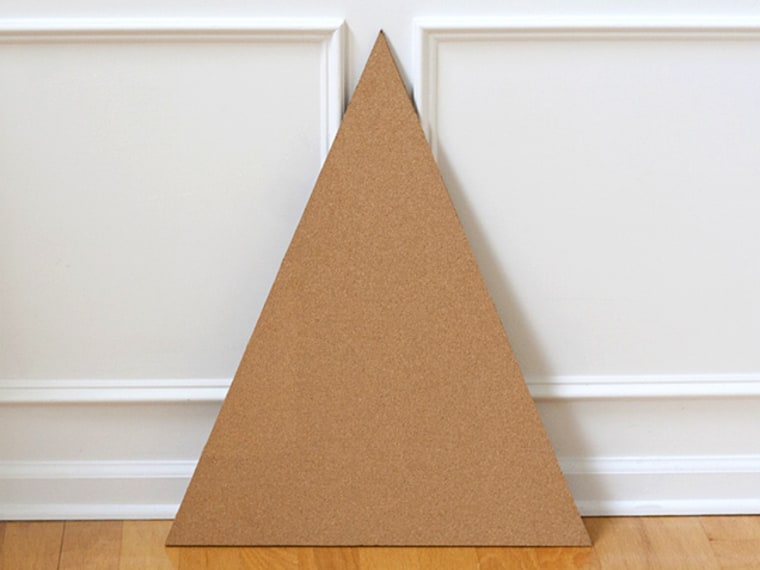
Gently pop triangle out of the main cork board.
Step 7:
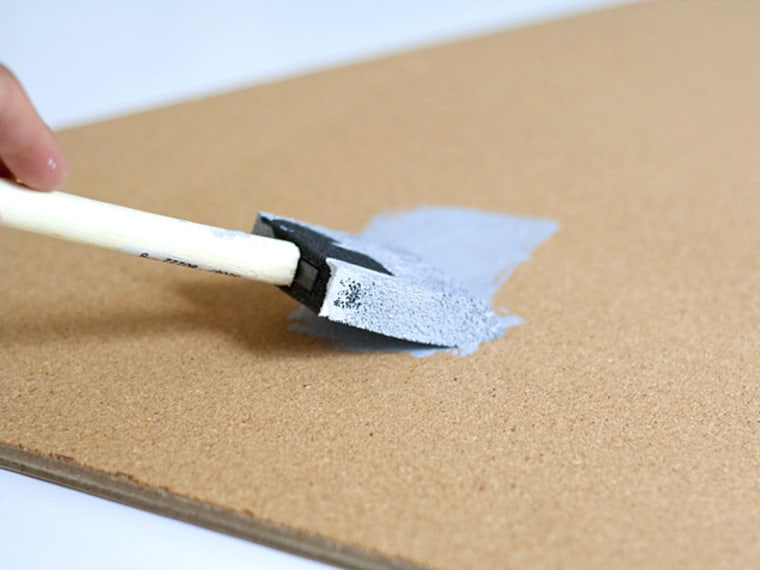
Paint the cork side of the triangle piece gray and let dry.
Step 8:
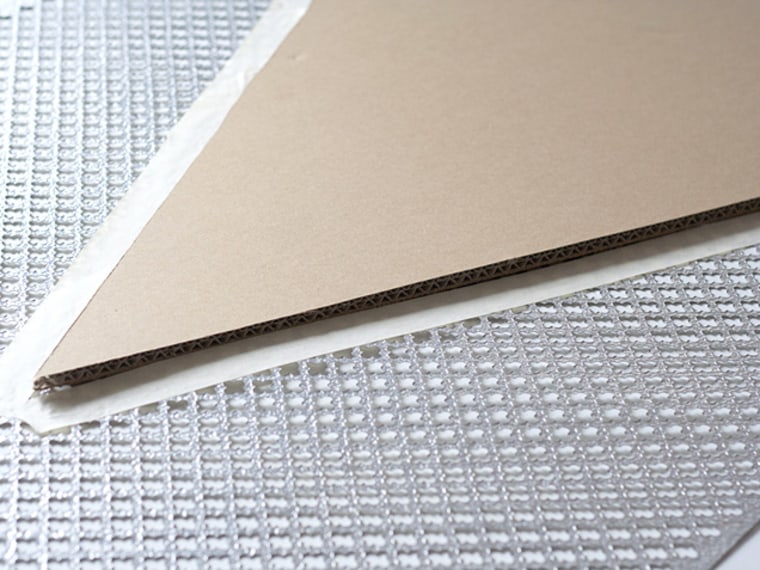
Lay radiator cover face down (the pattern on the front will be slightly raised) and lay triangle cork board piece face down on top of it. Use pieces of masking tape to mark the edge of the triangle on the radiator cover.
Step 9:
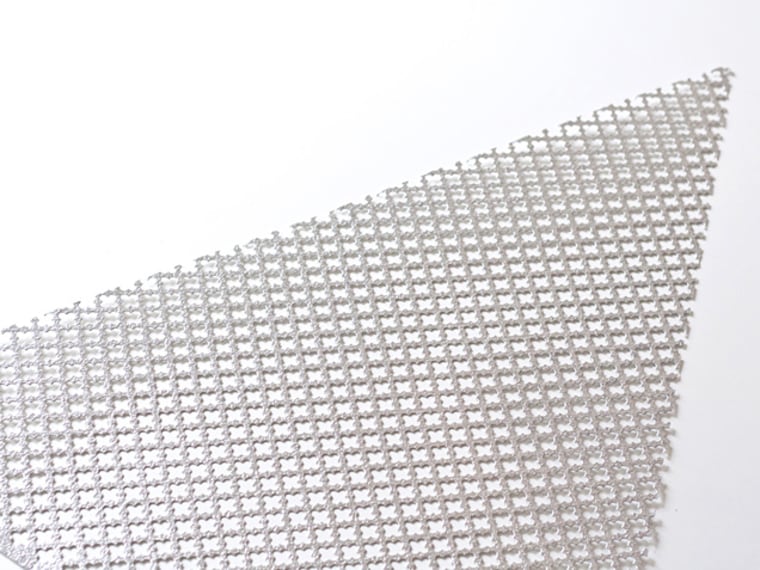
Set aside cork board piece and cut a triangle out of the metal using metal cutters and the masking tape as a guide.
Step 10:
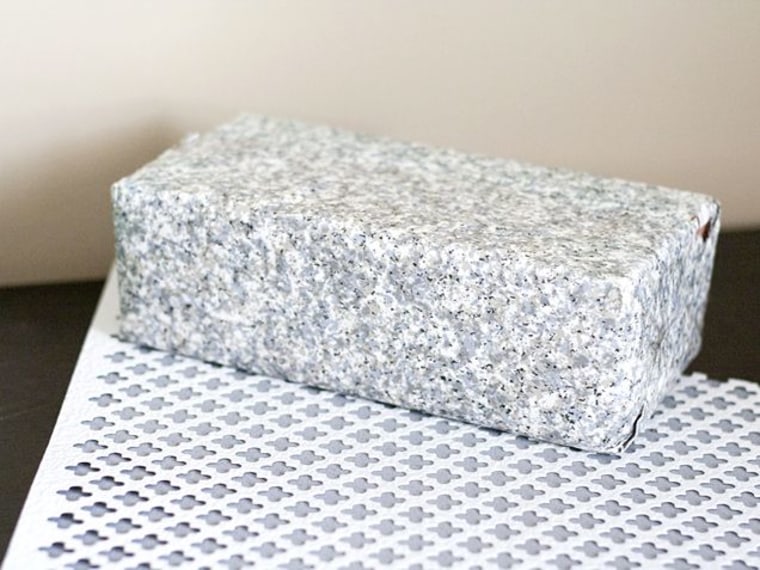
Apply glue along the bottom and sides on the backside of the radiator cover. I applied just a light amount in the center. Align metal with cork board triangle piece and press, weighing down with something heavy like books, weights, etc. Let dry overnight.
To display, prop the card holder against a wall or use the mounting hardware that came with the cork board. Hang cards onto the board with pushpins or patterned washi tape.
You're done!
Jenn Kirk is the blogger behind Ambrosia Creative where she shares crafts, children's projects and tidbits about her family. Follow her on Pinterest, Twitter and Instagram.
A version of this article originally appeared on iVillage.
