If there's one way to make sure your New Year's Eve party is a success, it is this: Have a photo booth.
Festive photo-booth snapshots with props and poses are filling social media, and there's no reason why you can't join in on the fun. This DIY photo booth takes only four easy steps and 20 minutes to complete. So invite your friends, set up the camera and get ready to strike a pose.
Supplies:
- Ladder
- Double-sided foam tape
- Thumb tacks
- Gold doorway curtain
- Silver star cutouts
- 3-6 yards of fabric
- Metallic tiaras
- Colorful party horns
- Sequin headbands
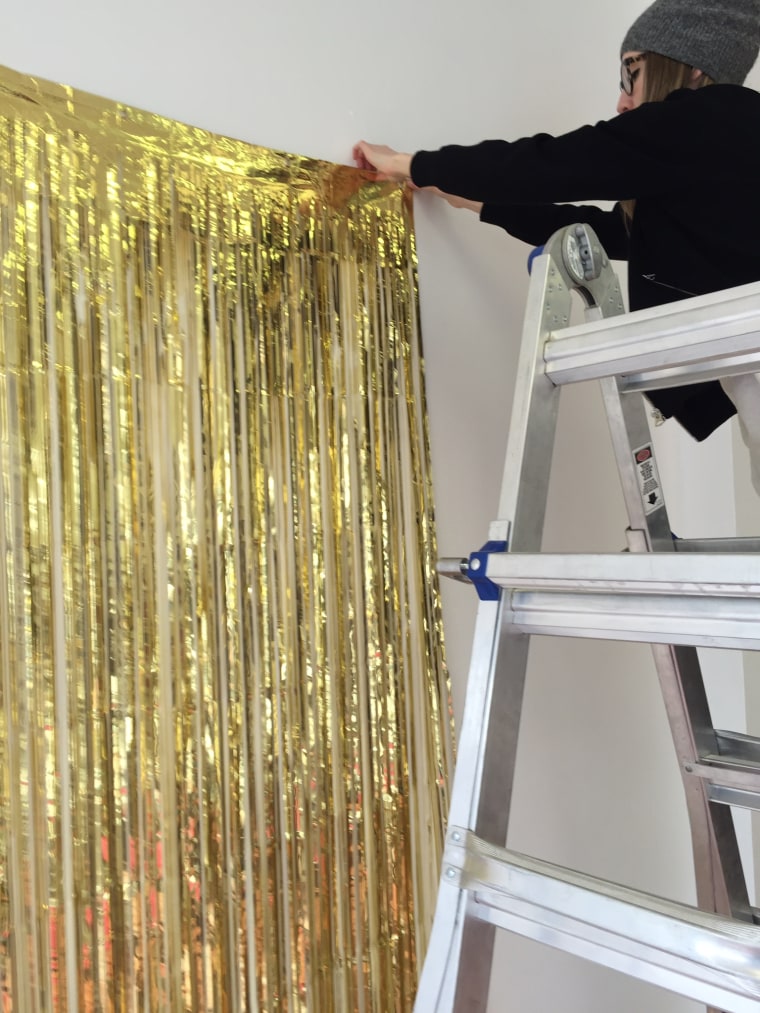
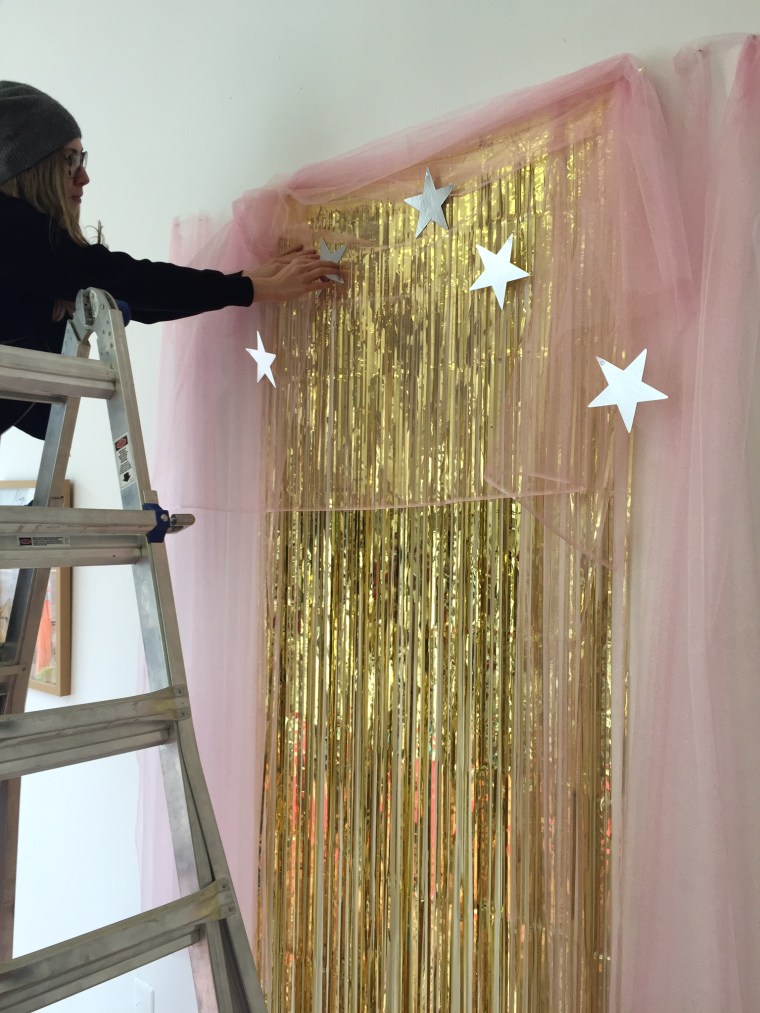
Step 1: Use double-sided foam tape to adhere the curtain to your wall. This will act as a backdrop. Place the curtain just high enough that it gently grazes the floor.
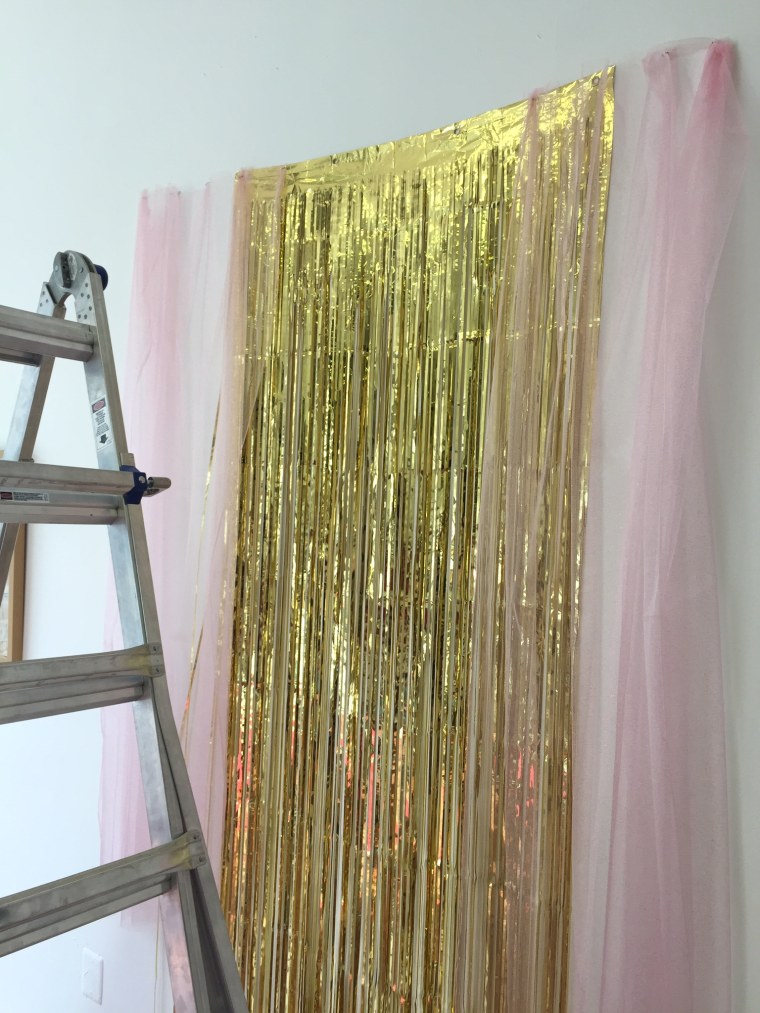
Step 2: Add dimension to your backdrop with your favorite textured fabric. Using thumbtacks, secure the fabric to the curtain and wall (you can also use painter’s tape). Here, a thin veil of glitter tulle frames the curtain to feel more like a “stage”.
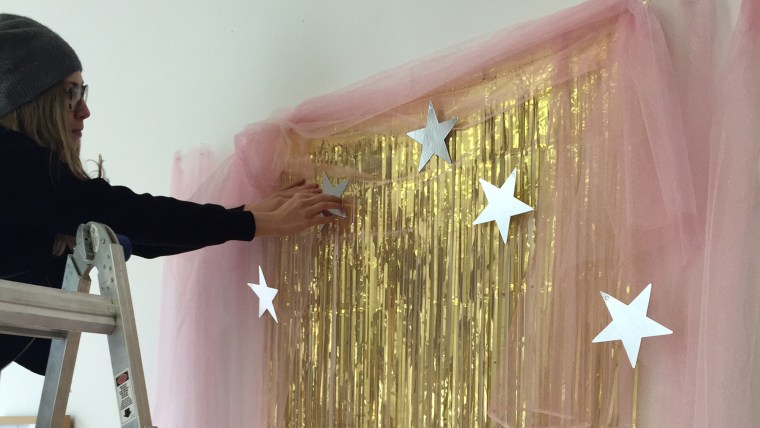
Step 3: Add a thin sheet of tulle across the top portion of the curtain. Apply individual stars with double-sided foam tape to the tulle.
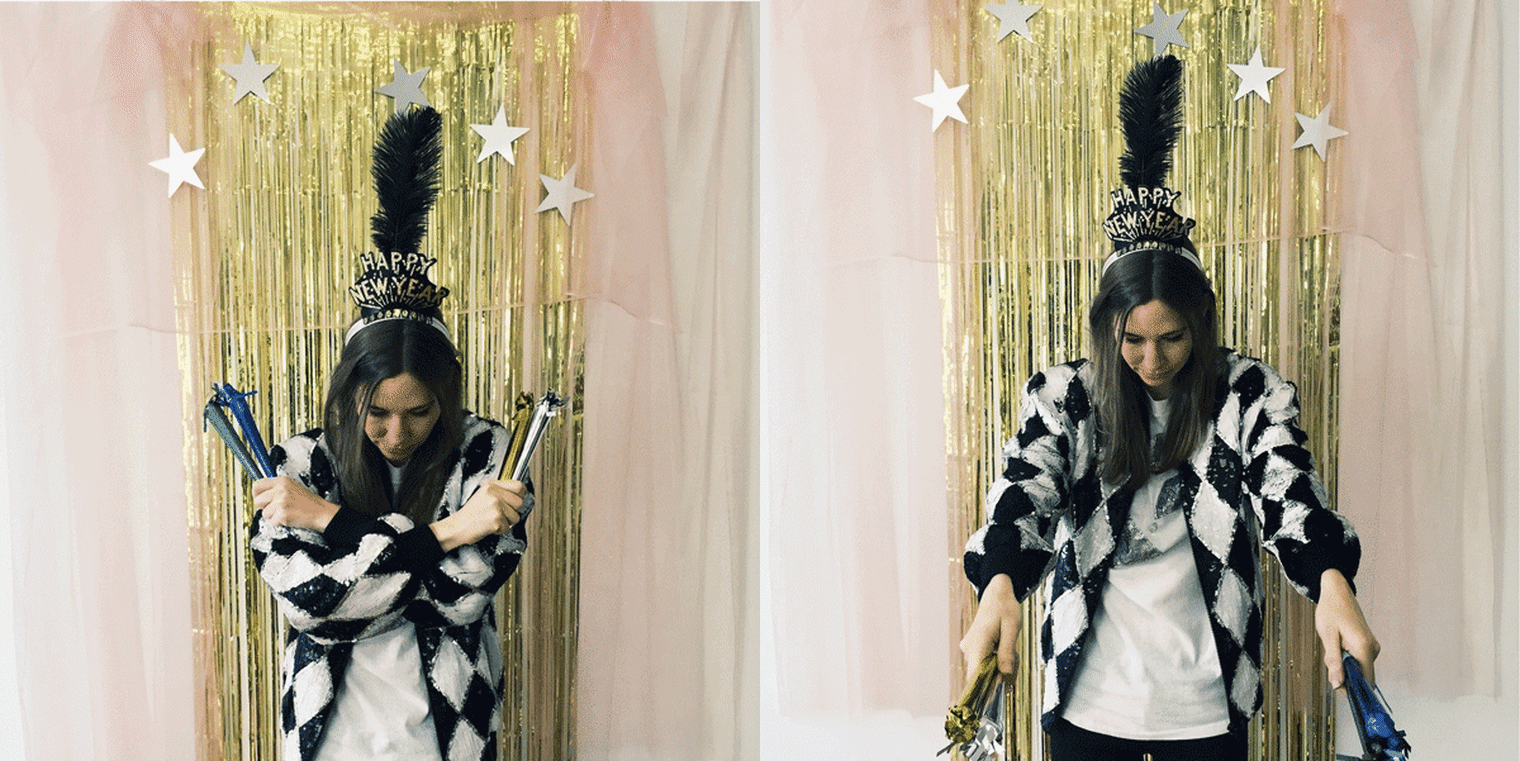
Step 4: Select your props. Most people feel uneasy when they are being photographed, so the best accessories are those that nudge a call to action. Having something to hold or pose with is not only festive but it helps everyone loosen up.
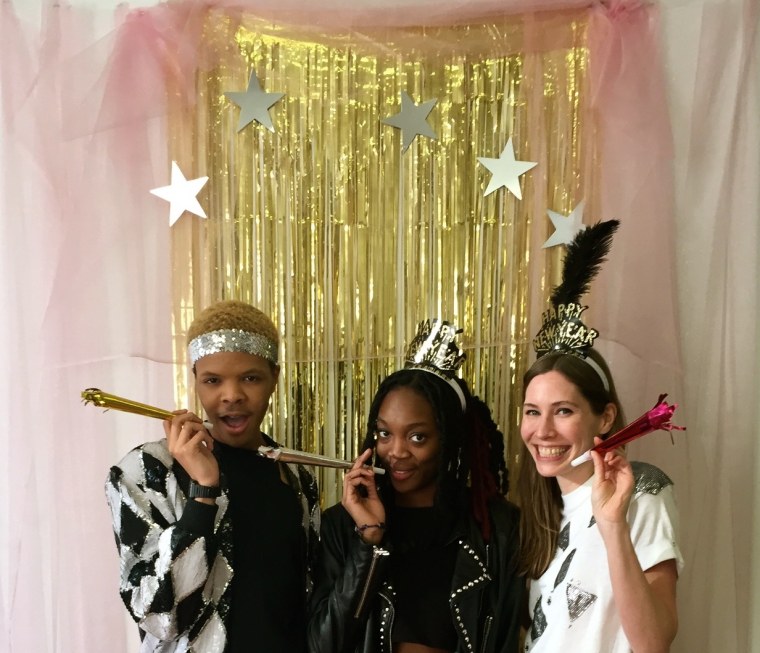
Positioning and lighting tips
Whether you are using a tripod with your camera, smartphones or an instant camera, height and positioning are important. Try taking a few test shots to find the frame you like most and tape an X on the floor to indicate as a marker. If you don't feel comfortable using tape, then simply set any object from a flower pot to an end table outside the frame to line up with where your guests should stand.
Usually basic lighting will help fill each shot, but if you need more light for the images than what the room's basic lighting will allow, consider adding a simple strand of lights next to the camera to help.
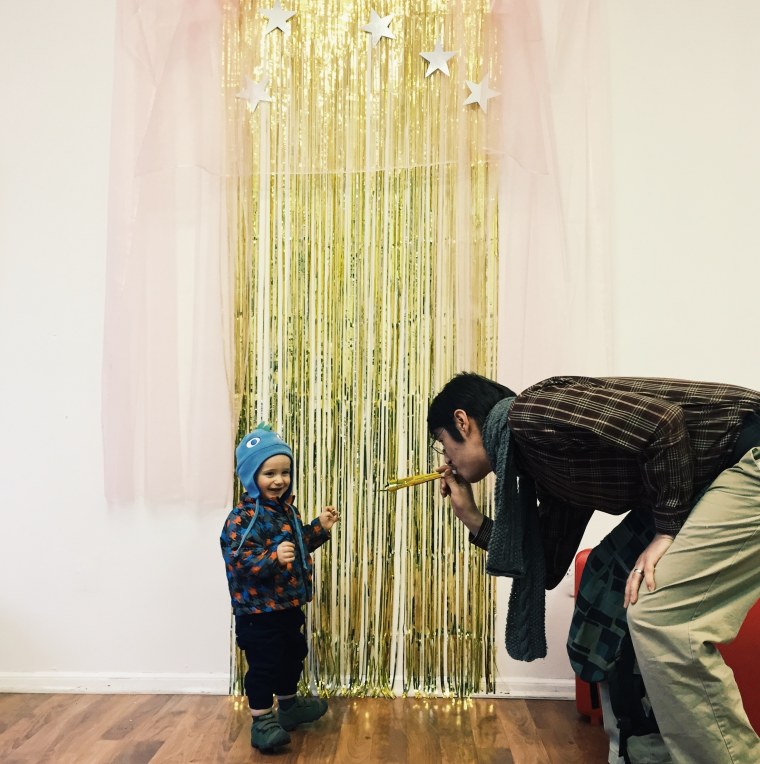
Now flash a smile and have some fun!
