
By Chelsa Skees, TODAY contributor
Getting yourself in the holiday spirit is as easy as whipping out the glue gun and crafting up some cheer. Instead of wearing store-bought antlers, Christmas sweaters or Santa hats to your next holiday party, show up wearing an original creation that's sure to get you compliments. These easy-to-make headbands are great standout pieces that can be worn by all ages.
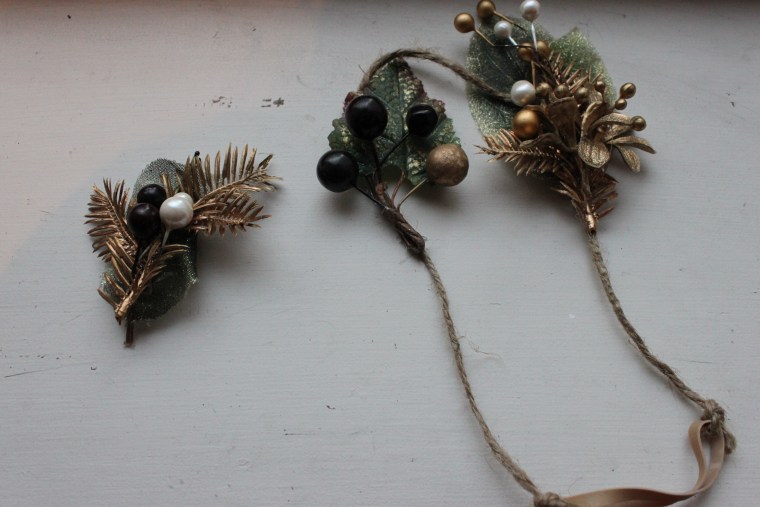
How simple is it? I made a headband using twine, a rubber band, and random holiday decorations I had laying around the house. Here's how to make and wear your very own festive holiday hair accessories:
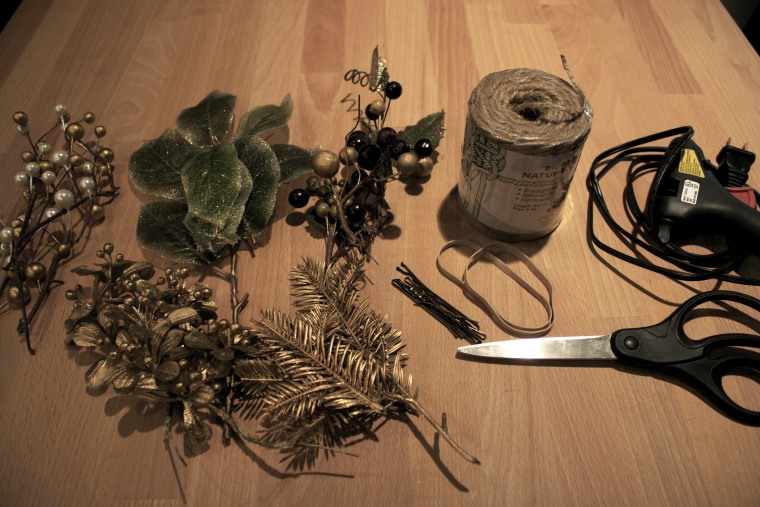
What you'll need:
- Twine
- Rubber band
- Hot glue gun
- Scissors
- Holiday decorations of your choice
- Bobby pins or hair clips
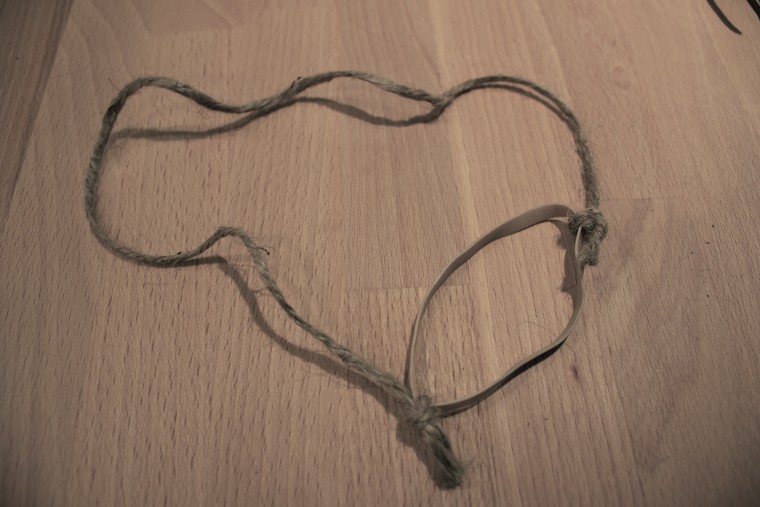
To make your own headband, cut a piece of twine big enough to wrap around your head and tie the loose ends around a rubber band. I liked the idea of making my own but you can also purchase a headband. (I used twine because I love the look of it and knew that gluing items on twine would be easy due to it's coarseness.)
Before adding decorations to your headband, try it on to make sure it fits comfortably. The great thing about making your own hair accessory is that you can adjust it to any size. Once you've decided the headband is a go — let's begin!
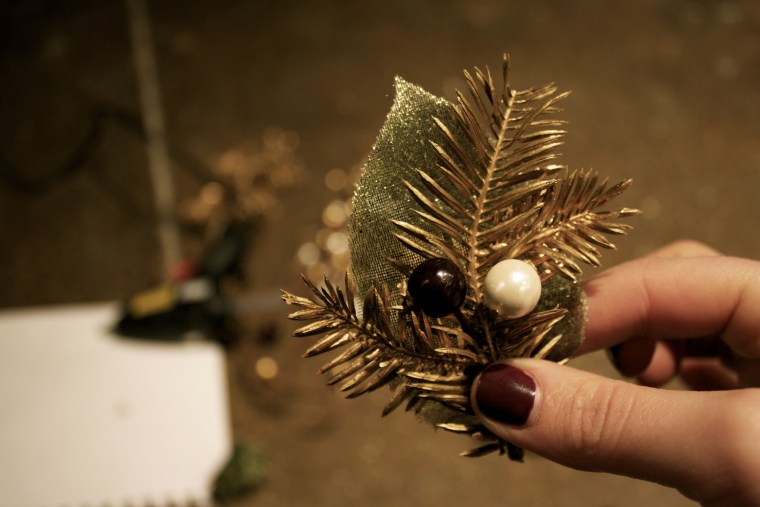
To assemble the headband, first decide where you want items to go. Put the headband on to plan how you want to wear it and hold the decorations up to visualize the placement.
Before gluing on your decorations, make sure they are not too big, otherwise they will fit awkwardly on your head. Use scissors to cut the decorations into smaller pieces if necessary.
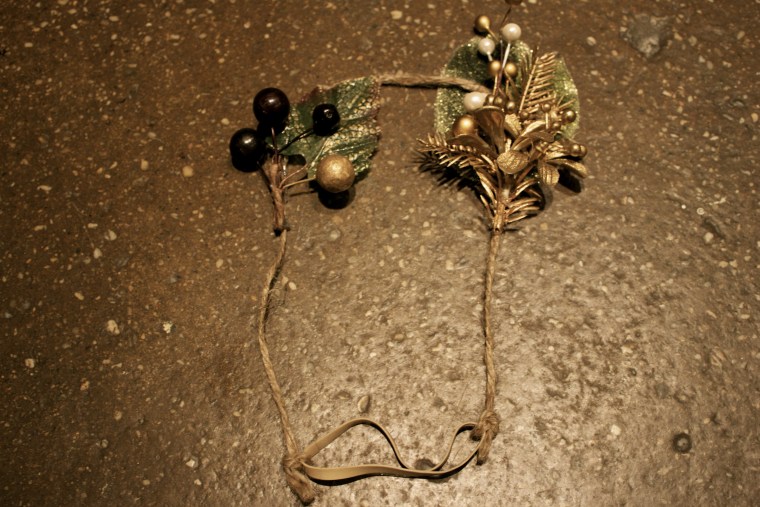
It doesn't take long for the glue to dry, so once it's dry, put your new headband on to make any adjustments by adding more or less to fit your preference. That's it!
Now to show you my favorite way to wear these headbands: First, put it on your head like you would a crown, then take your hair in the back and start tucking it all into the band. It's a chic up-do that anyone can pull off!
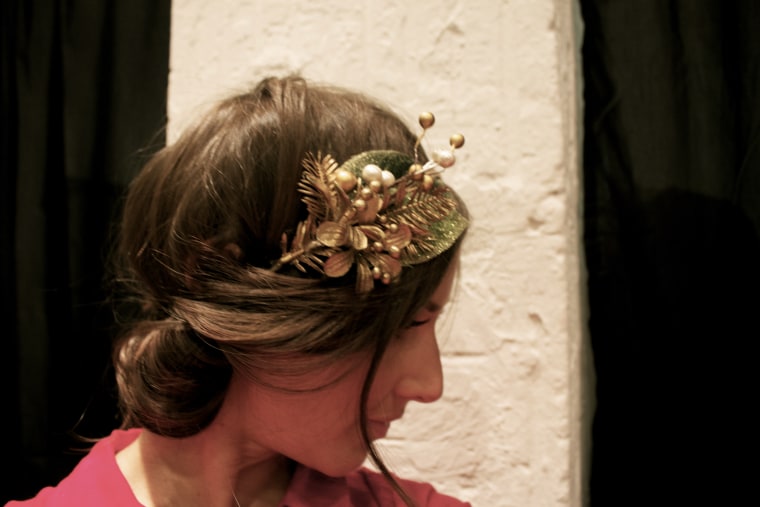
Since I wanted to make something a little simpler for my 7-year-old niece, I decided to make these adorable hair clips using the same concept. Best of all? This super cute style only took me a few minutes to assemble.
Since the surface area of a hair clip is much smaller, first glue the decorations on the clip together so they are securely fastened, then glue that one big piece to your hair clip.
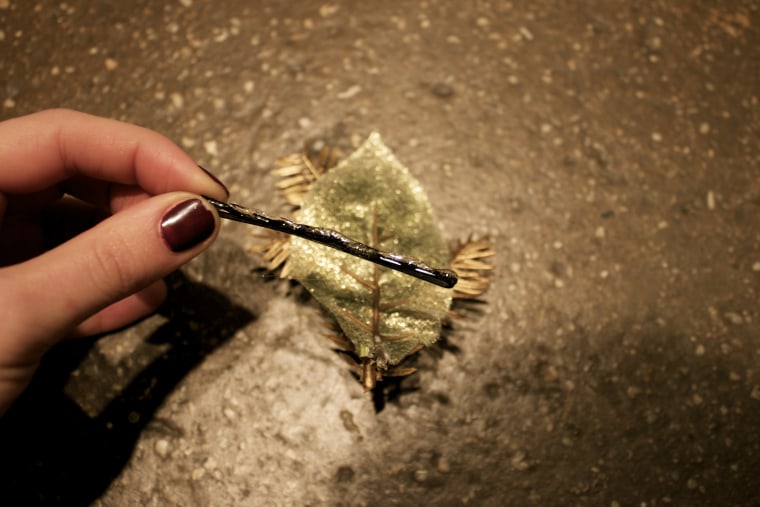
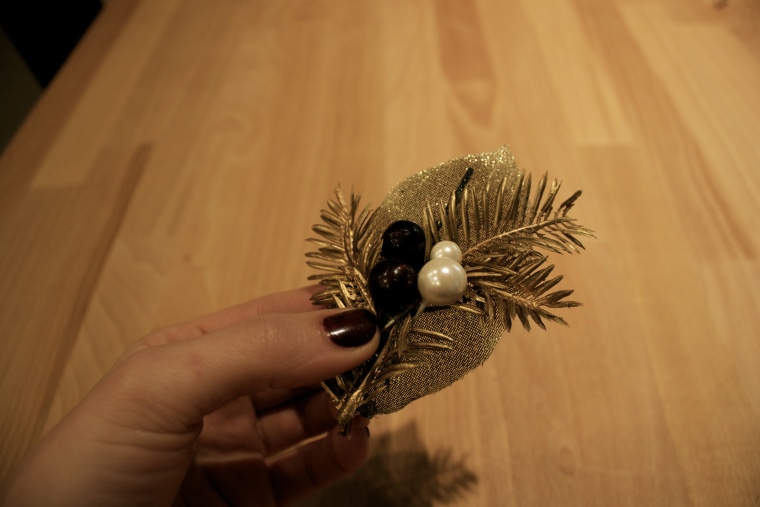
Peel away any excess glue that may have gotten into the clip to ensure the clip works, then twist a section of your hair and pin!
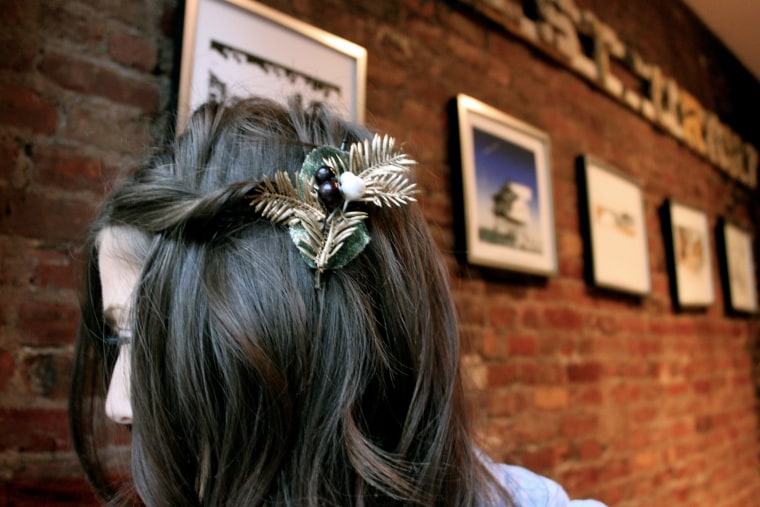
Happy holidays and I hope you enjoy my festive DIY!

Chelsa Skees is a connoisseur of fashion, aficionado of cosmetics, and purveyor of fun DIY tricks. She's getting super crafty this holiday season!
Do you have a great DIY holiday project? Are you baking, painting or knitting up a storm? If you have a creative or unique homemade gift, send us a photo and we might feature it on TODAY.com!
More from TODAY Style:
How to avoid overspending on DIY holiday gifts