Whether you're hanging out inside, outside or out and about this summer, we've got a DIY project for you.
TODAY's series "In, Out and About" is featuring some of the trendiest items you can make yourself. On Monday, Abby Larson, founder and editor of lifestyle blog "Style Me Pretty Living," shared some her favorite outdoor DIYs for the summer.
Read on for unique and eye-catching home wares that you can proudly claim as your very own. And stay tuned: Abby Larson's also taking over TODAY's Pinterest on Monday. Check out her board here.

1. Ping pong lights
A two-ingredient DIY project, these adorable ping pong lights come together in no time flat. You'll simply make a tiny slit in your ping pong ball, then pop it onto a Christmas light, and there you have it: You've beautifully transitioned your guests from daytime into night (with a touch of Parisian style, no less).

Estimated prep time: 1 1/2 hours per strand of lights
Supplies:
- Styrofoam block
- Wooden skewers
- Scissors
- Pink transparent spray-paint
- String lights
- Ping pong balls (one for each light on the strand)
Steps:
- Cut a small slit on one side of each ping pong ball with the scissors.
- Press the skewers about 2 inches apart into the Styrofoam block and top each with a ping pong ball (the SMP team fit about 24 skewers on their block).
- Place block on a large piece of cardboard and give the ping pong balls a light dusting of pink spray-paint.
- Let dry 1/2 hour, then remove balls and replace with a new round of balls. Repeat until all the ping pong balls are painted.
- Press each ping pong ball on each of the lights of the strand, and plug in your lights.
2. Mason jar centerpieces
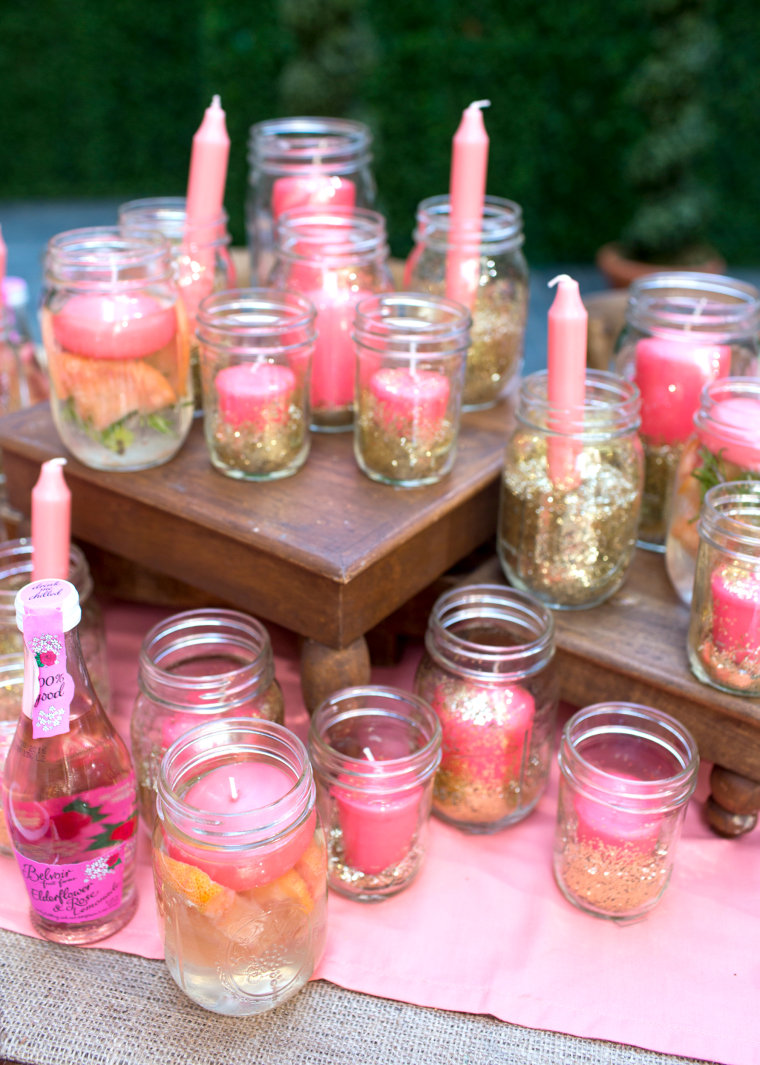
A huge fan of DIQ projects (that's "do-it-quick" for the uninitiated), these candles check off a lot of home decor "boxes." They're beautiful, and they can also serve as both lighting and a gorgeous centerpiece. They're also a total breeze to put together. Perfect for your dinner table or simply sprinkled about as party decor, it's no wonder this is one of Larson's favorite projects.
Est. prep time: 1/2 hour for 10-12 jars
Supplies:
- Taper and pillar candles in various heights and colors
- Mason jars
- Gold glitter
- Floral putty
Steps:
- Stick taper candles to base of mason jar with floral putty (for thin tapers).
- Fill jars with various levels of gold glitter.
- Arrange in a loose line down the center of your table...and light!
3. Citronella candle Mason jar
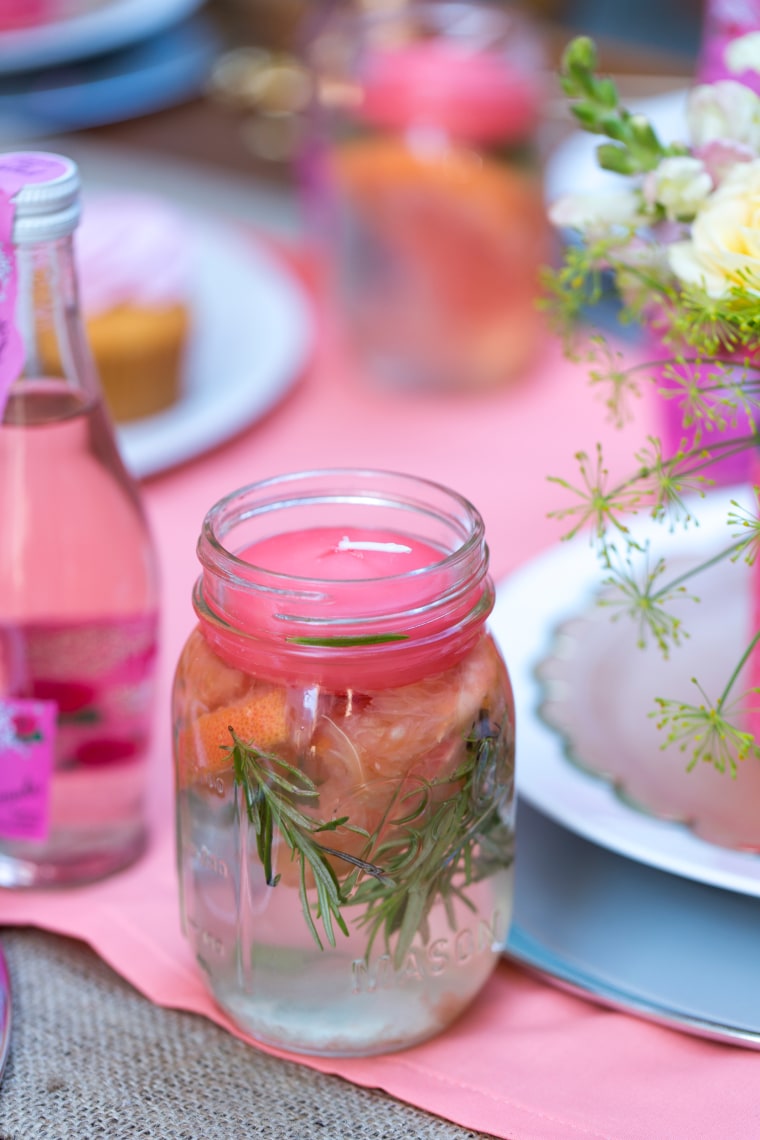
Even if you manage to make your outdoor party as cute and sophisticated as the days are long, you still need to think about practicalities and logistics in order for everyone to have a great time. Like...bugs. Here's an easy way to deal with them: citronella candles that are so versatile, they can be customized to suit any party decor with different fruits and herbs.
Estimated prep time: 1/2 hour for 6-10 jars
Supplies:
- Mason jars
- Floating candles
- Citronella oil
- Water
- Grapefruit or citrus of your choice
- Herbs like mint or rosemary
Steps:
- Slice the grapefruit into thin round slices and trim the rosemary and mint into sprigs.
- Fill each jar 2/3 of the way with water and fill with sliced grapefruit and herbs.
- Top each jar with 10-20 drops citronella oil and a floating candle, and light just before the party begins.
4. Guest place cards in tins
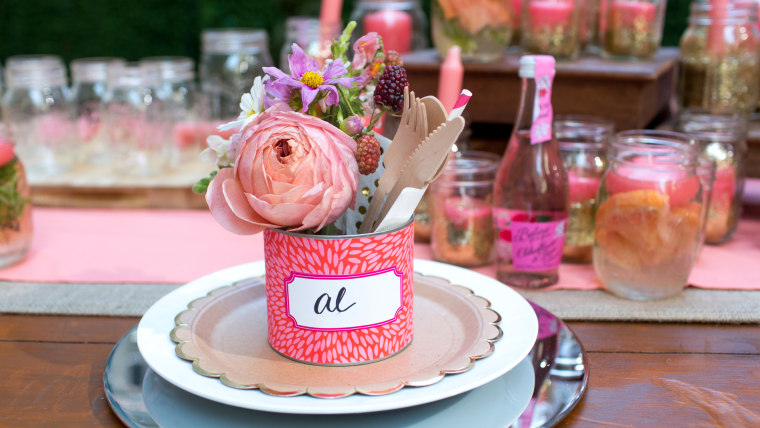
Every table needs a moment of whimsy — a little something to make your guests smile. These place card tins accomplish that. Holding set of flatware, a napkin, straw and a keepsake vase of flowers, they'll bring a little sunshine to your party.
Est. prep time: 1 hour (for 10 cans)
Supplies:
- Tin cans (empty)
- Disposable flatware
- Paper napkins
- Fun paper straws
- Small vase
- Fresh flowers
- Pretty paper
- Scissors
- Double stick tape
- Sharpie
- Labels
Steps:
- Peel labels off of empty, clean tin cans- you may need to soak and scrub a bit to remove. Let cans dry.
- Cut pretty paper to fit size of tin can and tape around the cans.
- Write guests' names on labels and attach to cans.
- Fill each can with a small vase of fresh flowers, disposable flatware, straw, and napkin.
5. Tire ottomans
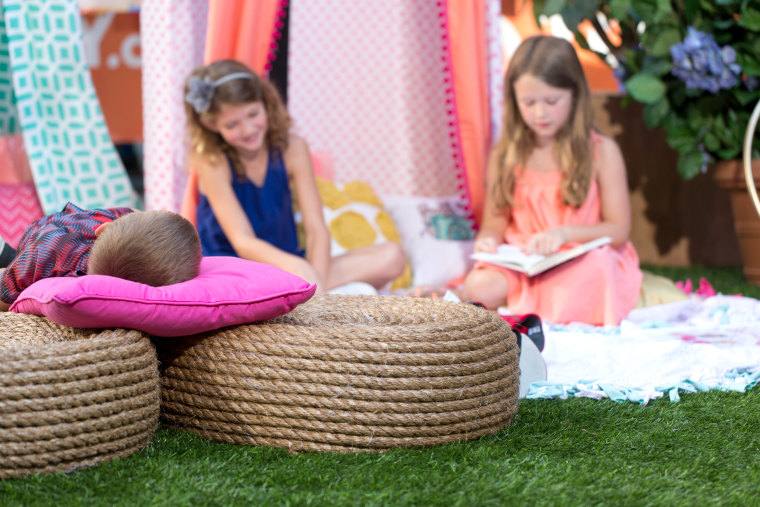
These ottomans — which look much like the pricey versions you find in boutiques — are made with nothing more than an old tire, a bit of rope and a hot glue gun. Whether you use them for extra seating or to kick your feet up, they'll be ooh-ed and ahh-ed over all night.
Est. prep time: 3 hours per ottoman
Supplies:
- Tire
- Sisal rope
- Nylon rope
- Hot glue gun & glue sticks
- Scissors
- Sealer & paintbrush (optional)
Steps:
- Wrap the tire around with nylon rope so that the rope criss-crosses in every direction and you form a nice, taut cover for the open sides of the tire. Tie the rope to itself to hold tightly in place.
- Beginning at the edge of one side of the tire, wrap the sisal rope around the tire and hot glue to the nylon rope as you go. Keep wrapping until the entire sides of the tire are covered.
- Continue wrapping when you reach the top of the tire, forming concentric circles across the nylon rope base. You'll need to glue the sisal rope to itself as well as to the nylon rope as you go. When you reach the center of the top of the tire, trim the excess rope and glue the end in place.
- You can paint the rope with a light coat of sealer if you're planning on keeping your ottoman outside.
6. Hula hoop reading tents
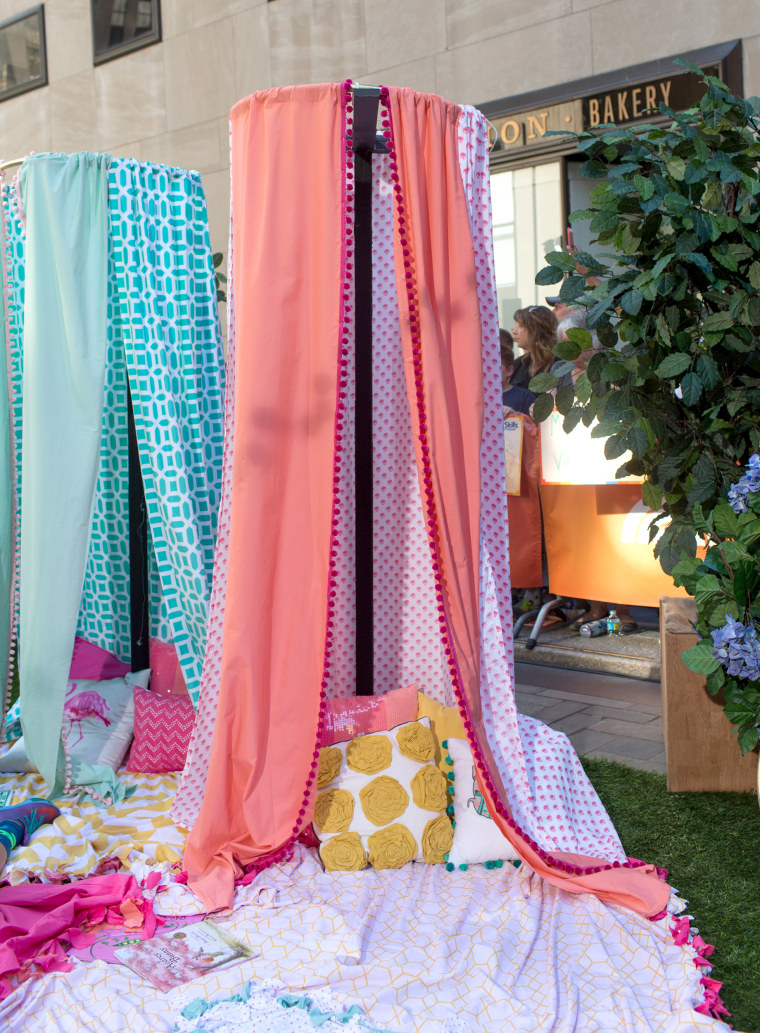
We love the look of these wispy, beautiful tents — perfect for the little ones to curl up with a book in or plan an adventure with their friends. They're made using a hula hoop and some bed sheets that you probably have laying around the house. Even the kids can help with this one.
Est. prep time: 1 1/2 hours per tent
Supplies:
- Hula hoop
- Safety pins
- Clothesline rope
- Sheets in two colors
- 7 yards pom pom fringe (optional)
- Scissors
- Spray paint
- Blankets & cushions (optional)
Steps:
- Spray paint the hula hoop on both sides and let dry 1/2 hour.
- Wrap the short edge of one sheet around the hula hoop, safety pinning the sheet back onto itself every few inches as you go.
- Cut the second sheet into (2) 2-inch wide sections. Pin each section onto the hula hoop, on either side of the first sheet.
- Pin pom pom fringe down the inner edge of the tent entrance.
- Cut rope into (4) 6-inch lengths (or however long you think you'll need to tie to a tree branch). Tie each piece onto the hula hoop and packing tape in place.
- Hang from a branch. Lay down some blankets and cushions inside for an extra plush hideout!
7. No-sew throws
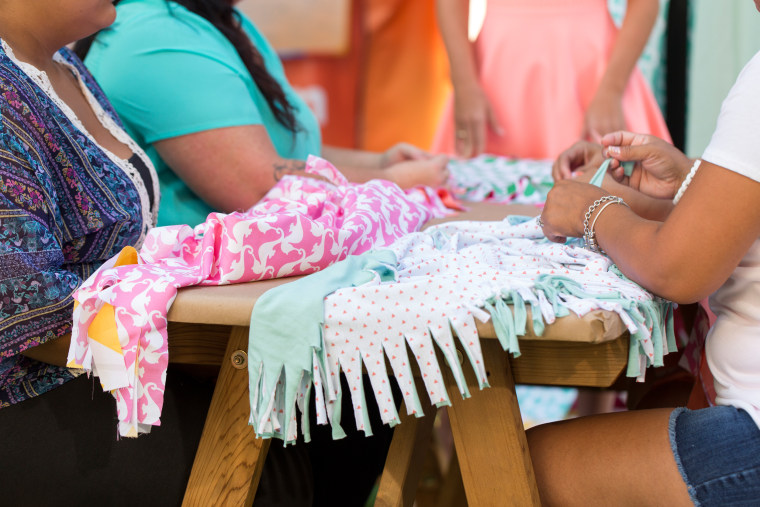
While summer afternoons can be hot and sticky, evenings often have a bit of a chill. With these lightweight summer throws, you can cuddle up with the ones you love and enjoy the night. To make them, just grab a set of sheets, a pair of scissors and your littlest helpers and you'll have yourself a pretty blanket in no time flat. It's the ultimate "DIT" project, according to Abby (that's "doing it together").
Est. prep time: 2 hours per blanket
Supplies:
- Jersey fabric or sheets in 2 colors or prints
- Scissors
- Iron
- Pins (optional)
- Measuring tape and pen (optional)
Steps:
- Iron your sheets or fabric, then stack the two colors together with the printed sides facing out.
- Cut out a large rectangle from both layers- we made our large ones about 60 cm x 90 cm. If you don't feel like measuring, just trim the hem on all sides to make your rectangle.
- You might want to pin a few pins along each side to keep the fabric layers together. Cut the edges of all sides with 3-cm long slits, every 1 cm or so. You can cut both layers of fabric together.
- Tie the fabric at each slit together like you would knot a balloon to make the knotted fringe. If you used pins, remove them.