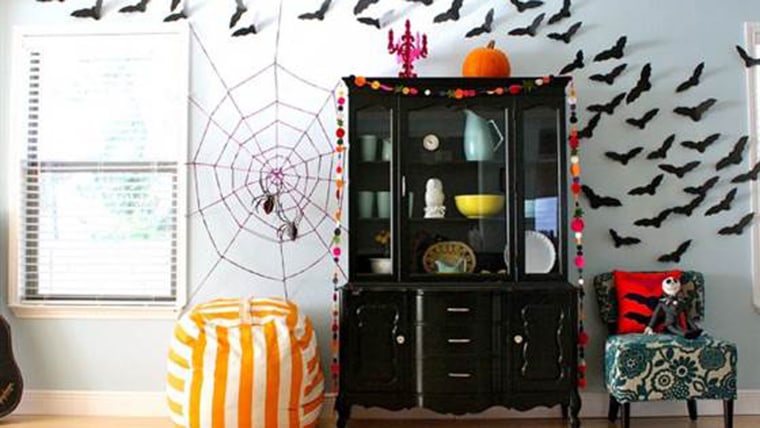
You don't need to be a master crafter to do these Halloween projects. They're simple and fun and sure to get you in the fright night spirit.
Halloween wreath
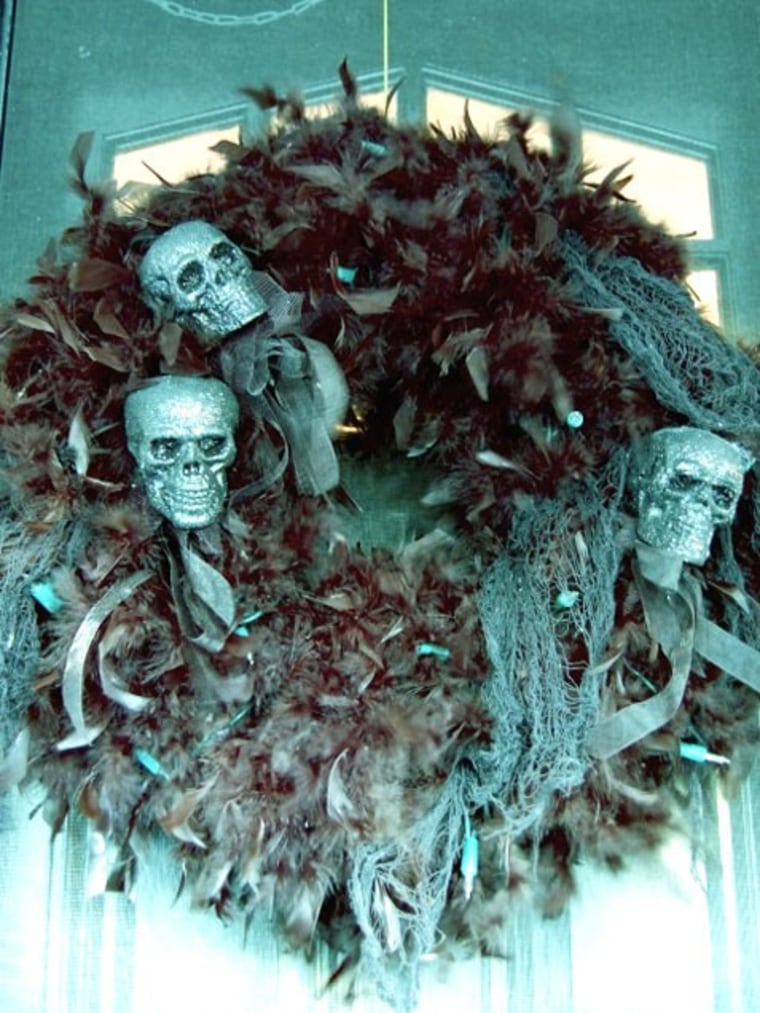
Why we love it: This wreath, from The Art of Doing Stuff blog, has luxurious black feathers and glittering skulls. It adds a glamorous feel for a sophisticated spin on the typical Halloween decoration.
What you’ll need: Skulls from the craft store, black feather boas, black gauze, marker, string, Styrofoam, scissors, wire, electric knife and lights (optional).
How to make it: Cut the Styrofoam board into a doughnut shape (you can make a perfect circle by pinning a marker to a string in the center, and following it around to draw the shape). Wrap the boa around the wreath, clipping it into place with small lengths of cut wire, bent into clips. Pin pieces of the black gauze around the wreath. Fasten the skulls where you like them, add lights if you so desire
For more detailed information, visit The Art of Doing Stuff.
Glow stick lanterns

Why we love it: This project from Lil Blue Boo is a new take on the traditional paper-bag-and-candle luminaries that often light driveways for trick-or-treaters. These glowing jars add instant drama with a safe, spooky glow that’s not a scary fire hazard.
What you’ll need: Glow sticks, scissors and jar.
How to make it: Grab some glow sticks — in any color, or a combination of colors — then cut off the ends and dump the non-toxic contents into an old jar. Shake the jar to coat the sides. Add a bit of water to the jar to prolong the glow.
For more detailed information, visit Lil Blue Boo.
Spooky, glittery book covers
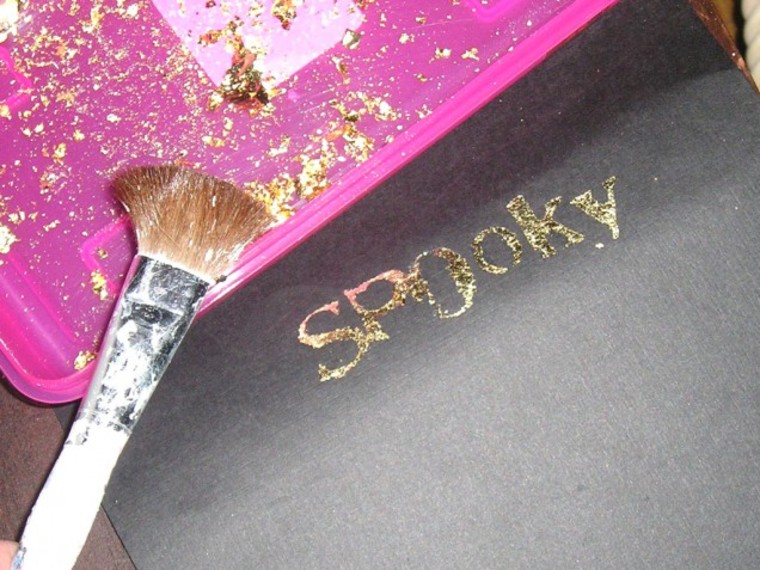
Why we love it: These covered books, imagined by blogger Jennifer Rizzo, can line a shelf or decorate a coffee table with subtle Halloween flare and can be made quickly and cheaply from any books you have in your home.
What you’ll need: Books, black paper, gold leaf sizing, gold leafing, soft brush.
How to make it: Cut black paper the size of the books you want to cover. Then, stamp with gold leaf sizing, followed by gold leafing. Wipe away the excess with a soft brush and arrange the books around your home.
For more detailed information, check out JenniferRizzo.com.
Spooky mirror
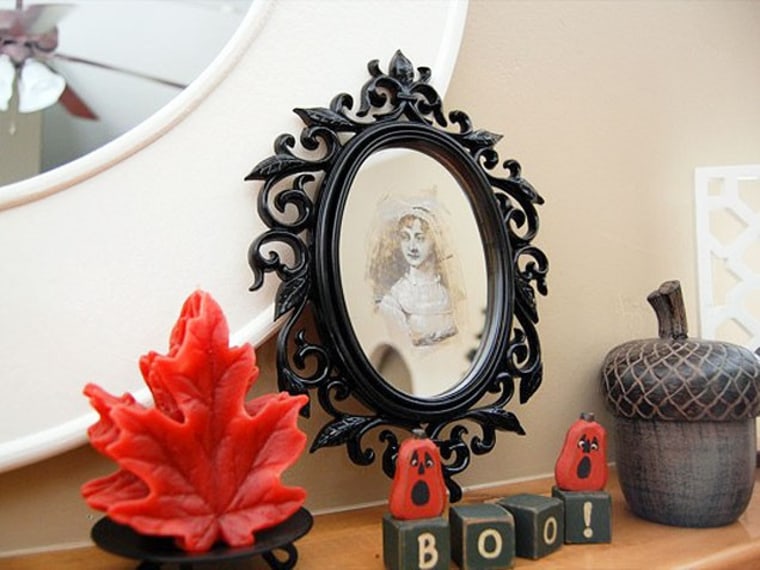
Why we love it: At first glance, this mirror conceived by No Biggie looks harmless, but the haunting reflection will startle your guests with a perfect Halloween-inspired trick.
What you’ll need: An old-looking mirror, a razor blade, glossy black spray paint, and an antique portrait from on an old book, newspaper, scissors, tape.
How to make it: Take the mirror apart, removing the glass from the frame, and cut an austere portrait from an old book to fit the shape of the glass. Scrape off some of the coating on the back of the mirror just enough for the image to show through when you tape it to the back. Spray the frame with black paint and reassemble.
For more detailed information, visit No Biggie.
Giant spider web
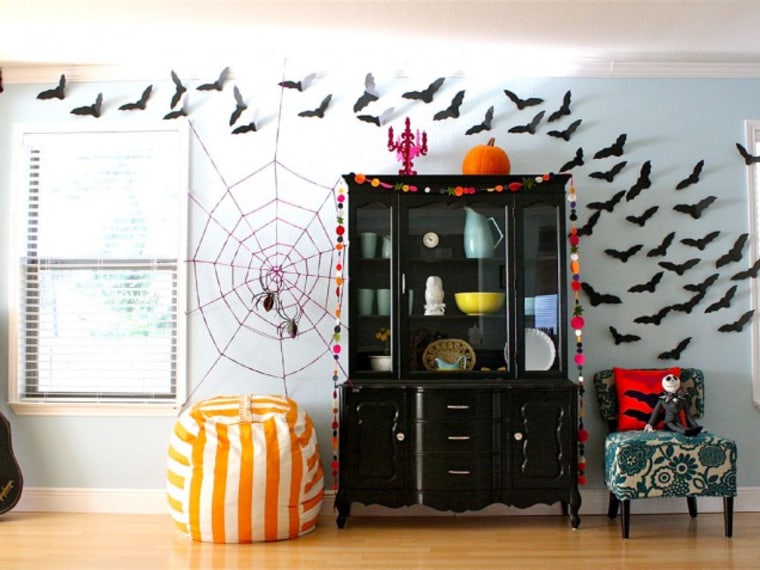
Why we love it: A giant web is a Halloween must-have! And you can create this one, designed by Dana Made It, in about 10 minutes.
What you’ll need: Yarn, tape, scissors, toy spider.
How to make it: Pick an indoor or outdoor spot for the web. Then start to build it by taping ends of the yarn to the wall, first in an X shape, and then building it out with crisscross lines. Last, place a big vertical strand from the ceiling down to the bottom of your web, laying it on top of the other strings so it pops out. To make the web rings, cut a very long strand of yarn for each section, fold it in half and start the ring with a simple hitch knot. Loop the yard around each arm. Don’t worry about being too precise. When you get back to beginning, tie the end with a knot, cut off the excess, and start over on the next ring. Continue to make as many rings as you like. Deck with handmade or store-bought spiders to finish.
For more detailed information, visit Dana Made It.
Hanging spider
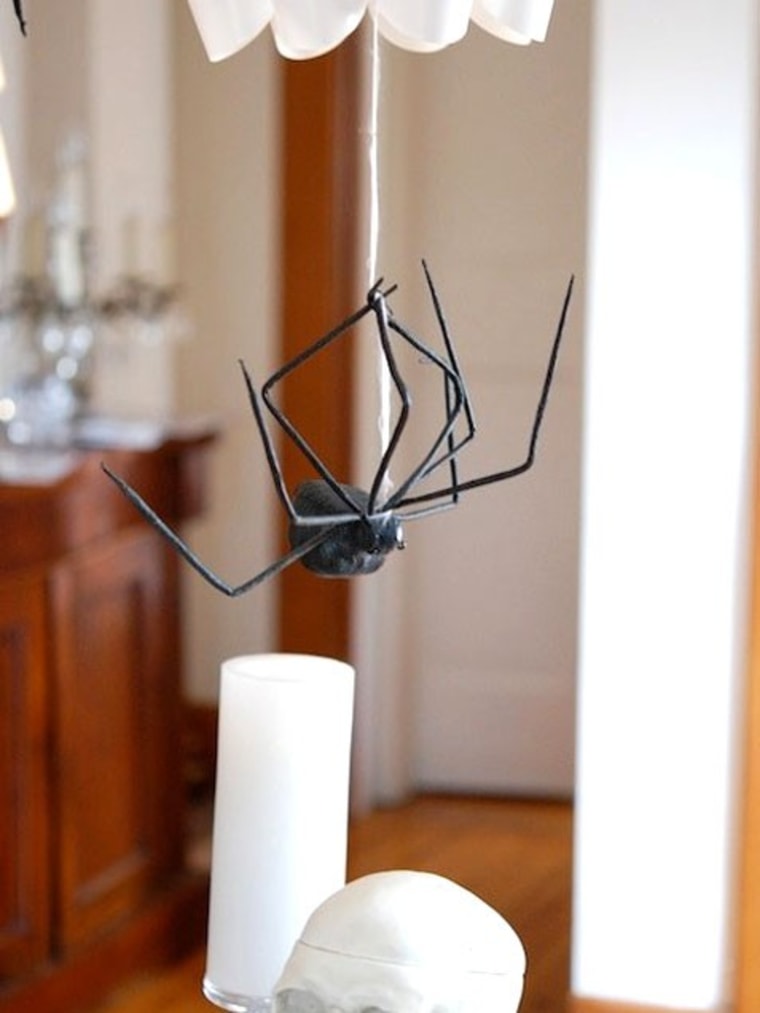
Why we love it: This project from the Art of Doing Stuff is simple, affordable and it creates a fun, dramatic look for an indoor or outdoor Halloween party.
What you’ll need: String or fishing line, scissors and a plastic spider .
How to make it: Using string or fishing line, pull a long strand and tie it to a few legs of the toy spider. Attach the other end to a chandelier or the ceiling so it dangles down for a spooky effect.
For more detailed information, visit the Art of Doing Stuff.
Simple Halloween garland
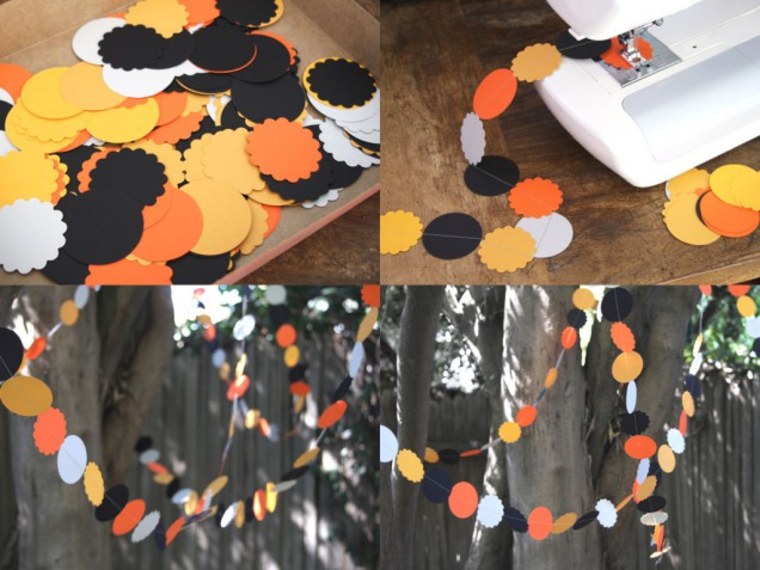
Why we love it: This paper garland from Please Note Paper isn’t your typical Halloween horror. It has a sweet, down-home feel that is easy and affordable to make in an hour.
What you’ll need: Construction paper, circle and/or scalloped circle punch, sewing machine, thread.
How to make it: Punch circles out of construction paper in festive shades of black and orange . Feed them through a sewing machine, one after another, to connect. Make the garland as long as you like and hang inside or out.
For more detailed information, visit Please Note Paper.
Halloween candy bar
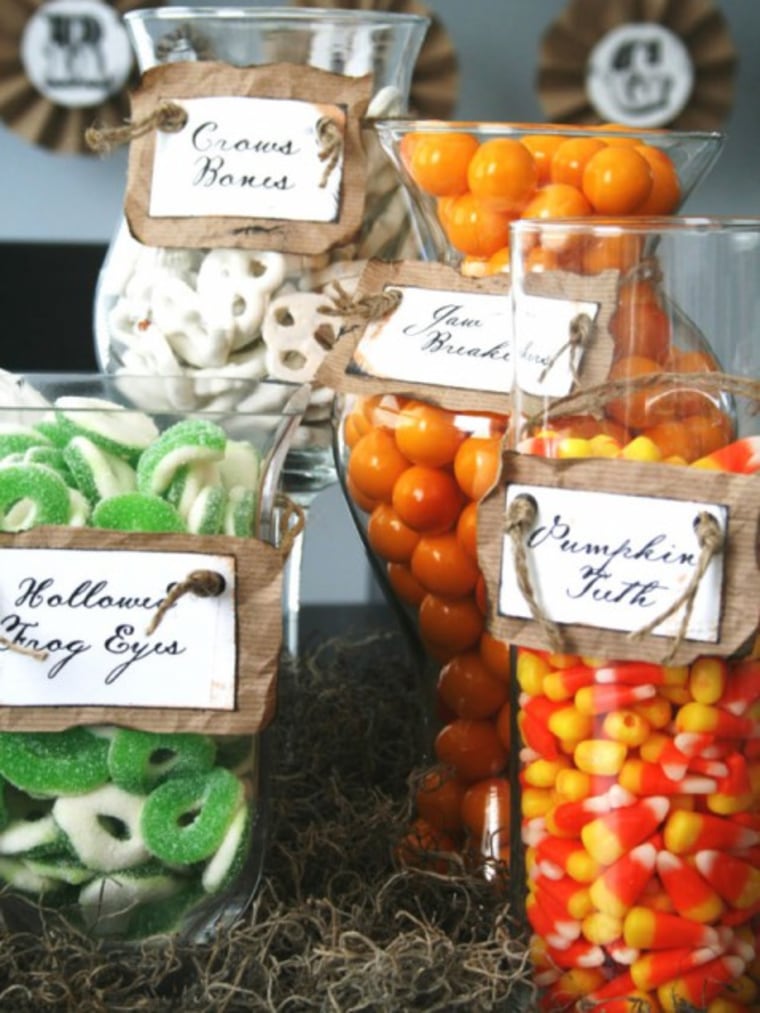
Why we love it: With this neat idea from the House of Smiths blog, you can turn ordinary candies into spooky Halloween treats by re-labeling their containers with creative names.
What you’ll need: Card stock, brown packaging paper, apothecary jars, candy, twine, black eyelets, craft moss and tray.
How to make it: Choose alternative names for ordinary candies. (Get the kids involved by asking for their creative input!) Print names on a thick card stock, mount on brown packaging paper, and slightly burn the edges of the brown paper for a distressed look. Put black eyelets on the outsides and run twine through them, tying knots on the ends. Tie the labels around apothecary jars and fill with candy. Set into a moss-lined tray for a crowd-pleasing candy buffet.
For more detailed information, visit the House of Smiths Blog.
A version of this article originally appeared on iVillage.
