A new generation of home cooks is embracing canning—in part because it’s a good way to preserve the fresh produce of the season and have total control over what’s in the final product, and in part because it’s fun.
However, canning is a lot more fun if you are familiar with the essentials from the get-go.

1. You don’t need specialized equipment, but it helps.
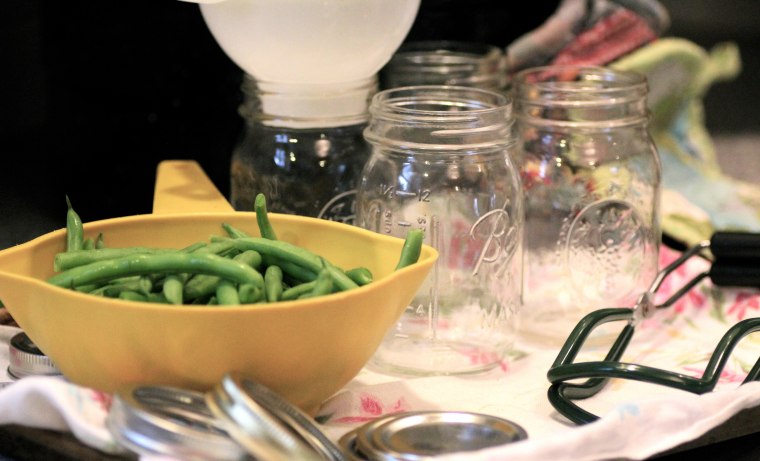
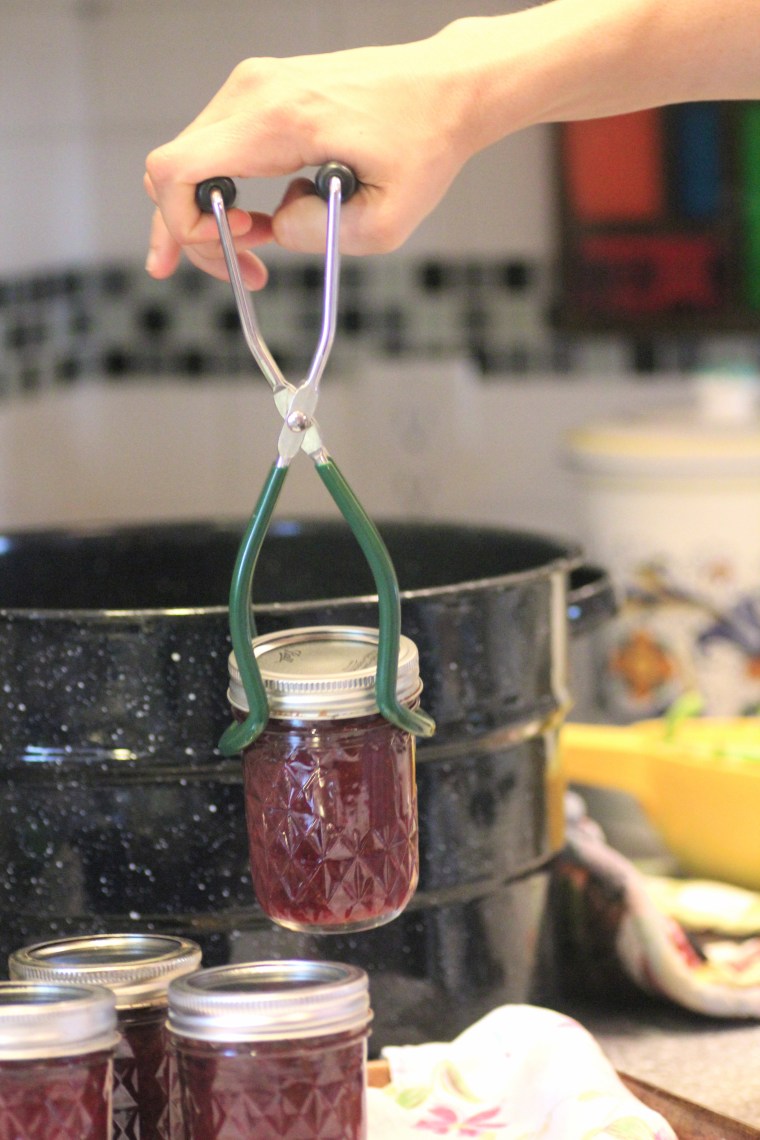
Jar lifters, a canning rack, a canning funnel — these things are not necessary, but they do make the experience of canning smoother. If you don’t want to invest $50 or more in a home canning kit before you’ve canned a single item, try canning a small batch of something simple--like tomatoes or applesauce--using the equipment you already have. You can even rig a canning rack together by tying jar bands together with zip ties
After your first canning session, if you think, hey, I like this!, then you’ll feel much more confident about buying canning equipment. There are many elaborate products available—such as electric stovetop canners--but all you really need is a large stockpot, jar lifters, and a canning funnel.
2. Know the difference between pressure canning and water-bath canning.
The acidity level of the items you’re canning will determine whether you use a water-bath canner or a pressure canner. Foods with a high acidity level, such as pickles and jams, can be canned in a simple pot of boiling water, known as a water-bath canner.
Related: Try Al's recipes for chow chow and bread and butter pickles for easy flavor
Other foods, such as peas and beans, need to be canned in a pressure canner. A pressure canner is able to reach temperatures of 248 degrees F, while a water-bath canner can only reach 212 degrees. Canning for a longer period at a higher temperature makes low-acid food safe for long-term storage. Pressure canning is more involved than water-bath canning, both in terms of time and equipment required, so it’s best to begin with water-bath canning.

3. Organize your kitchen before you begin.
Canning takes a lot of space—sometimes up to three burners on the stove, plus you’ll need to set up your jars and tools. Start by getting your kitchen clean and tidy so you’ll have more elbow room during the canning process: make sure there are no dirty dishes in the sink, the countertops are dry, and there’s no stray items to clutter up your work space.
4. Pull out all of the tools you’ll need and have them handy.
This includes potholders, paper towels, and lots of dry, clean kitchen towels. You don’t want to go scrambling for a utensil in the middle of filling your jars.
Related: 4 ways to make quick pickles with just 5 minutes of prep time
5. Carve out a block of dedicated time.
Canning is all about timing. A project like canning pickles can be done pretty quickly, but a batch of berry jam can take hours. Once you start canning, you don’t want to be interrupted, so find a time in the day when you know you won’t be rushed or in the middle of something else. I like to can early in the morning or after my daughter has gone to bed (and no, I have no idea how our mothers and grandmothers managed to put up hundreds of quarts of food in the sweltering summer as a gaggle of kids ran around). Also: don’t answer your phone or reply to texts. Just deal with that stuff later.
6. Use a book or resource that offers current information.
Canning technology and products have changed over the years, so while you don’t need to throw out your treasured hand-me-down copy of your great aunt’s 1956 canning guide, be aware that its information may no longer be accurate. “The Ball Blue Book Guide to Home Preserving” is currently in its 37th edition, and is a worth every penny (or you can always check it out from the library). You can also download a free PDF of the “USDA Complete Guide to Home Canning.”It’s not as recipe-based as Ball publications are, but it is very thorough.
7. Take a class or ask a friend.
If you’re anxious about canning for the first time, it can be helpful to have a canning spirit-guide walk you through it all. Many businesses that offer classes for home cooks have canning classes in the summer. Or, if you have a friend who cans, you could ask them to come over and show you the ropes. People who are into canning tend to be enthusiastic and happy to share their knowledge.
8. You don’t have to pre-heat canning lids anymore.
This is a pretty awesome recent development. For years, the default procedure was to simmer the lids before canning, so it was necessary to have both a boiling water bath to sterilize the jars, and a separate saucepan of simmering water to warm the lids.
But no longer! According to Ball’s, it’s better to simply wash and dry the lids before using. That’s a change we can all get behind, but a lot of canning aficionados have been reluctant to embrace it because it’s a fairly dramatic change that hasn’t been well-publicized. As far as I’m concerned, if the manufacturer says to skip an unnecessary step, I’m going to skip that step.
9. Only use jars and lids made specially for canning.
This means don’t can in empty mustard or pickle jars, even if they are cleans and sterile. Canning jars are made to withstand multiple uses, while the jars you buy your condiments in are not. Trust me, I know this from experience. It’s not fun to have a jar break open in the boiling water bath. Also, if you’ve baked in your canning jars—such as those wide mouth half-pint jars that make such cute vehicles for pies—don’t use them for canning. Something about the high temperatures of the oven seems to make the glass more vulnerable to cracking.
Have fun!
Canning may seem intimidating at first, but the results can make you feel a special sense of accomplishment. A whole world of creativity and possibility opens up once you get the hang of it. And if you find out it’s not for you? No big deal!