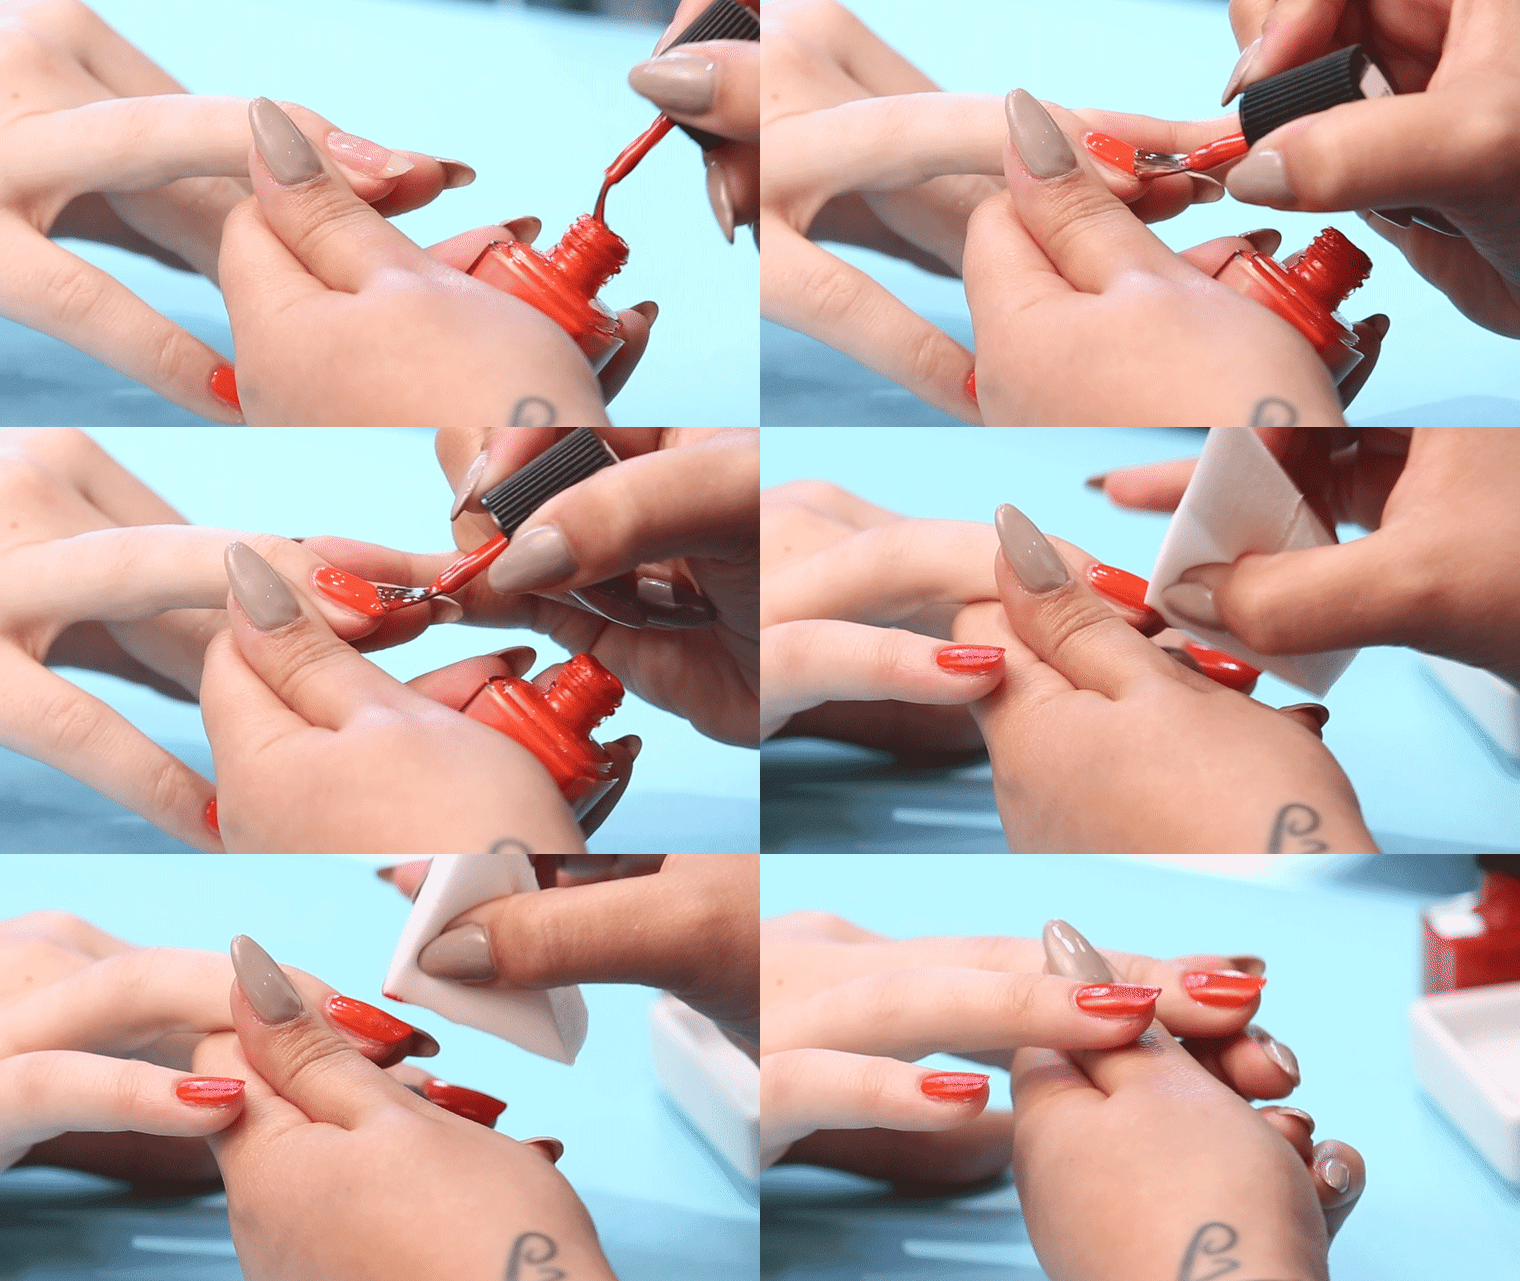
Ombre has been a hair color trend for years, but the style has now worked its way onto our manicures.
Similarly to the hair craze, ombre nails are all about creating a color gradient where there's a lighter color that gradually blends into a darker one. And much like hair, finding the perfect ombre does take a bit of practice. The good news is that nails are a lot less commitment!
Check out TODAY's A-Z nail "GIF"-tionary for more at-home nail art ideas.
The experts at Paintbox in New York City shared the easiest tutorial with TODAY for creating this ombre look at home. No nail tech required!
O is for ... Ombre

1. Prep the nails and apply base coat.
2. Pick three shades of polish in the same color family. We went for red for a more subtle look.
3. Paint the lightest shade over the entire nail. We used "Hunger" by Nars. Allow it to dry well.
4. Dip a makeup sponge in the darkest color. We used a deep oxblood red RBG's "Scarlet." Sponge it onto the tip of the nail down to about one-third of the way.
Pro tip: Try using a Beautyblender. It's acetone resistant and doesn't shed like other makeup sponges.
4. Sponge a shade that is halfway between the other two on the middle of the nail, blending the two colors together.
Pro tip: Keep each coat thin to allow them to dry well. Several coats will be needed to achieve full coverage on the tip.
5. Apply a top coat to smooth and allow to dry.
RELATED: Cuticle decals take nail art to the next level — beyond the nail!