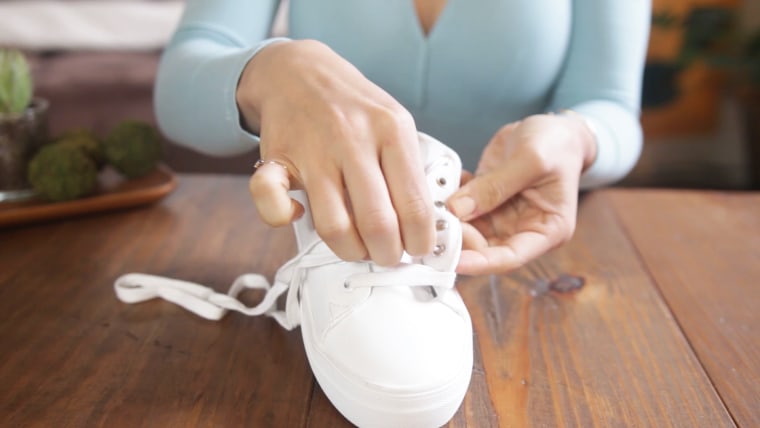
With a little show-and-tell, and possibly a second pair of laces, you can transform your sneakers into a real conversation piece — and maybe even make them more functional. These styles work best when sneakers have at least five eyelets from top to bottom; you'll want the real estate to show off these intricate designs.
One of TODAY Style's favorite techniques will introduce you to the art of basketweaving, with a checkerboard effect that can play high or low depending on the laces you use. Think neon colors for sports kicks or perhaps even pastel ribbon for daintier white sneaks. They turn your sneaker nearly into a slip-on.
The Zipper is as functional as it is funky. The half-knot at each eyelet keeps the shoe snug on your feet, making it a great option for active kids, too.
The Checkerboard
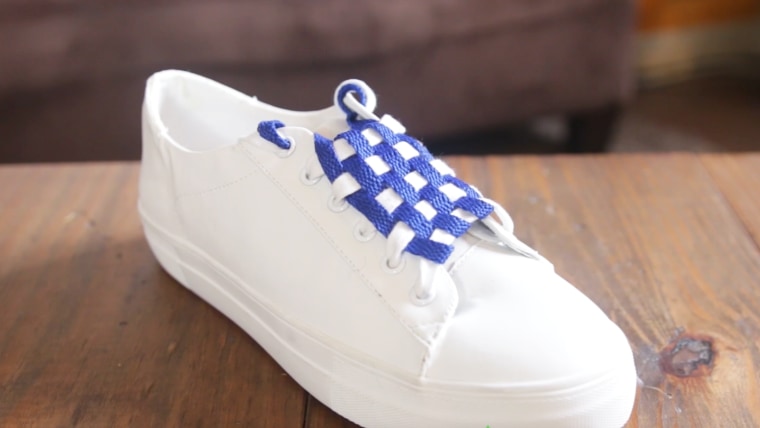
What you'll need:
- Sneakers
- Two sets of flat laces (the same or different colors)
What you'll do:
1. For this unique checkerboard pattern, we recommend opting for two different colors for the strongest impact.
2. With one color, begin lacing on the bottom left eyelet and bring the lace to top right eyelet.
3. Starting with the lace left on the bottom left, run the shoelace straight across on the outside, then straight up on the inside.
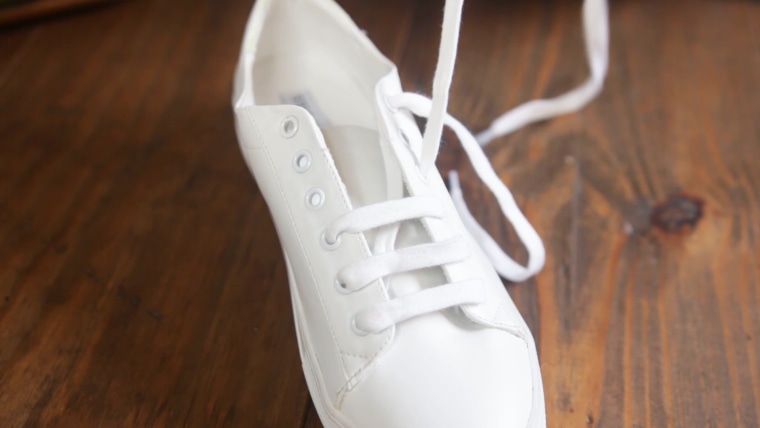
4. Now bring the right lace across to the outside eyelet on the left. Bring that straight up on the inside. Repeat this pattern until you reach the top of the shoe.
5. With the second set of laces, string through the top left eyelet and start weaving in and out of the first lace until you reach the bottom.
6. Once you reach the toe, turn the lace around and weave in the opposite direction.
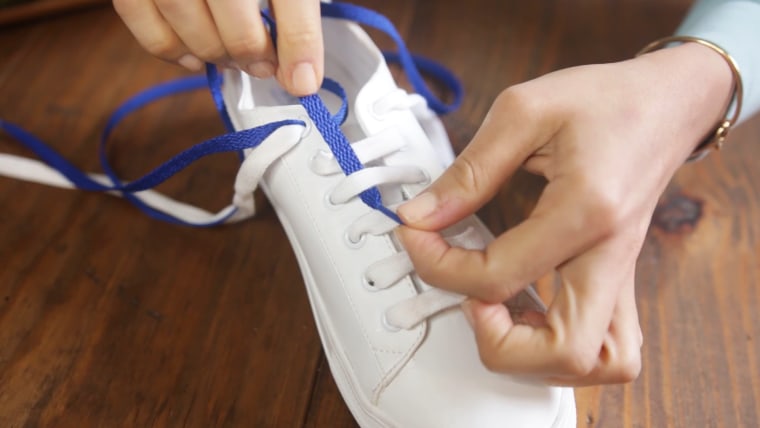
7. Repeat until you reach the right side of the shoe. You may be able to get four to eight rows, depending on the width of the sneaker.
8. Tuck the final end into the top right eyelet.
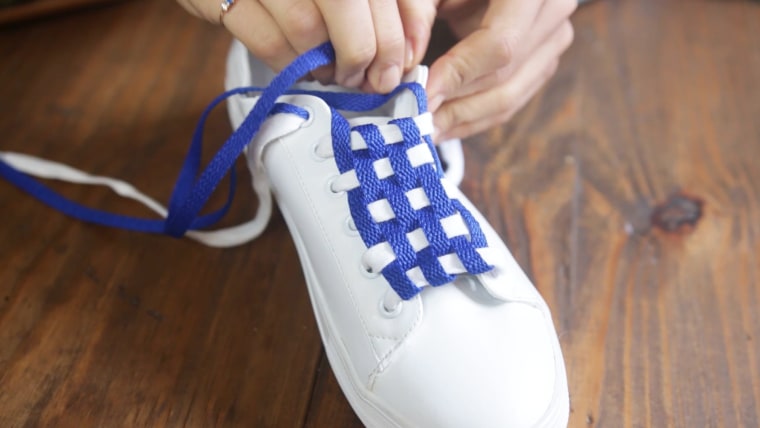
Since this lacing style is a bit looser and tougher to tighten on the fly, it's great for slip-ons and shoes that require less support.
The Zipper
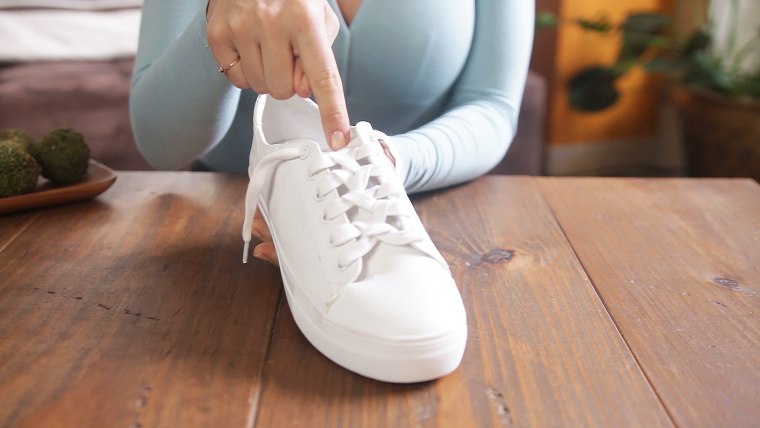
What you'll need:
- Sneakers
- One pair of laces (flat or round)
What you'll do:
1. Begin lacing on the inside of the two bottom eyelets.
2. Create a small loop with the straight-across lace and feed one end underneath it. Then cross it through to the opposite side and feed it through the next available eyelet.
3. Repeat looping, crossing and feeding the lace alternating sides until you reach the top.
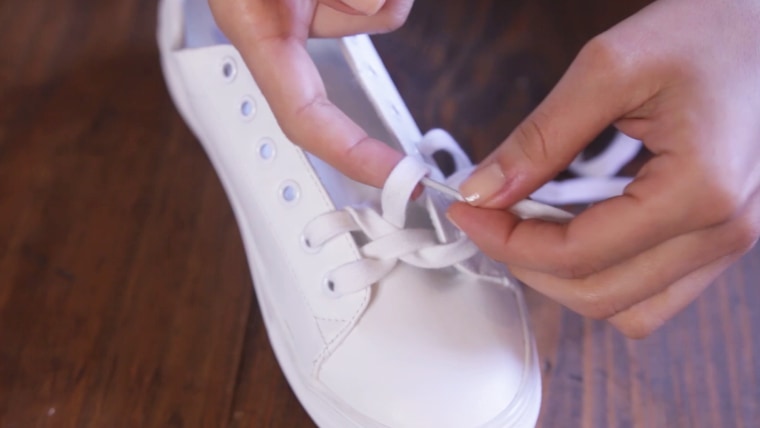
This technique creates a small knot at each eyelet so it's great for skates, boots and other footwear that could use firm support.
Now your kicks are ready for the runway — or at least after-school pick-up.
