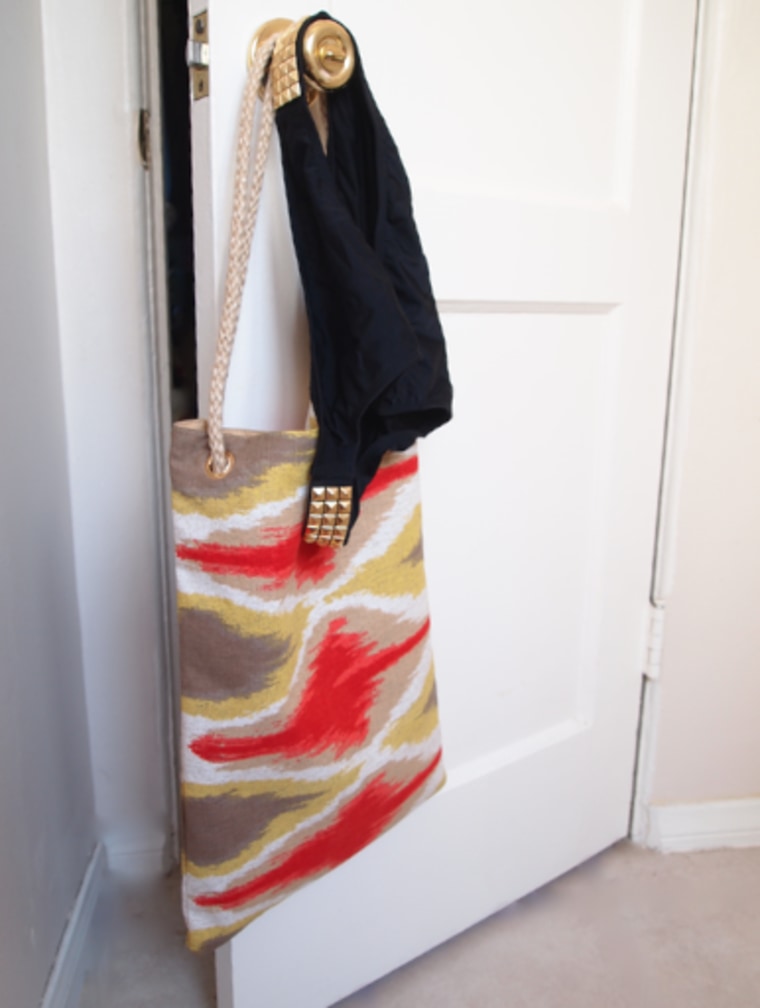
DIY expert Kristen Turner of Glitter ‘N Glue shares a step-by-step guide on how to make your very own beach bag. With just scissors and some rope, you can transform everyday objects — like placemats — into something unique.
Making a tote bag out of two placemats — why not? I spotted these ikat placemats ($3, target.com) and thought they’d make a perfect tote bag. Now that the weather is nice, I’m always on the hunt for a bag to hold all my summertime swag.
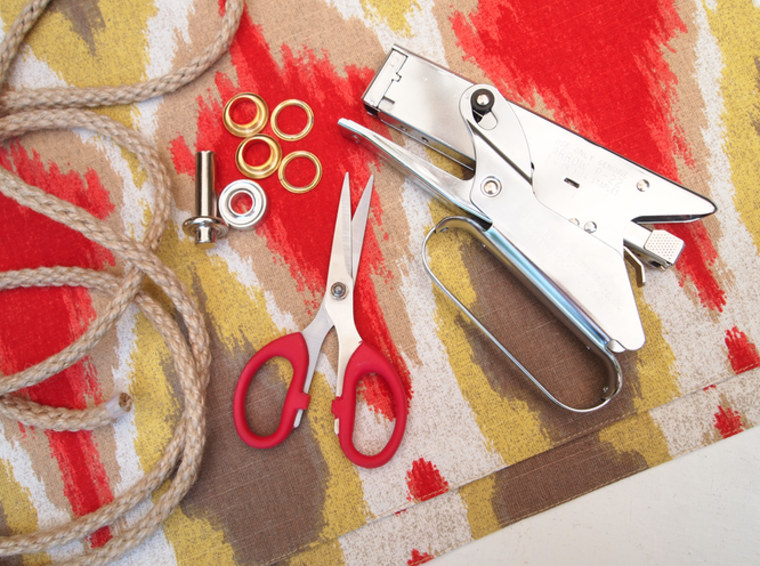
Materials:
- Two placemats
- Rope
- Stapler
- Four grommets
- Scissors
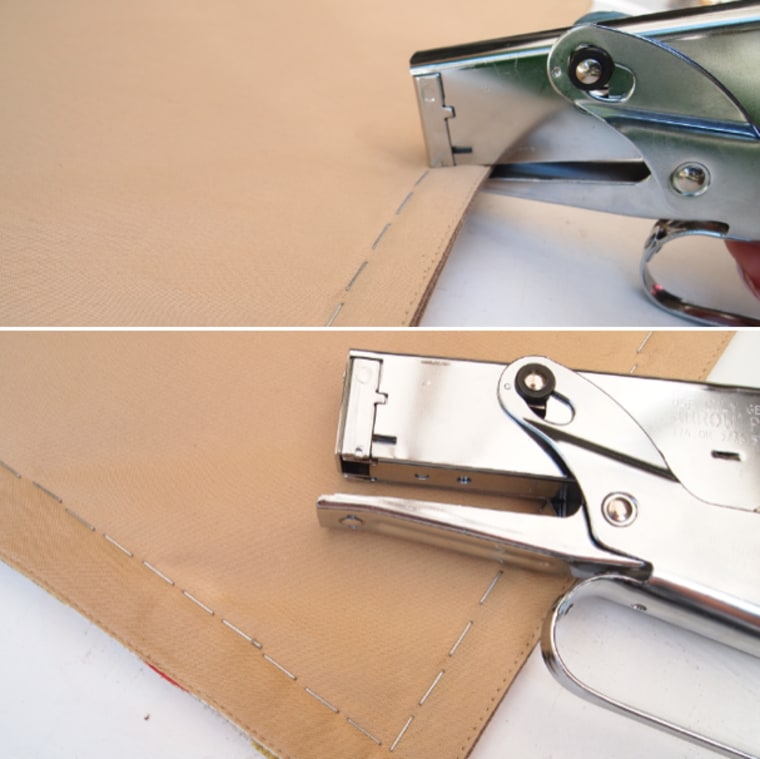
1. Place the two mats together so that the prints are facing each other. Use a heavy duty stapler to staple 3 of the 4 sides together. A quick hand stitch or a trip on the sewing machine will work, but a stapler is a suitable alternative.
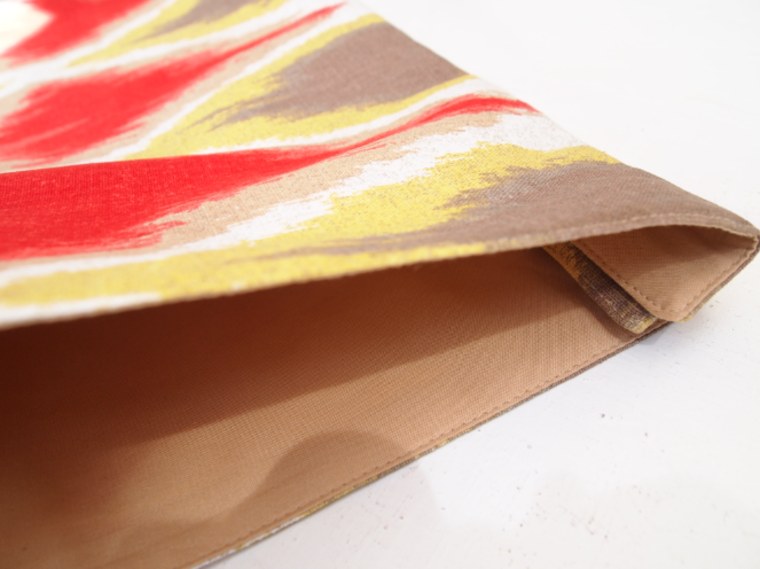
2. Flip your placemats right-side out.
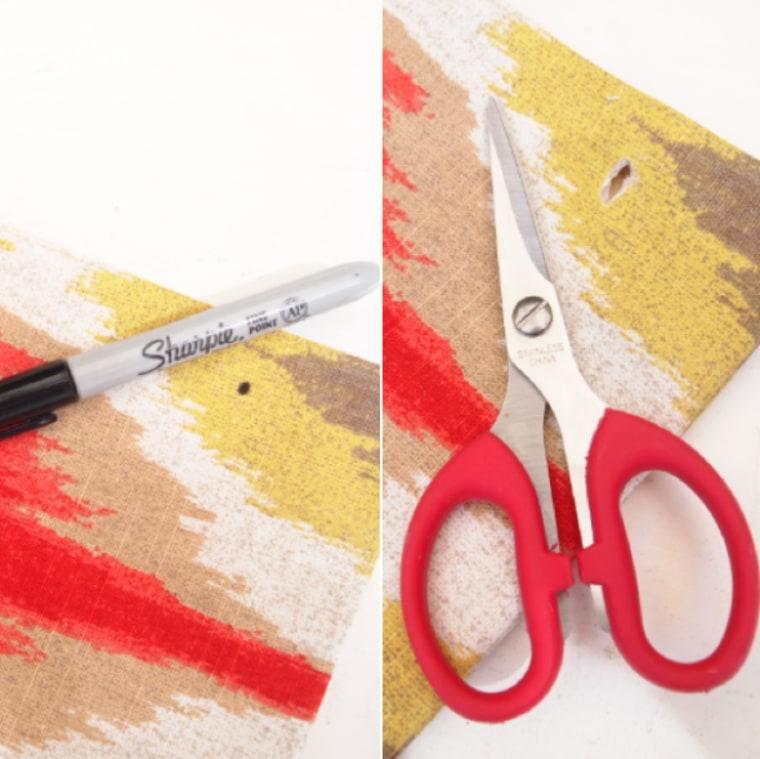
3. Now, use a marker to prep your bag for your grommets. I suggest about an inch away from the bag's edge. Use your scissors to cut a hole big enough to slip your grommet through.
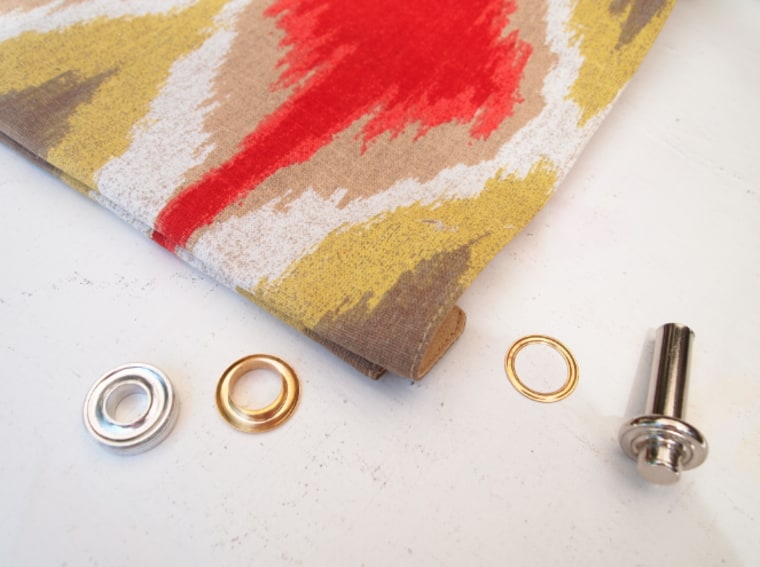
4. Use your grommet setting tool to set your grommet in place.
(Note: Grommet tools are so easy to use. A kit can be picked up at your local fabric store for a few dollars. Be sure to follow the directions that come with your kit, but if you — like me! — throw away your kit instructions and need a little assistance, click here for a helpful video.)
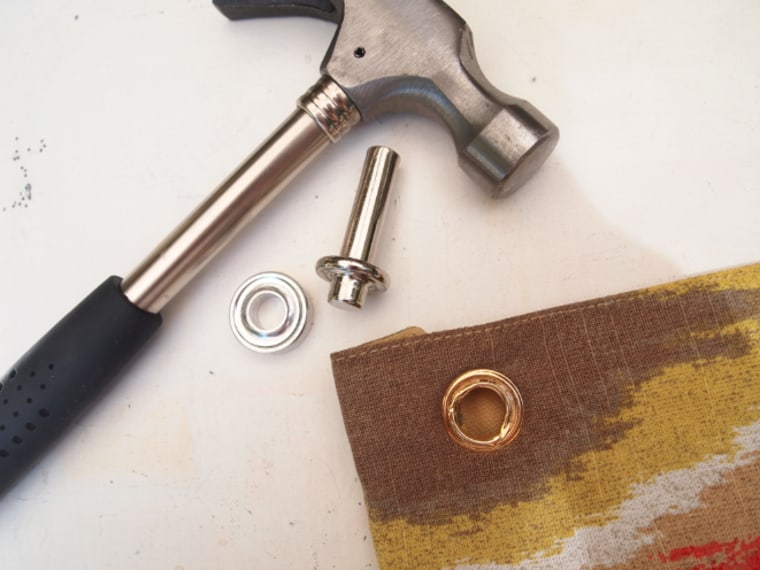
Use a hammer to place your grommets.
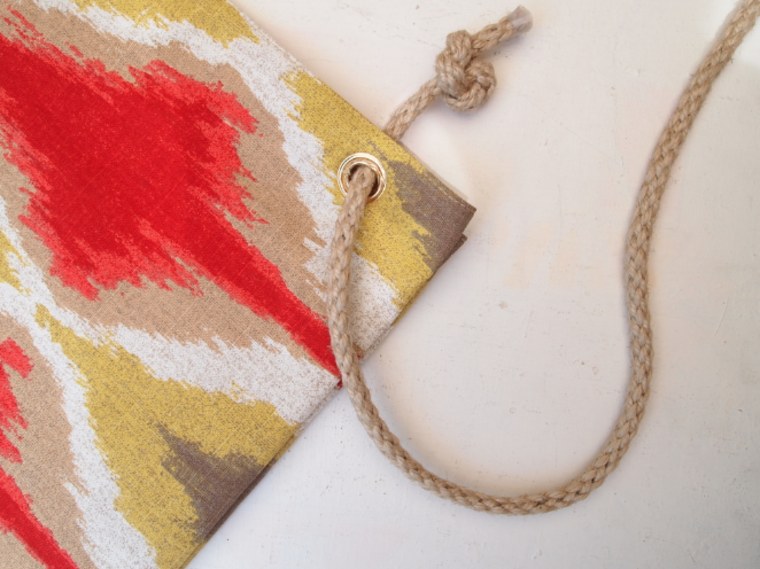
5. To make your handle, slip the rope through the grommet and secure it with a double knot.
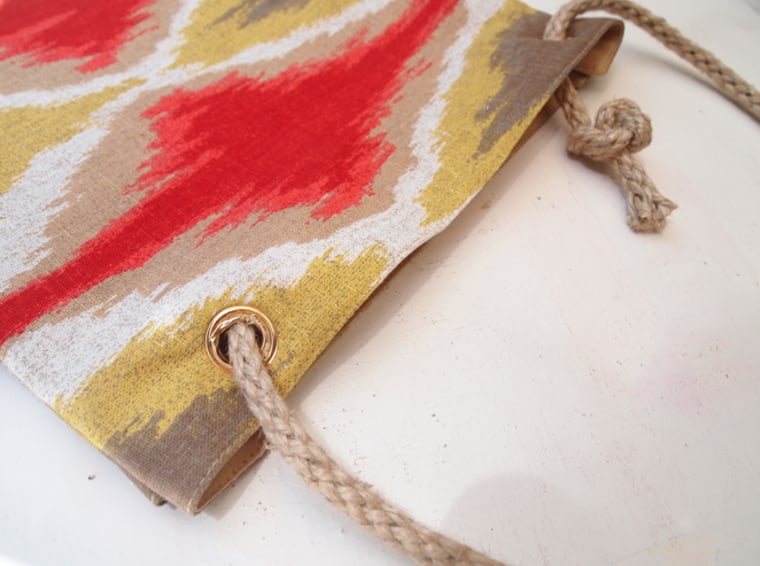
6. Slip the other end of your rope through the opposite grommet and repeat the knotting process.

7. Now stuff your bag with all of your summer necessities!
For more fun and easy DIY tutorials, visit GlitterNGlue.com and Kristen's YouTube channel.
DIY: Give your home the Midas touch with spray paint and Sharpies
