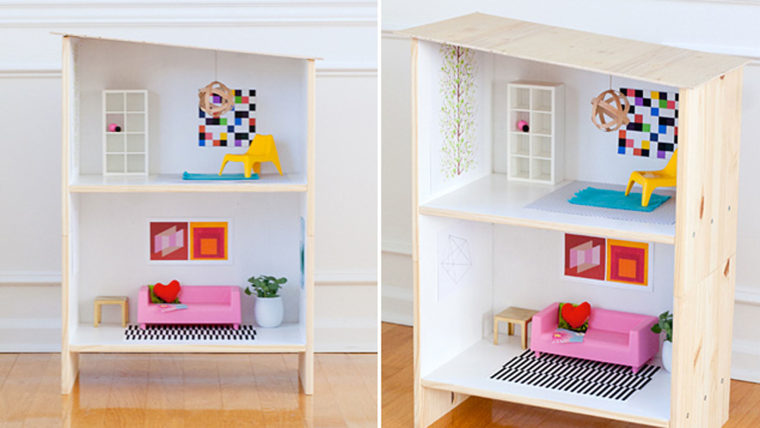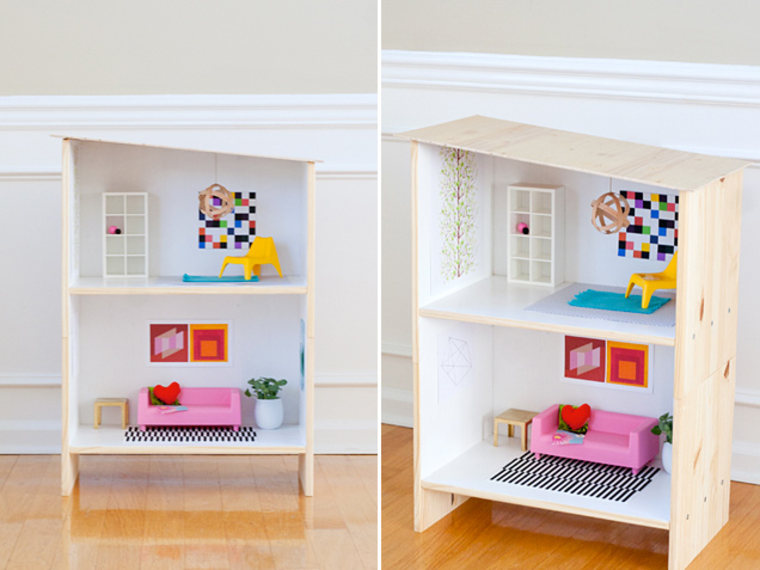
Looking for a creative gift your imaginative child will treasure? Jennifer Kirk, blogger behind Ambrosia Creative, may have what you're looking for with this dollhouse DIY. This IKEA bookshelf hack uses just a few materials (real wood, even) and is easy on the wallet.
What you'll need:
- 2 IKEA RAST nightstands
- Titebond III Wood Glue
- White interior paint (the grade used for molding & baseboards)
- Small paint roller
- Minwax Water-based Polycrylic Finish
- Wood filler
- Wood nails
- Large sheet of plywood or nicer quality wood board 24 inches x 48 inches
- (4) 1/4-inch x 1 1/4-inch dowel pins
- Masking tape
- Jigsaw or rotary saw
- Medium grit sandpaper
- Fine grit sandpaper
- Clamp
- Flat, heavy object for weighing pieces down
- Power-drill with 1/4-inch drill bit
- Measuring tape and/or ruler
- IKEA HUSET doll furniture set
- Scrapbook or patterned paper
- Fabric scraps
Step 1:
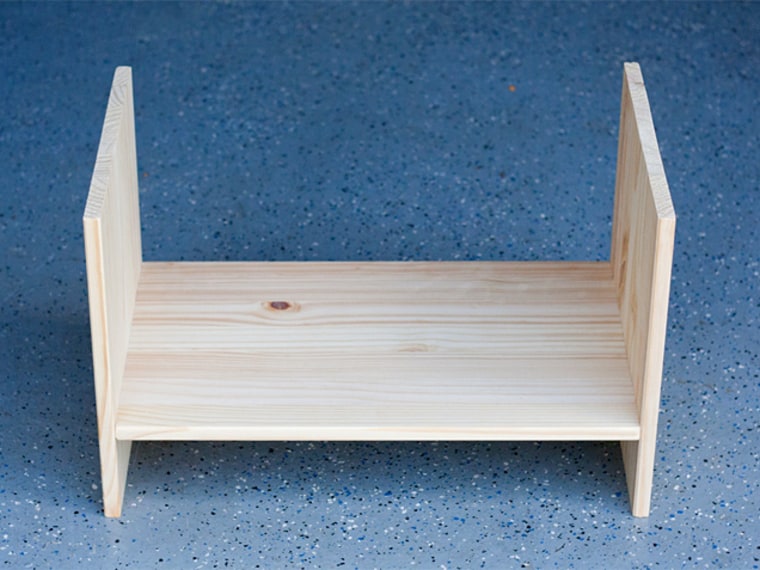
Open up one RAST nightstand set and set aside the shelves. Before assembling the pieces, saw off 3 inches from the top of each side piece. The "top" is the end where the three pre-drilled holes are closest to the top. Lightly sand the sawed edges to a smooth finish.
Assemble the two sides and bottom shelf pieces together according to instructions, but don't attach the top shelf piece (we won't be using this).
This is the first floor of the house. Set aside.
Open up the second RAST nightstand set. Saw 1 1/2 inches off from the top of just one of the side pieces. This will form that signature mid-century sloped roof! Lightly sand the sawed edge down.
Alternative route: Assemble the entire (second) RAST set as instructed if you prefer to have a flat roof for the house.
Assemble the two sides and bottom shelf pieces together. Do not attach the top shelf (we won't be using this piece either). I attached the shorter side so that it's on the right side of the house.
This is the second floor of the house. Set aside.
Step 2:
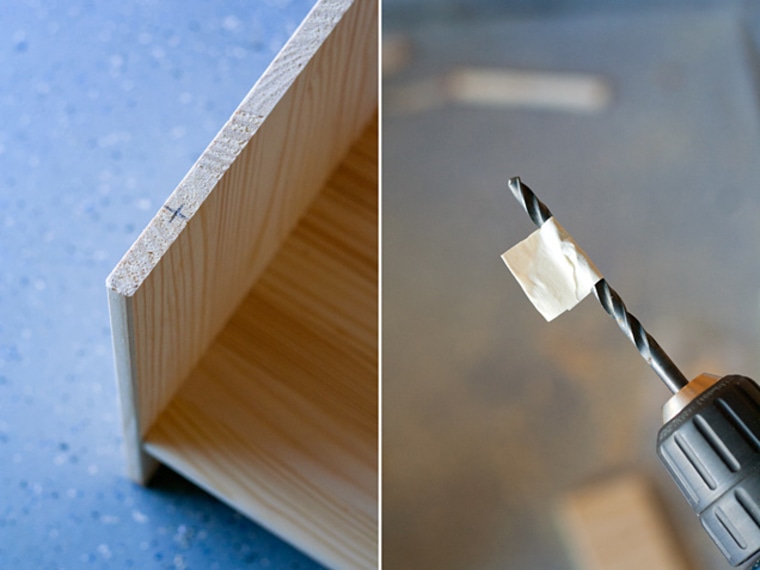
Starting with the first-floor house piece, make a mark on the top of each side piece, about two inches in from the edge. Drill holes into these marks using a 1/4-inch drill bit, drilling only as deep as about half the length of the dowel pins (you can mark this length on the drill bit using a bit of masking tape). Insert dowel pins into holes.
Step 3:
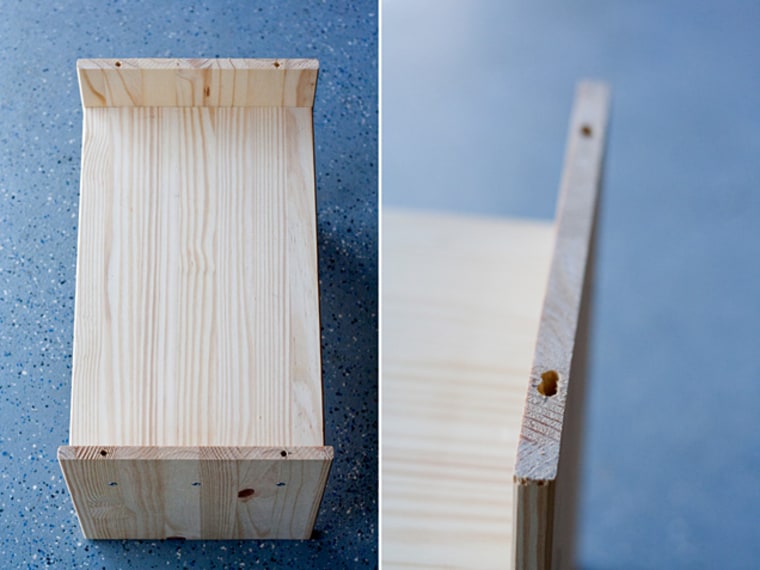
Flip the second-floor house piece so that it is upside down. As in step five, mark and drill two holes into each leg piece.
Fit the second-floor onto the first floor, aligning the holes of the top piece onto the pegs of the bottom piece. My holes didn't align exactly so I drilled a longer hole.
Step 4:
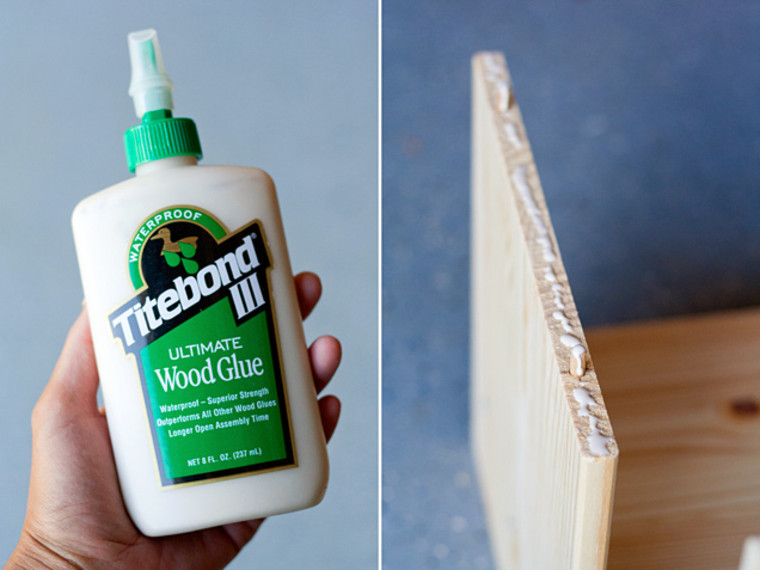
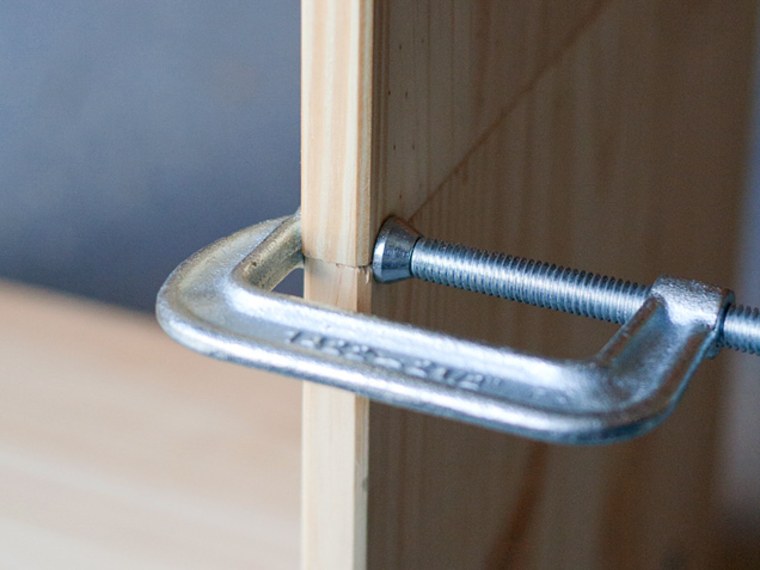
When the two pieces fit nicely together, make the bond permanent by applying wood glue. Press down on the house firmly but gently. Use clamps to force the two shelves to dry straight, but make sure to put a scrap piece of wood in between the clamp and house, otherwise the clamp will leave an indent like mine did!
Step 5:
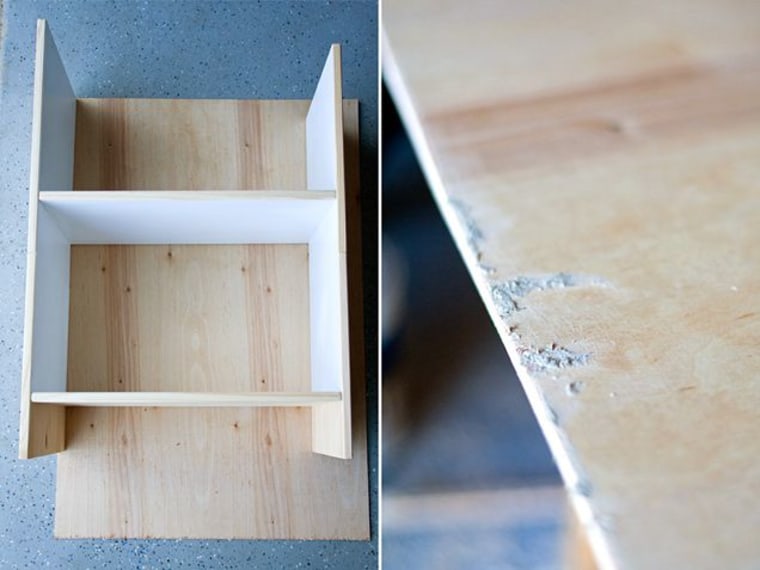
While the glue is setting, create the back of the house. Lay the house down onto the sheet of wood (orienting the house so that you have enough wood for the roof) and trace the house shape onto the wood (my back piece goes only as low as the first floor, not to the actual ground). Cut out. I don't have the best jigsaw blade and the plywood splintered badly (cutting the backside reduces this) so I smoothed any jagged edges with wood filler. When the wood filler is dry, sand down until the surface is smooth.
Step 6:
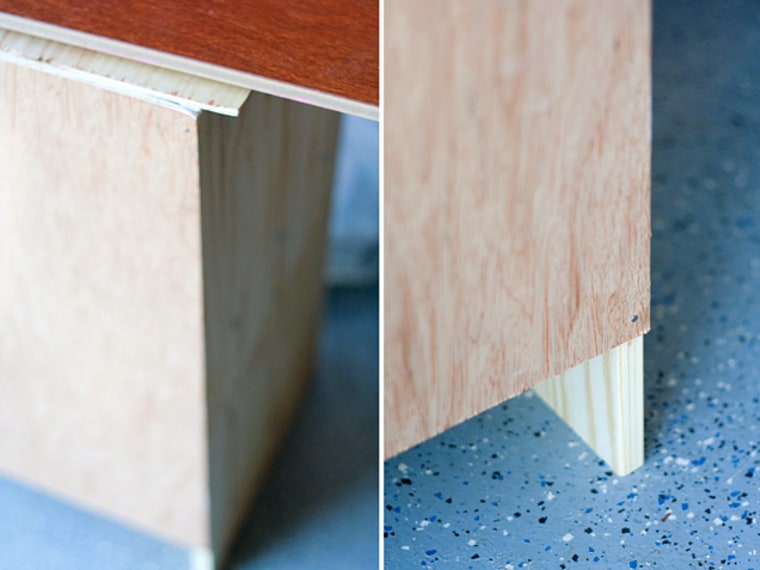
Create the roof. Saw a 12.5-inch x 22-inch piece from the sheet of wood (again, sawing with the back facing up reduces splintering). Glue to the top of the house. Use a flat, heavy item (I had some covered bricks leftover from my book-making days) to weigh the edges of the roof down.
While the roof is drying, paint the interior and/or exterior of house. Also paint the flat backside piece. I left my roof and outside natural, but gave all surfaces a coat of Polycrylic Finish so little hands won't catch any splinters when the house is ready for play!
When the roof has dried, attach the back piece to the house with wood nails. You'll have to prop the bottom part up with your foot while you hammer the edges in, starting at the top. Take care that your nails go straight into the wood and don't go out the sides (thus cracking the wood).
Step 7:
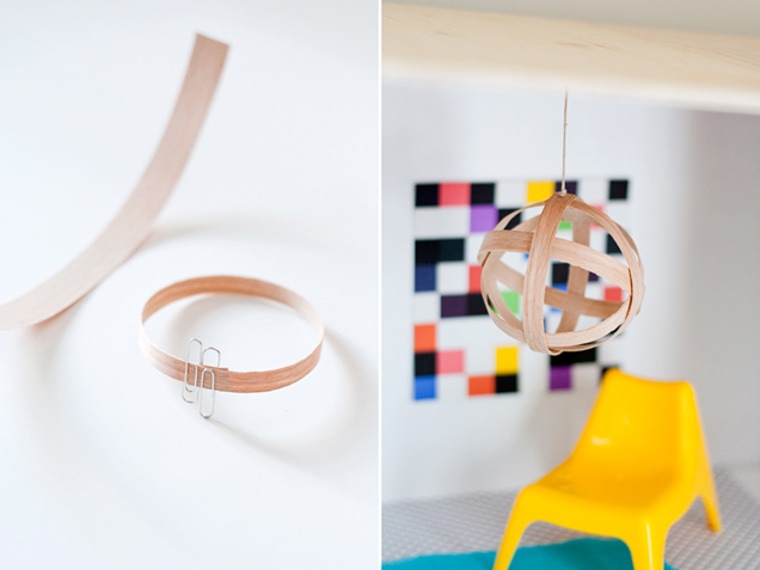
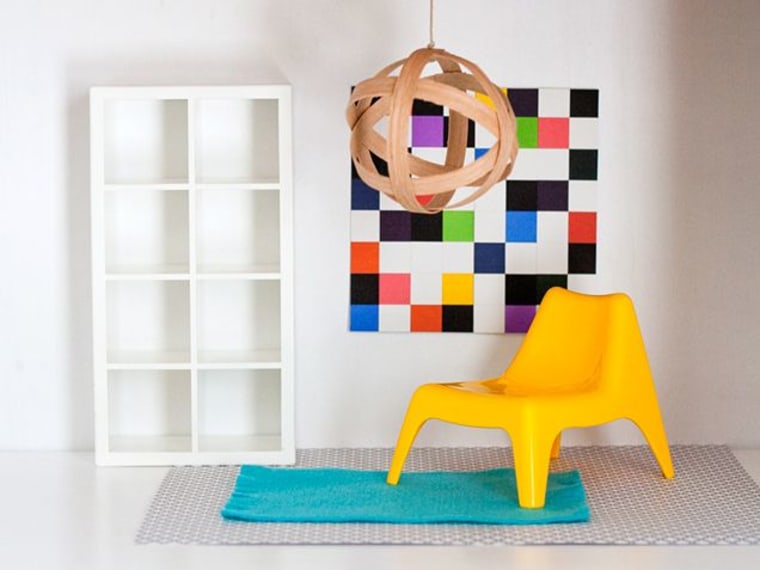
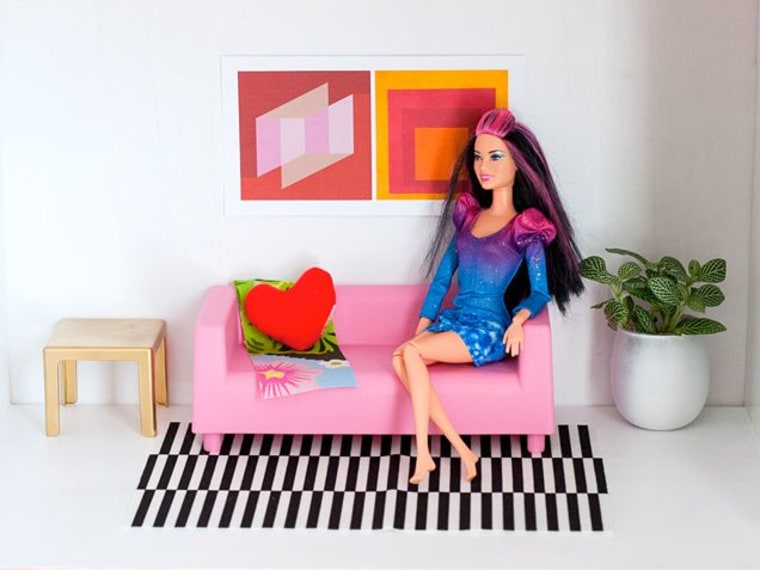
Now the best part: decorating! The IKEA HUSET set is an affordable, modern furniture set. Introduce some outdoor elements like a small potted plant or images of greenery. The light fixture is made out of strips of wood veneer, formed into four loops, and nested inside each other. Pieces of felt or patterned scrapbook paper are easy stand-ins for area rugs. Miniature versions of artwork by Josef Albers and Ellsworth Kelly grace the walls of this home.
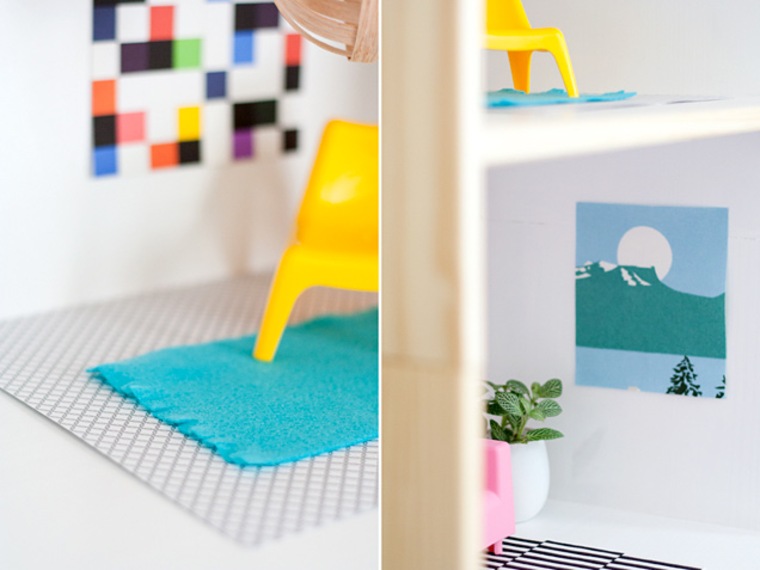
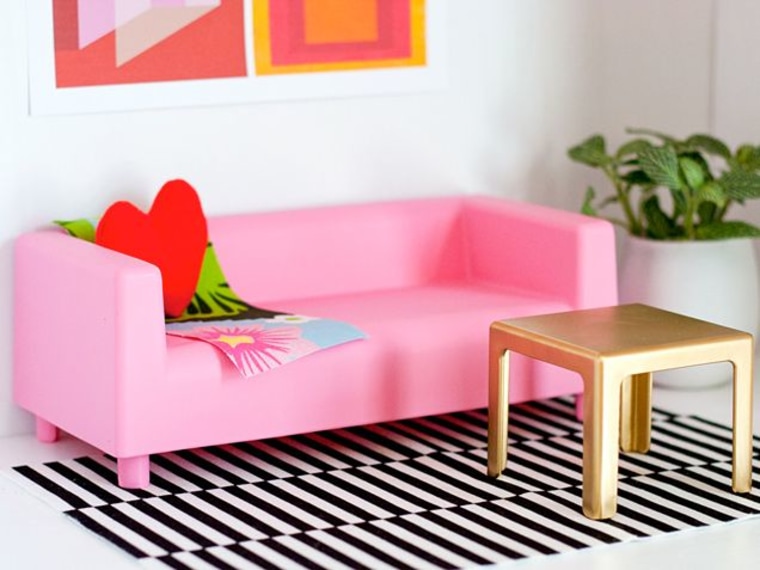
You're done!
A version of this article originally appeared on iVillage. It was originally posted on TODAY.com on Nov. 30, 2014.
