If cleaning the kitchen is at the top of your to-do list, we’re here to help you finally get your home’s culinary epicenter in tip-top shape.
“Just like making your bed daily, keeping the kitchen picked up and clean can help set the tone for the day and evening,” says Kristi Lord, co-founder of L’AVANT Collective, a home-cleaning products label based in Seattle.
Cleaning your kitchen is essential for food safety reasons as well as maintaining a pleasant cooking environment, says Diana Ciechorska, general manager at Park Slope Cleaning, a commercial cleaning company in New York City. To clean your kitchen as swiftly as possible, Ciechorska recommends starting by decluttering countertops and sorting through items in your pantry and refrigerator to remove expired or unnecessary items. She also advises having the following cleaning supplies on hand:
Kitchen Cleaning Supplies
- Disinfectant
- Degreasers
- Dish soap
- Scrub brushes
- Microfiber cloths
- Natural cleaners like vinegar and baking soda
- Specialty cleaners for stainless steel or countertops, if applicable
- A caddy for organizing your cleaning supplies
Your regular cleaning efforts will pay off in the long-haul. “Setting up a routine cleaning schedule can help manage tasks more effectively, ensuring that your kitchen remains a welcoming space for family and friends,” says Ciechorska.
When commencing a deeper cleaning session in your kitchen, if you don’t stay organized in your approach, you’re setting yourself up for failure. That’s why Marilee Nelson, co-founder of Branch Basics, who is based in Hunt, Texas, says you should divide your kitchen into zones and clean one area at a time so you stay focused and efficient. You can even set a timer for each task to keep yourself on track, especially if you get easily distracted, says Nelson, noting that it’s amazing what you can accomplish even in 20 minutes.
Jotting down everything you need to do on paper or a phone app will also help streamline the process. “Create a checklist of cleaning tasks to ensure nothing gets overlooked and help you keep track of what you have completed,” says Nelson.
And if you’re wondering what exactly should go on that to-do, you’ve come to the right places. Below, work your way through kitchen cleaning checklists, complete with helpful expert tips. This kitchen cleaning game plan is designed to make daily, weekly and monthly tasks a breeze, and dare we say, even enjoyable (especially if you listen to an audiobook, phone a friend or play music or a podcast during cleaning duties).
While we have you, don’t stop in the kitchen. Take a look at our ultimate spring cleaning checklist to make your whole house sparkle like new.
Daily
“The frequency of cleaning your kitchen will depend on how much you use it and how often you cook meals,” Armeka Townsend, cleaning expert and senior consumer relations representative at Zep tells TODAY.com. “As a general rule, it is recommended to clean and disinfect your kitchen daily to prevent the buildup of grease, grime and bacteria.”
Here are some tasks that should be done daily or as needed:
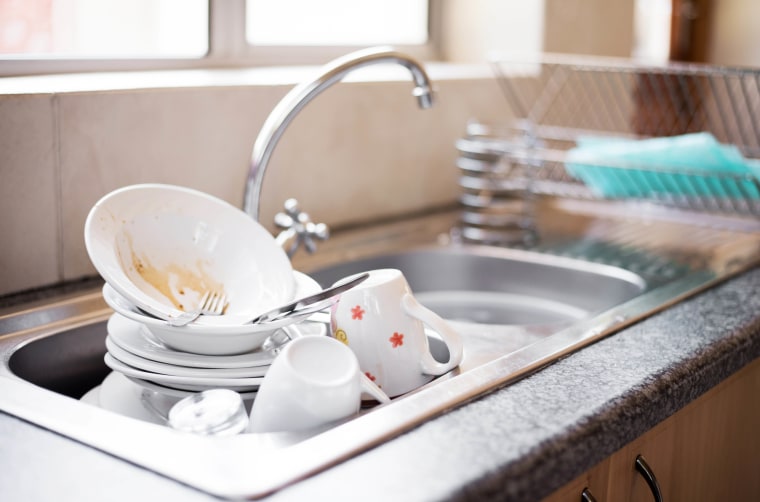
Do the dishes

It’s fine to leave a pan soaking in the sink for a bit, but make it a habit to wash, dry, and put away dishes and cookware each day. Whenever possible, empty your dishwasher soon after the cycle has ended. It’s far too easy to fill up your sink with dirty dishes when you’ve got a full dishwasher, which only adds to your kitchen chaos.
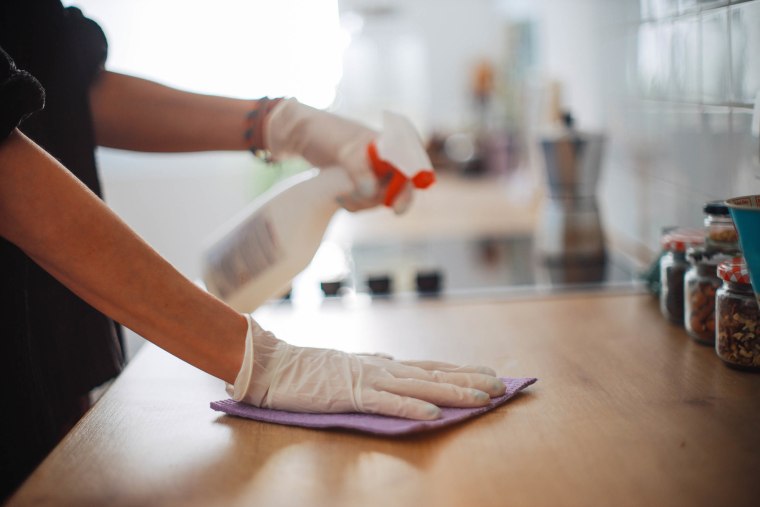
Wipe down surfaces after meal prep

Counters should be wiped clean of any kitchen grease and crumbs, as well as the stovetop. This doesn’t have to be a deep clean — you can save that for once a week. “It’s a good idea to keep up with any spills or messes as soon as they happen to prevent them from becoming harder to clean later on," Townsend adds.
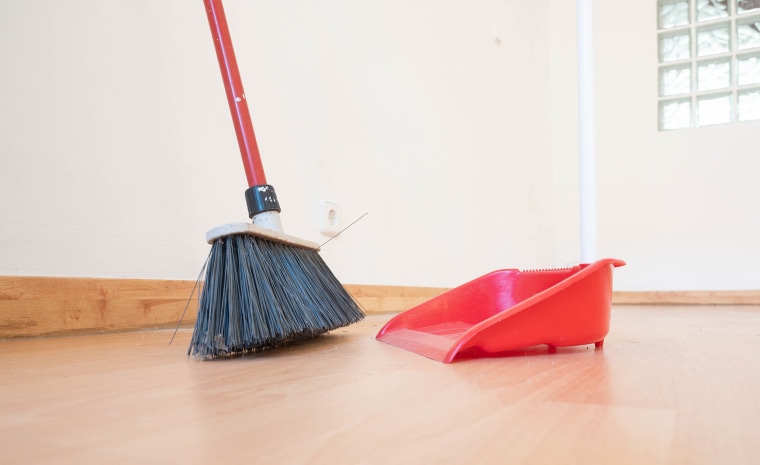
Sweep the floor

Use a broom or a stick vac to go over your kitchen floor each day, or at least every other day. This will remove any crumbs that might have fallen during meal prep or eating — along with any chance for attracting unwelcome critters.
Declutter miscellaneous goods
If you make an effort to declutter your kitchen daily, it really won’t take much time or effort, says Lord. Recycle paper grocery bags and recipe cards from meal kits you’re no longer using, toss packaging, put anything that’s been taken out of the pantry or cabinets back in its right place. If you have extra reusable grocery bags strewn around your kitchen, store them all in one designated place after you’ve unloaded your groceries.
Weekly
Here are some tasks that should be done weekly, though it depends largely on how much cooking you do and how often you restock your kitchen.
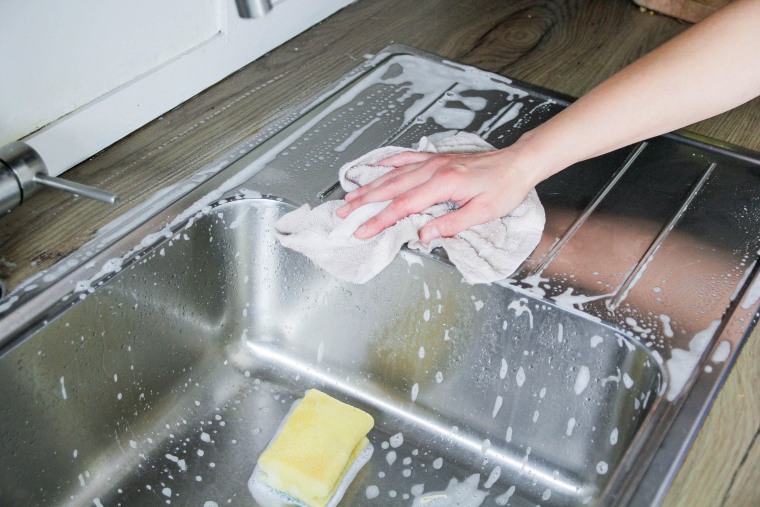
Clean kitchen sink and faucet

It’s easy to forget that the place where we clean and wash things also needs to be cleaned and washed, too. Grab a clean sponge and give the sink and the faucet a scrub. Do this at least once a week — more if you’ve just cleaned chicken or poultry to avoid cross-contamination.
Clean stovetop, oven and range hood
This shouldn’t be too much trouble if you’ve kept up with wiping it down at least several times a week, but now’s the time to use a degreaser to get things gleaming again.
More tips on how to clean your oven.
Clear old items from fridge and freezer
Purge your fridge and freezer of expired items at least once a week. This will stop odors from occurring, as well as give you inspiration for your shopping list — both in terms of what to buy and what not to buy. If you use ice cube trays, wash and refill them weekly.
Wipe down cabinets and appliances
Just as you might dust furniture and shelves throughout the rest of your home, it’s time to dust and wipe down your cabinets, as well as everything that’s left out in the open on your countertops. We're talking about all your small appliances — toasters, blenders, air fryers, you name it. “Do not forget the knobs and handles [on appliances],” Townsend says.
Mop floor
Sweep or vacuum, then mop with a cleaner that’s appropriate for the type of flooring. Vacuum rugs and anti-fatigue mats once a week, and give them a monthly wash as needed.
More tips on how to clean every type of floor.
Monthly
We’ll leave the timing on these up to you, but at least once per month would leave your kitchen looking spick-and-span.
Replace sponges
Ditch your sponges as soon as they start to smell — or at the very least, one a month. Wring them out well and let them dry in between uses to prevent bacteria growth.
Clean dishwasher
Are dishes not coming out clean? It might be that your dishwasher needs some TLC. The experts at Molly Maid suggest running a normal cycle with a bowl full of distilled white vinegar in the top rack. Then dump a cup of baking soda in the bottom of the dishwasher and run for a second normal cycle. The results: a clean, odor-free dishwasher. (Don’t combine these steps unless you want a fizzy science experiment happening in your dishwasher!)
Clean microwave
We’re more focused on the hot stuff we’re pulling out of the microwave instead of the hot mess we’re leaving behind. Give it a good scrub once a month.
More tips on how to clean your microwave.
Clean refrigerator and freezer
Once a month, take everything out of the fridge and freezer so you can wipe the shelves and bins down. Raquel Kehler, an interior designer and house flipper at Room Crush, likes to vacuum and wash the crisper bins, though she’ll check for any expired items on the daily to avoid any unpleasant odors and messes. While you're at it, clean out your refrigerator coils and drip pan, as well as your ice and water dispensers if you have them.
Clean and organize cabinets and drawers
Tackle this project before you make your way to the grocery store. Not only will it make it easier to put you groceries away, but you’ll also refrain from buying duplicates of things that you didn’t realize you had stashed in a dark corner of the cabinet.
Clean coffee maker
Your coffee maker might be programmed to tell you when it’s time to be cleaned and descaled, but you can get ahead of the curve by cleaning it according to the manufacturer’s instructions.
Depending on how often you brew a pot, you might just need to run a cycle with water or white vinegar. If you opt for the latter, follow it up with a cycle of clear water to get rid of the vinegar scent.
Season cast iron pans and sharpen knives
Mileage may vary, depending on how often you cook. But keeping your cooking utensils in tip-top shape will prolong their longevity, so turn to the manufacturer’s guidelines to learn how to best care for cast iron pans, knives and other kitchen investments.
Disinfect trash can
Even if you use a liner, you should still wipe down the inside and outside of your trash can with a disinfectant spray to help keep odors at bay. The experts at Glad recommend letting the spray sit for a few minutes — you can add a half cup of baking soda for further deodorizing power — then scrub, rinse and dry.
Clean walls, floorboards and fixtures
Is that tomato sauce on the wall? No judgment here, but be sure to clean walls, windows, and floorboards of dust and dinner detritus. Same goes for lighting fixtures and switch plates.
Clean the garbage disposal
Nelson suggests doing this at least once a month, along with routinely running lemon rinds through to keep your disposal smelling fresh. “However, if you notice any unusual odors or sluggish drainage, you may need to clean it more frequently,” she cautions. Either way, Nelson’s process for cleaning a garbage disposal is simple.
Add ½ cup baking soda and then one cup white vinegar to the disposal. Let this sit for 15 minutes.
During that time, spray a non-toxic, all-purpose cleaner on the rubber flaps along the neck of the disposal (Nelson uses Branch Basics’ The Concentrate). Let it sit for five minutes, then scrub with a toothbrush.
Pour hot water into the disposal while running to clean and deodorize.
