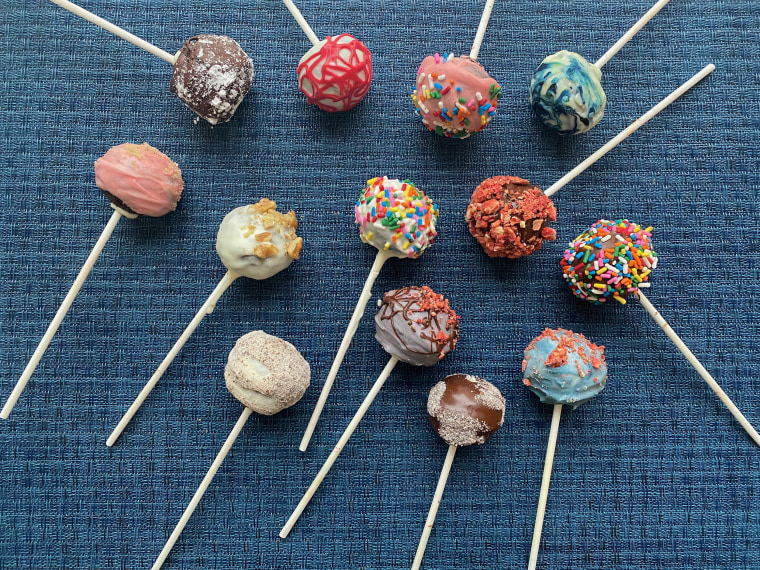
This year has given us nostalgia for even the most basic things: hugs, groups of people, taking trips. So why not take this time to make our favorite dessert from over a decade ago?
Cake pops popped up right around the same time as Instagram's debut, so it's no surprise that the colorful confection caught on quickly. They are easy to make, instantly customizable and the perfect small treat. If we fell head over heels for cupcakes, we were surely going to love their tiny, extra-frosted cousin on a stick.
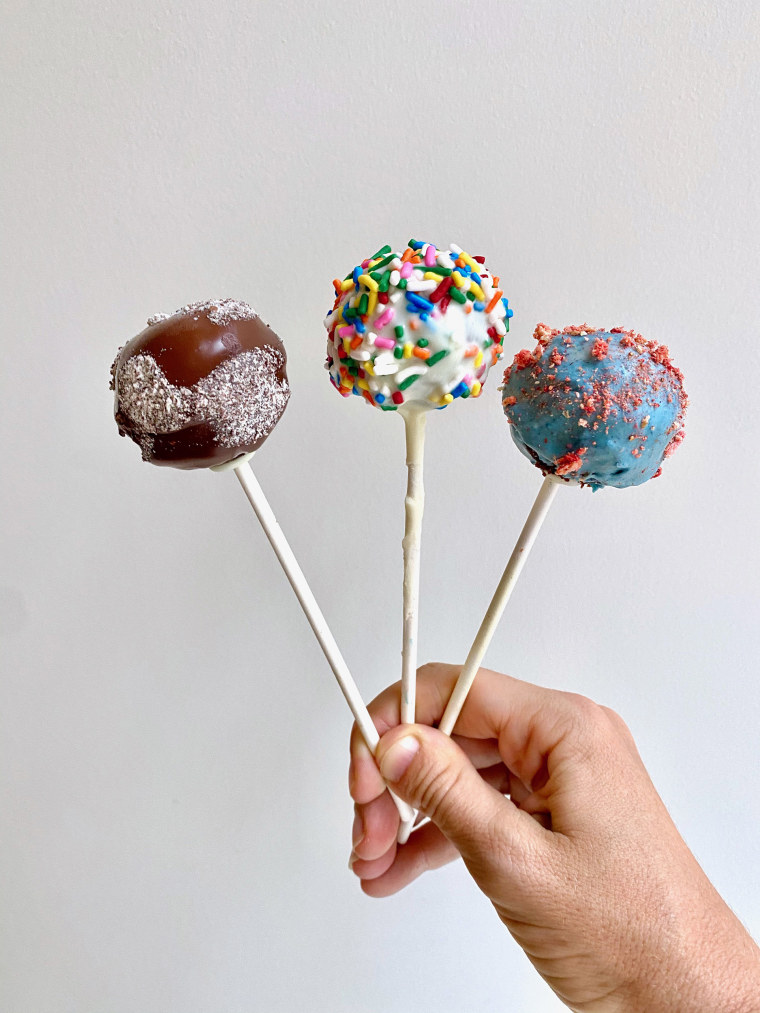
And while they never quite went away, they were bound for a 2020 comeback. They are the ideal bite for when you are alone (again); they are exceptionally suited for socially distanced gatherings where every item needs to be single-serving; and they are this fall’s answer to the therapy that sourdough and banana bread gave us this spring.
Angie Dudley, the blogger behind Bakerella who is credited with popularizing the cake pop, is not surprised to see a surge in new people trying out the treat.
“They're very therapeutic,” she told TODAY Food. “You have to just focus on them while you’re making them. They're not quick to do. It's a process of making a cake, crumbling, rolling and decorating so you set aside some time to devote to that. Everything else kind of disappears.”
And they have another unique advantage over hobbies like bread-baking and knitting: “Even if you're not really good at it, you can't mess them up!" she said. "They may not look great but they are always delicious."
Even if they are pretty foolproof, there are definitely tips and tricks that can make your life easier. The most important lesson is to give yourself time. If you want to eat something sweet quickly, pop a pan of brownies or cookies in the oven — cake pops are for when you need an activity for yourself, kids or gifting.
And if you’re overwhelmed by the sheer quantity of pops that come from a single cake, consider taking baby steps. Dudley recommends dividing “the cake into thirds and then freezing the rest of the cake. Then later if you want to make more, you don't have to worry about needing to make the cake. It’s there and just ready to crumble.”
Whatever your reasoning for jumping on the cake pop train, it’s impossible not to feel a major sense of satisfaction when you are done making them. Get lost in decorating — your newest way to find solace in 2020.
1. Make the cake mixture
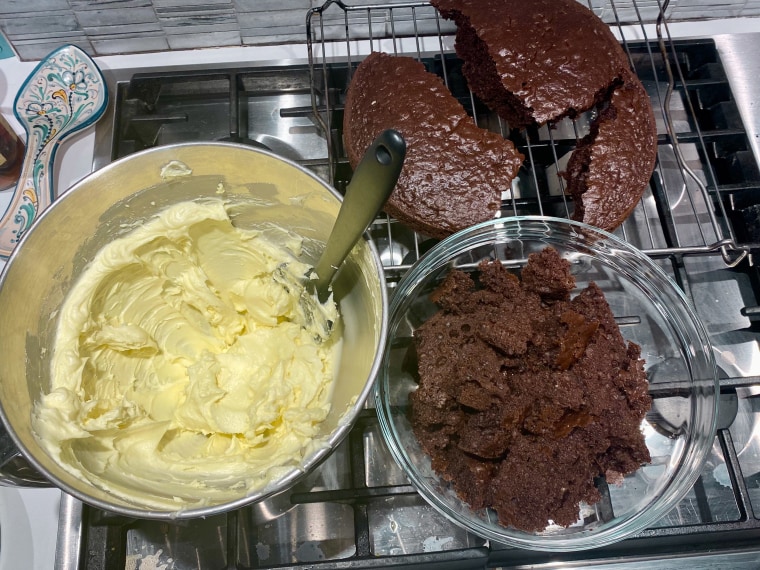
Fully mix together the cream cheese, butter and sugar (you can do this in a stand mixer, with an electric mixer or by hand if you need to). Crumble the cake into pieces (make sure it has cooled completely if you are baking it that day) in the bowl with the cream cheese mixture.
2. Roll individual balls
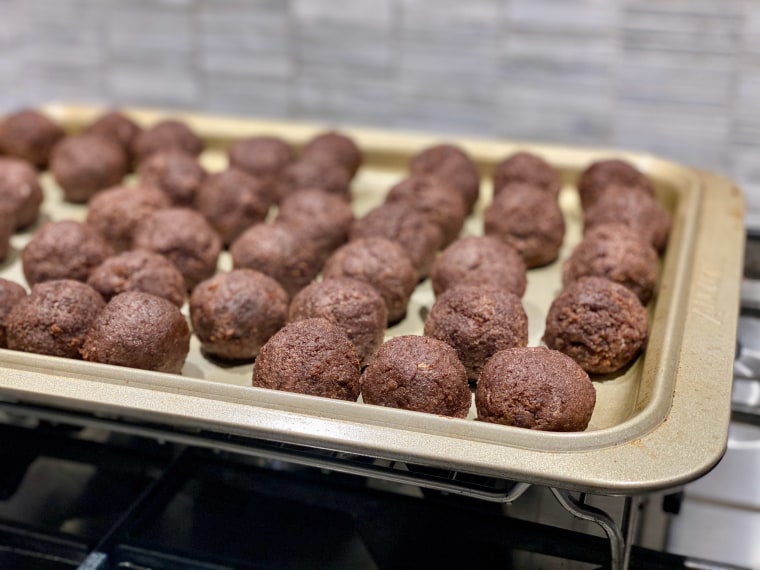
They should be about a tablespoon in size and a consistent scoop will work best. Place the balls on a sheet tray lined with parchment paper.
3. Melt chocolate
Take a handful of the chocolate chips and melt them in the microwave for 30 seconds. Stir, and if you need a few more seconds, microwave them a bit more.
4. Make and chill the pops
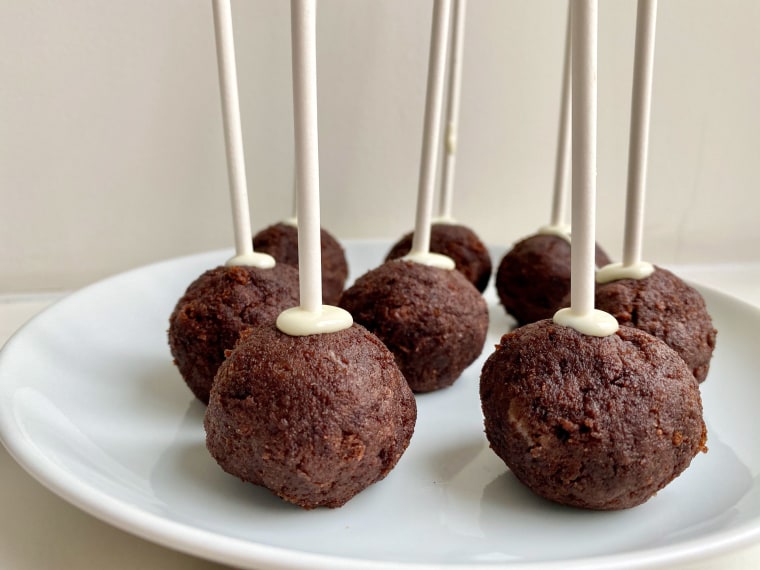
Dip the ends of the lollipop sticks in the chocolate (which is acting like glue here) and then put the stick into the cake ball, making sure to not go more than halfway through. Place all the cake balls in the freezer for 15 minutes to firm them up.
You want to make sure your cake pops are cold before you start decorating. If they aren’t firm and cool, you’ll find yourself with a crumbly mess.
5. Prepare your toppings
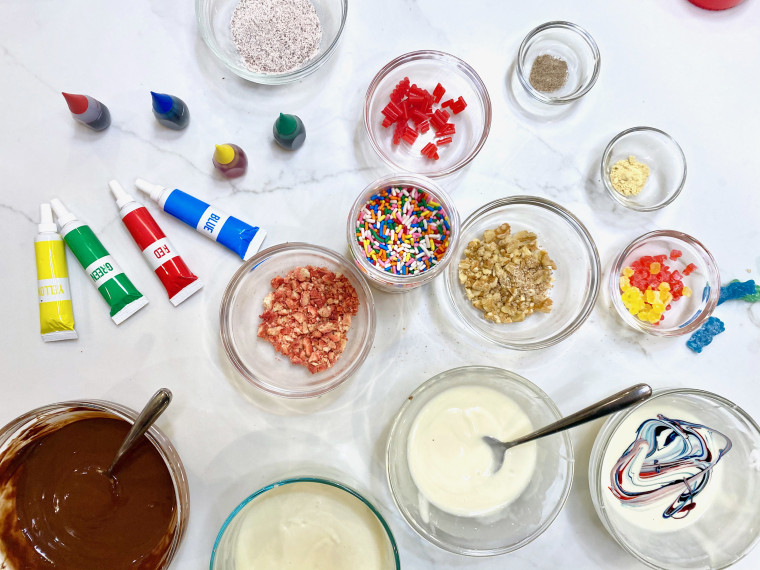
While you are waiting for the cake pops to cool, get your toppings ready.
Melt the rest of your chocolate. if you are doing different flavors, make sure to melt them in separate bowls. Be careful as you melt them because you do not want them to get too hot, so melt for 30 seconds at a time and stir in between. You should also add a dash of vegetable oil to help loosen the chocolate up if it feels too thick.
Prep other toppings in different bowls so you can easily dip your cake pops in. Toppings should be small enough to not overwhelm and topple the cake pops.
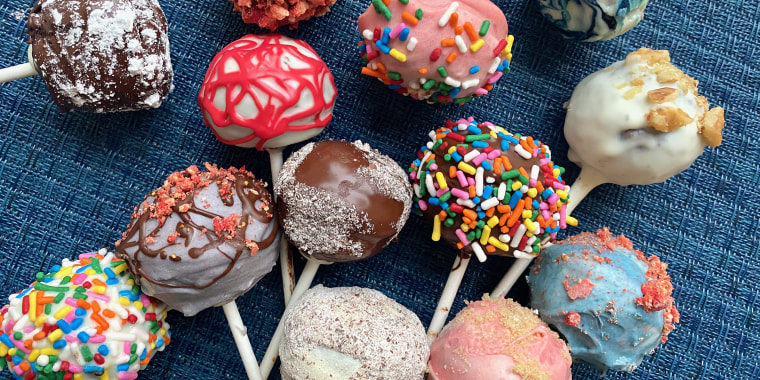
When it comes to toppings, the sky's the limit. Sprinkles, sugars and spices can all go on easily and chopped items like nuts, candy, cookies, cereal, fruit and marshmallows also make great additions. You can add color with writing icing or you can add food coloring to white chocolate to customize the hue.
6. Start dipping
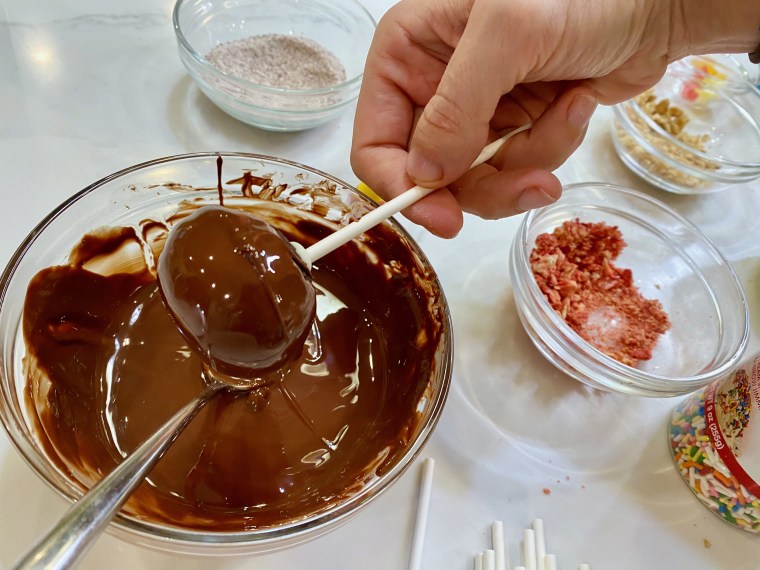
When your cake pops have chilled, remove them from the freezer and start dipping them. You want to dip them once into the chocolate coating and give them a moment to drip off before sitting them upright. If the chocolate feels too thick, add a bit more vegetable oil to loosen it up just a little bit. This part will take time, so don’t worry if it seems like it is going slowly.
Plan ahead so that you have something to hold the cake balls upright while they are drying. A Styrofoam block is the best, but anything with holes that will hold the pops can work. I used the plastic part of a salad spinner and it was great.
If you don’t have something to hold it up, you can also just let them dry on parchment paper, as long as you don’t mind one side being a little flatter. It will all taste the same! Similarly, you don’t even have to use the lollipop sticks and just make them as cake balls instead of pops. There really is no wrong way to decorate a cake pop.
7. Add your toppings
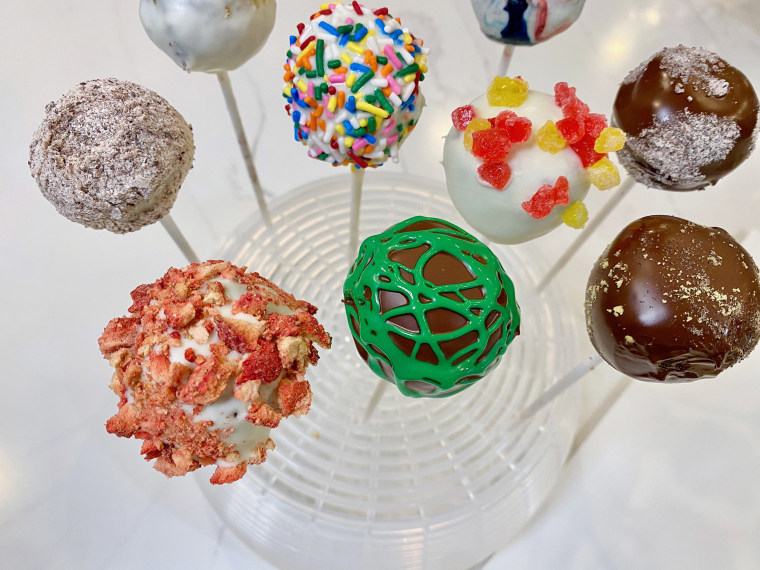
Immediately add any toppings. It is easiest to just roll the cake pop in the topping. Stick the cake pop in the Styrofoam (or whatever contraption you are using) to allow them to dry.
8. Let them dry
Let them dry for at least an hour. You can either eat them that day at room temperature or store them in the fridge for up to a week.
