/ Source: TODAY
Easter is the perfect holiday so decorate with kids. And Kimberly Schlegel Whitman is here to help every step of the way.
Whitman stopped by Studio 1A Tuesday with five DIYs you can do with your children this week as you prepare to celebrate Easter. Happy crafting!
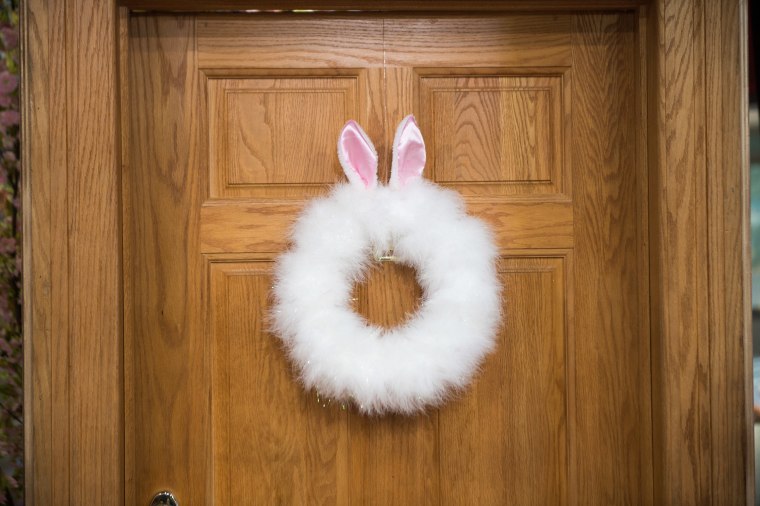
Bunny wreath
Supplies
- 1 bunny ear headband
- 1 white foam wreath mold
- 3 feather boas
- Hot glue gun
Step-by-step instructions
- Stretch out the headband to fit across the top of the wreath and glue it down using a hot glue gun.
- Use the glue gun to attach one end of the feather boa to the wreath and continue to wrap the boa around the wreath.
- Continue attaching new boas, as the others run out.
- Finish off the last boa at the top of the wreath, and hang it on your door to greet your guests!
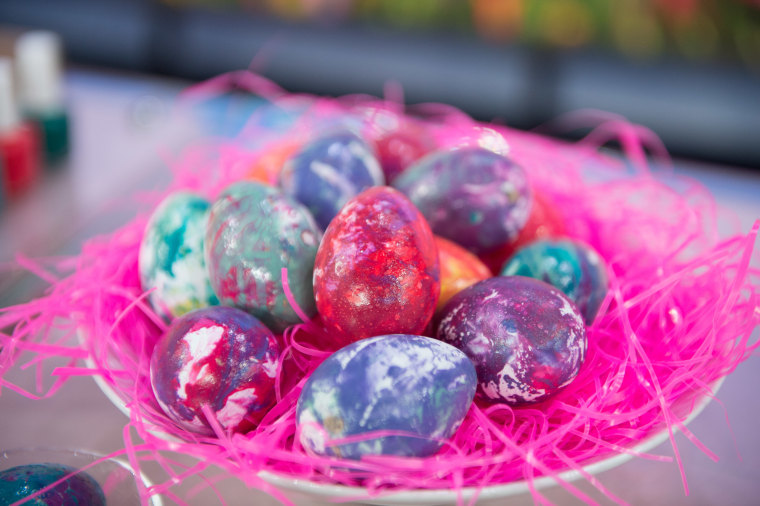
Nail polish Easter eggs
Supplies
- Nail polish
- Disposable cups
- Water
- Stick or skewer
- Hard boiled eggs
- Gloves (optional, but it get messy)
- Fill the disposable cups with water
Instructions
- Fill the disposable cups with water.
- Add the nail polish to the cups of water, and mix together with the stick/skewer.
- Drop the egg into the cup.
- Take the egg out and let it dry.
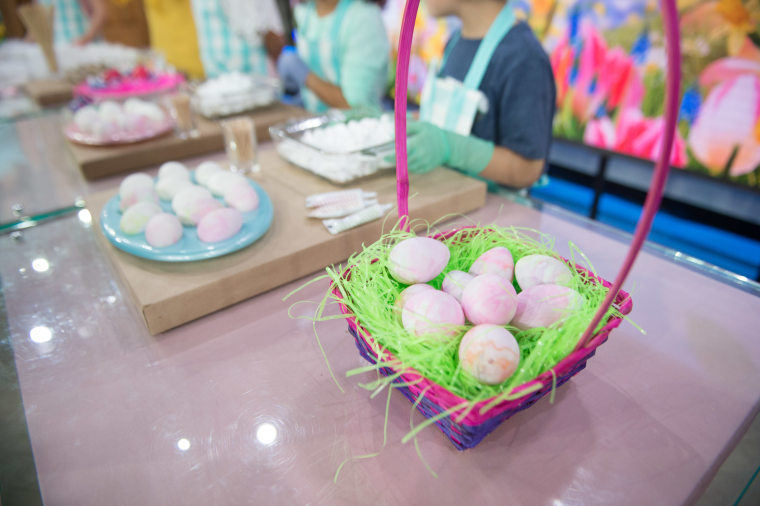
Shaving cream-dyed Easter eggs
Supplies
- Hard-boiled eggs
- Gloves (optional, but it get messy)
- Neon food coloring
- Cookie sheet
- Shaving cream
- Straw
Instructions
- Squirt white shaving cream onto a cookie sheet. Spread evenly.
- Drip different color food coloring onto the shaving cream. Take a straw and swirl the colors together for a tie-dye look.
- Roll an egg into the shaving cream.
- Let it sit for 10 minutes and rinse clean!
RELATED: Easter basket ideas: 5 candy-free Easter baskets you'll love
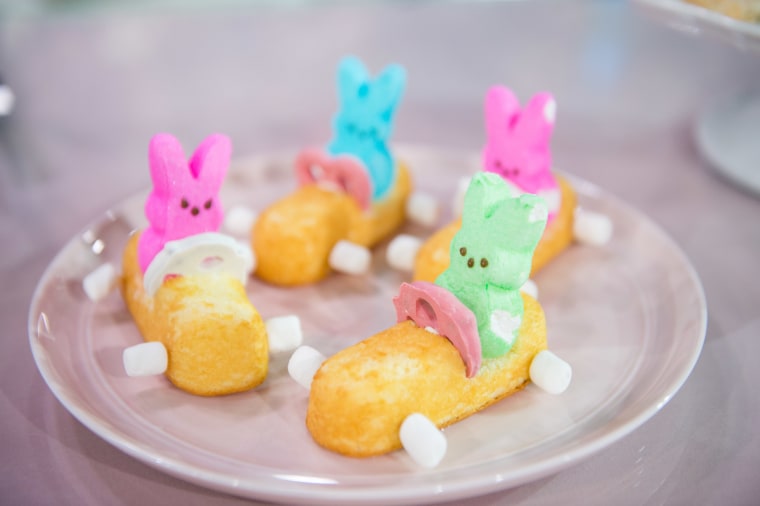
Peep bunny cars
Supplies
- Pairing knife/grapefruit spoon
- 12 Twinkies
- 12 yogurt pretzels
- 12 bunny peeps
- 48 mini marshmallows
- 48 toothpicks
- White icing in a piping bag
Instructions
- Use a paring knife or a grapefruit spoon to carve out a 3/4" V shape in the Twinkie, about three quarters of the way back.
- Horizontally place a toothpick through the front and back of the Twinkie.
- Put a small marshmallow on each of the four sections of the toothpick sticking out. These are the wheels of the car.
- Pipe some icing into the bottom and edges of the V.
- Place a bunny peep (the driver) inside.
- Place a pretzel upside down (the steering wheel) in front of the bunny peep.
Macaroon egg nests
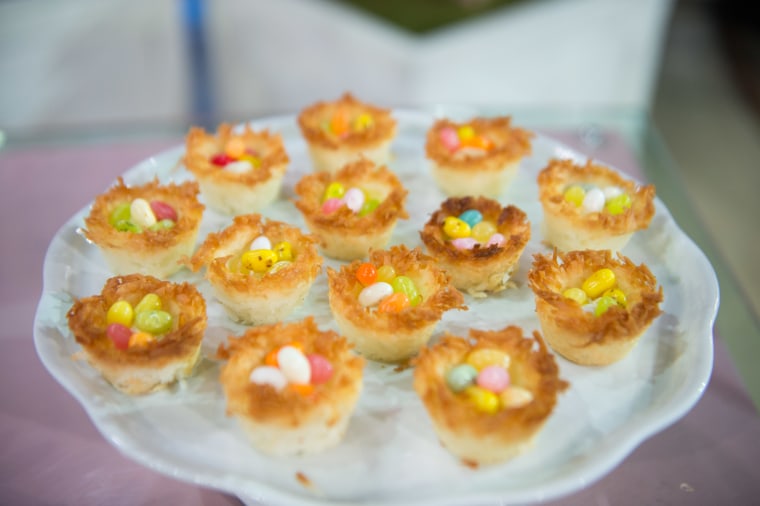
Supplies
4 egg whites
1 tablespoon sugar
1/2 teaspoon salt
1 package (14 ounces) sweetened flaked coconut
1/2 cup white icing
75-100 jelly beans
- Preheat your oven to 300 degrees.
- Use baking spray to coat the insides of a mini muffin tin
- Combine the egg whites, salt, and sugar.
- Once combined, mix in the coconut. Use a fork to cover all of the coconut in the egg mixture.
- Using a tablespoon,fill each mini-muffin tin with two spoonfuls of the coconut mixture.
- Make a nest shape by lightly pressing the mixture into the bottom and up the sides of each cup to make an indention.
- Place the muffin tin in the oven for about 26 to 30 minutes or until the edges turn a light golden color.
- Once nests are completely cool, add a small amount of white icing into the center indention of each nest. Top each nest off with two or three jelly beans.