We have a small backyard, with a square-shaped patch of grass in the middleringed by flower beds, some bushes, and a leafy fig tree. It may be a small yard, but it’s great to have a place to go climb a tree or dig in the dirt or plant flowers and herbs.
One of the best, most useful things we ever did for our backyard adventures was to create a simple garden trolley. I got the idea from my father-in-law, who is constantly tinkering around his house. One day, he built a trolley to carry things around easily, and I replicated that for our own yard.

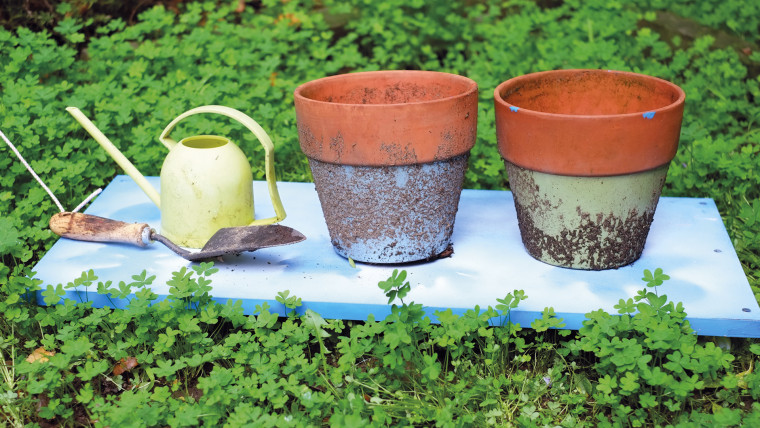
I use it to haul soil for planting or to bring in beds of flowers or heavy tools—whatever the project of the day is. During play time, the kid likes to load it up with hand shovels and flowerpots to create her own projects. Or, sometimes, she puts some toys on it for a makeshift hayride.
One day I was doing the dishes and getting ready for dinner when I couldn’t find her. I checked the backyard and there she was, loading and unloading toys from the trolley, letting her toys take turns on the “ride.” She did this for about an hour, at which point I labeled this the Best. Craft. Ever.
Here’s What You Need
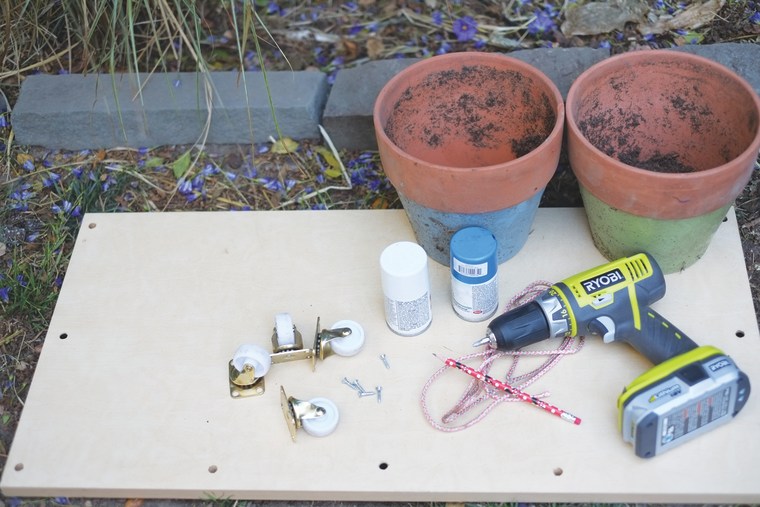
- A plank of wood—I used an old shelf from an abandoned bookcase.
- Casters and screws (usually pretty cheap for a set of four)
- A rope—3' or 4'
- Paint, duct tape, stain, whatever you want to decorate

Tools
- Saw
- Drill
Here’s What You Do
1. Cut the wood into a good-sized rectangle. It doesn’t have to be any particular measurement, just something you think is big enough to haul stuff around on or do the job you want it to do.
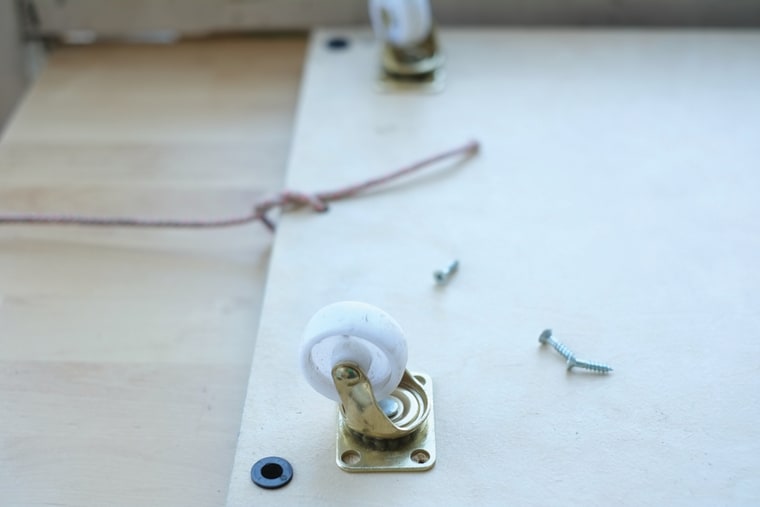
2. Install one caster on each corner, being careful to make sure the screws are long enough to go into the wood but not too long—otherwise they pop through the wood and create sharp spikes where you will be loading things or giving the kid a ride.

3. Drill a hole on one end of the trolley and insert rope, tying it to the trolley. Voilà. Done.
It doesn’t really take longer than a half hour to make this. Just screw on casters, add a rope, and you’re ready to go. If you’d like, feel free to decorate it any way you want—paint, duct tape, a nice stain finish.

Just remember you’ll soon be heaping it with dirt and tools, or maybe using it as a backyard animal train ride. So plan accordingly.
Dad Tip
If your screws are a bit long, add small blocks of wood on the top side. When you install the casters, the screws will go through the trolley wood and then stick into the wood blocks. Boom! Now you’ve got little handles for the kiddos and you’ve managed to hide pesky, painful screws. Chalk that one up in the “win” column.