When my husband and I found our apartment in Brooklyn two years ago, we couldn't believe our good luck: It had an actual backyard, a little patch of dirt all our own. Sure, it can't compare to the sprawling lawns of the suburbs, but in New York City, we're very lucky to have this outdoor space, so we wanted to make it a place we could spend as much time as possible.
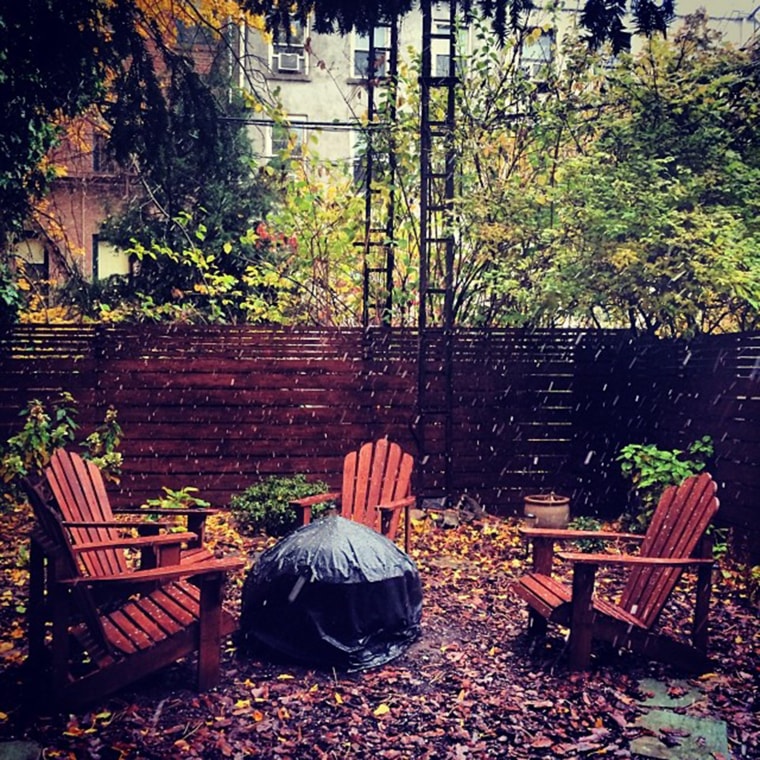
Since we both love to cook and have friends over, Adam and I wanted to make our backyard comfortable for entertaining (read: grilling the occasional s'more over a fire) while minimizing the upkeep (no grass). When we first moved in, the yard was primarily weed-laden dirt, with a handful of slate slabs arranged in a ring in the center. After putting in some plants around the edges, we covered the ground with wood chips and set a few Adirondack chairs around the fire pit a friend gifted us as a housewarming present.
While this was pretty magical, we decided to take it to the next level this year. The fact was that the dirt and wood chips were a satisfactory but ultimately temporary solution. In any kind of rain or weather, the ground became very muddy, leaving guests' feet dirty (which led to dirt being tracked through our apartment). Plus, the woodchips disintegrated over the winter and had to be replaced every spring.
After a little Pinterest browsing, I proposed an idea: What about a patio?
Neither of us had ever done a home improvement project of this scale before, but we had recently been inspired by a friend's kitchen renovation, and we were feeling bold. My husband set off to do some research, watched quite a few YouTube videos, consulted the experts (his parents), headed to the hardware store, and ta-da! He created a little backyard miracle in just a few days' work and for a fraction of the cost it would have taken for a contractor to install it.
Here's how you can make a brick patio of your own:
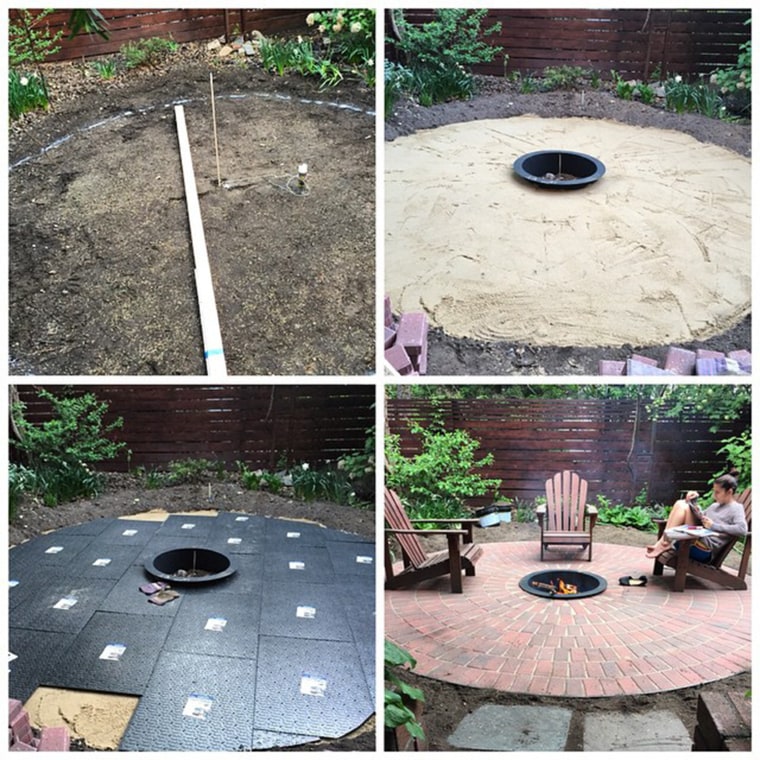
STEP 1: DRAW
Buy some white spray paint — the type used for drawing field lines with a nozzle that points straight up — and affix it to a string, centered at the middle of the patio. You will use this as a makeshift compass to draw a circular outline, which you'll need to touch up as the ground under it gets shoveled out.
STEP 2: DIG AND LEVEL
Using a spade, dig out about 5 to 6 inches of earth across this circle you've drawn, which will form the patio area (we later carried this dirt out in buckets; you can probably distribute it in your garden or around your yard). Then, alternating between a heavy and light rake, leveled the area out. We used a 3-foot plastic level to keep it flat, plus a 12-foot 2-by-4 that served as a leveling device. When it's near perfect, use a large tamper, like this, to pound the soil down. Once that's done, it may be a little uneven, so repeat the rake/tamp steps a few times. Keep in mind that the dirt around the edges collapses often, so if you want a patio with a diameter of 13 feet, plan for a 14-foot one — it will end up coming out to about 13. For a larger patio, experts say you're supposed to keep the whole thing at a very small incline for drainage purposes, but we could tell ours wasn't perfectly level and our yard slopes anyway, so we did not create any further incline. (It hasn't been a problem with pooling.)
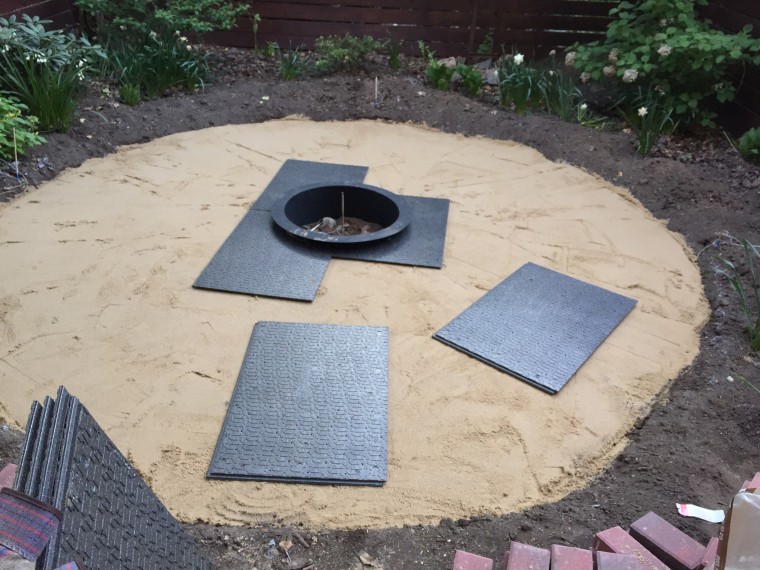
STEP 3: LEVELING SAND
Now you'll want to put down about two inches of leveling sand on the area you've dug out and leveled. In our yard we used about 23 bags. You might want to get this delivered by your hardware store, as we did. Rake it even with a light rake, and use the tamper again. Repeat a few times. This creates a shallow base that will drain and settle to even out whatever goes on top.
STEP 4: BASE PADS
Next, put down these interlocking paver base pads (we had to buy about 30). Traditionally, you would put down gravel, sand and then your bricks/stones, but these pads are a fairly new technology and are not only cheaper and require less labor, but seem to have received good reviews all around from those who have used them. Start from the middle and work your way out. You will have to trim them using a boxcutter to fit your rounded edges when you get to the outer edge. After laying these down, use the tamper again lightly to settle these evenly in place.
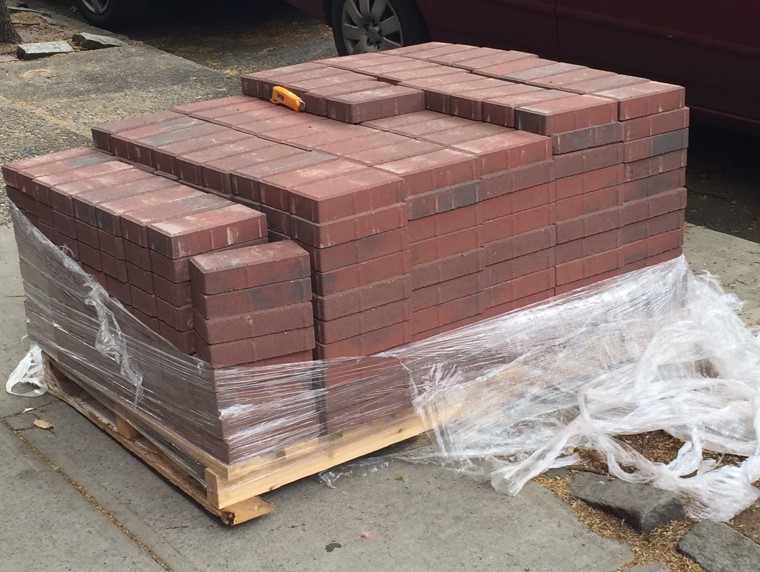
STEP 5: PAVERS
Next, lay down your pavers — or bricks. When ordering, there's usually a calculator for how many you need, but it won't be perfect. Over-order. You'll get some bricks that are damaged. Inspect the bricks as much as you can when you get them. (We used these pavers as they were on steep discount — $0.25 apiece.) If you're doing a circular pattern like ours, start laying the bricks down in the middle, making tight concentric circles, and work your way outward.
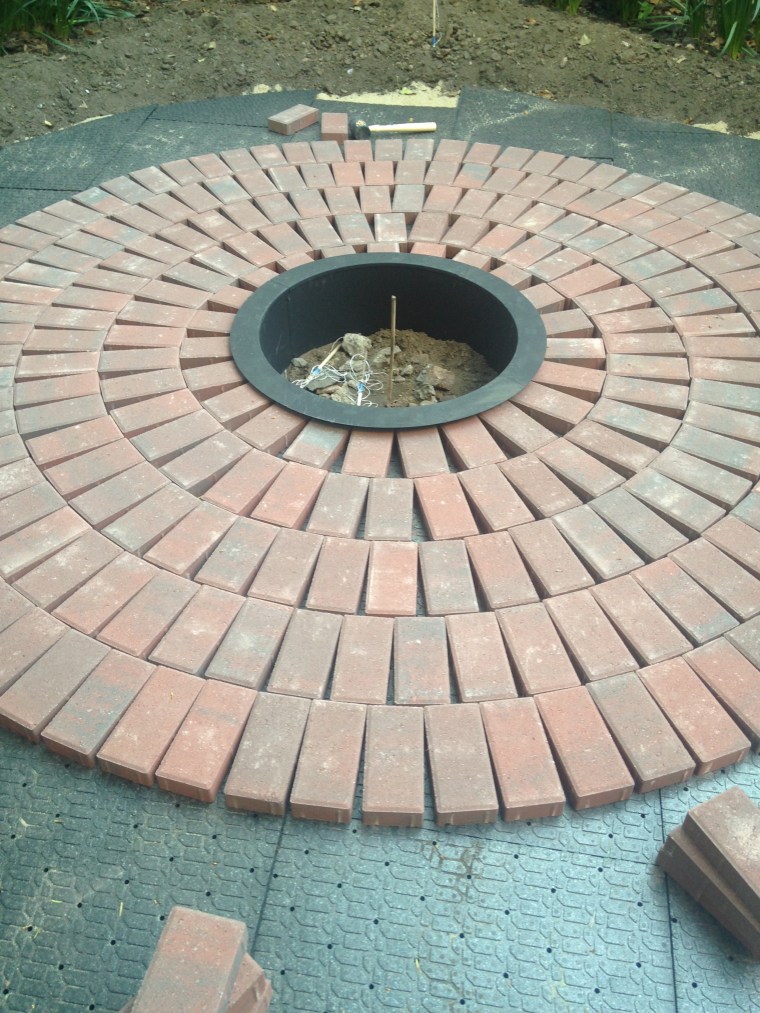
Since you're curving your arrangement, there will be a lot of room in between. That gets filled later with a concrete-like sand. You'll find that your circles rarely fit perfectly — you'll get to the last brick and it will be too tight or too loose, so you'll have to either spread each brick apart a little bit (to fill space) or you can try to cram it by using a rubber mallet (very useful) to force it in. We built this patio leaving a space in the middle for a built-in fire pit (we dug out roughly 12 inches and dropped in this fire ring), so the first circle of bricks was already a few feet across, making everything easier.
STEP 6: EDGING
Once the brick circle is laid, install this flexible edging. Drive the stakes at a slight angle, pounding them inward toward the patio. You'll need a heavy set of snippers to cut this very tough plastic.
STEP 7: SAND
The last step is to pour a layer of sand over your bricks and into the holes between them. This will eventually harden and connect the arrangement. In our yard, Adam used roughly eight 40-pound buckets of this polymeric sand. Essentially, this is sand with some concrete properties, in that it hardens a bit upon watering. (Unlike concrete, it's not totally firm. It allows moisture to pass through and drain.) Some people use just plain old sand here, but that will blow out quickly, so stick with the polymeric stuff.
To apply: Pour the buckets over your patio one at a time and slowly push-broom the sand into all of the crevices until it just reaches the top of the pavers' beveled edges, not over. Then use a leaf blower (you can rent this) to blow all of the excess sand off the top. The slightest specks may stain your patio, so remember: Water hardens this stuff permanently. Once your sand is all down, the cracks are filled, and the patio looks exactly how you want it to, use a hose on the "shower" setting to give it all a light sprinkling. Don't fill to the point that it's pooling. Just give it a heavy dusting. Wait an hour and repeat. Do this perhaps one more time. If it's not taking any water, stop. Leave it for 24 hours before you walk on it.
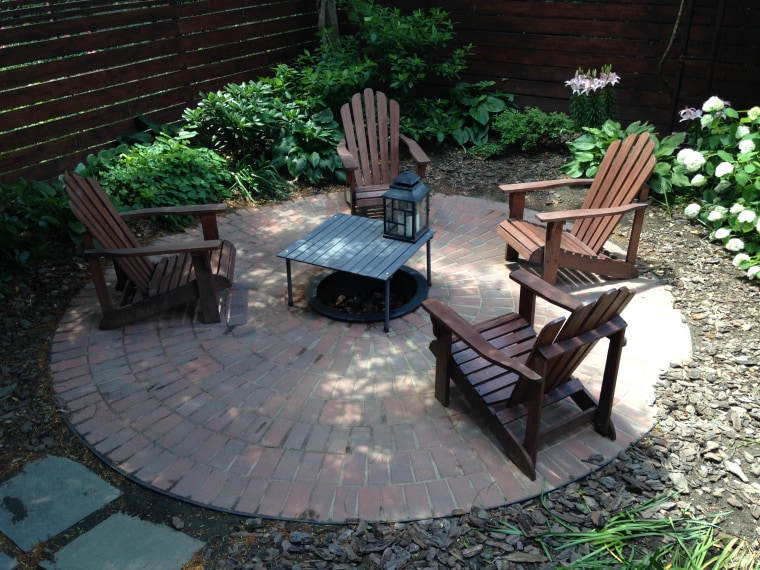
Done: One patio. Enjoy your urban oasis!
Meena Hart Duerson is the managing editor, lifestyle for TODAY.com. You can find her on Twitter here. Her husband Adam, the brains and brawn behind this patio operation, is on Twitter here.