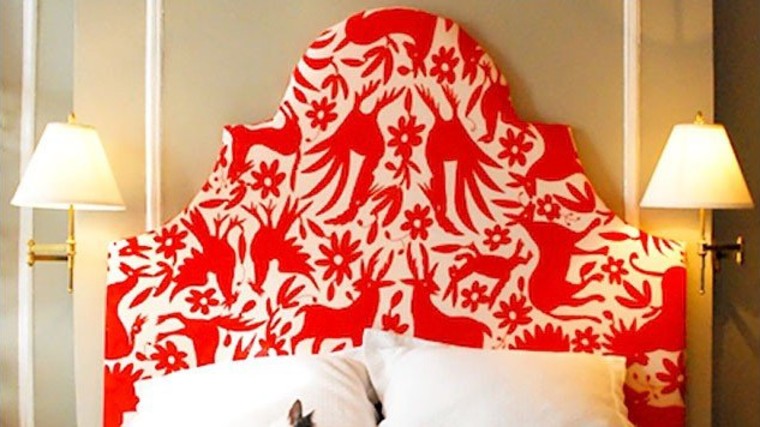
Does the price of a new headboard make you cringe? With an afternoon and a few tools, you can keep that cash in your pocket and make your own.
We scoured the Internet for D-I-Y headboards worthy of recognition and came up with 11 stylish pieces that even the novice crafter can make at home. So clear your schedule, pull out the tool kit and get ready to give your bedroom some personality.
1. Upholstered Otomi headboard
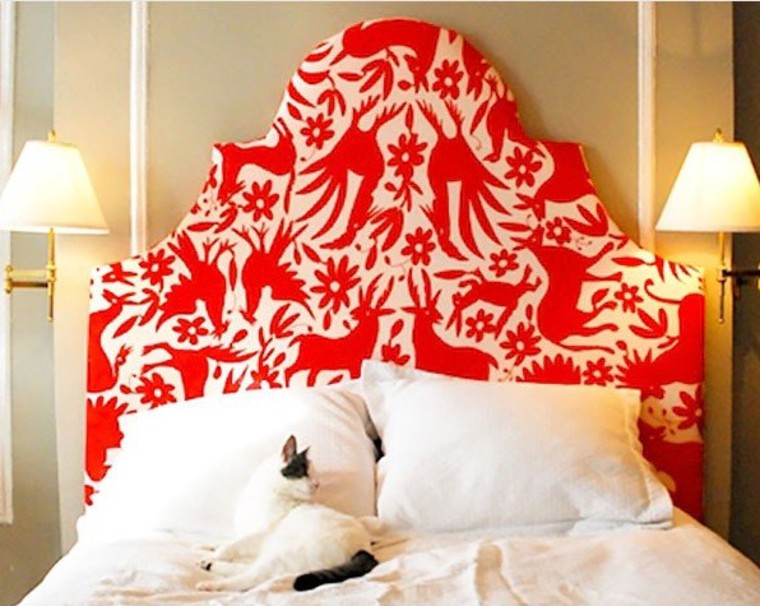
Why we love it: Customize this upholstered headboard by making it any shape you want before applying the vibrant Otomi fabric.
What you need: Wood, foam, batting, Otomi fabric, utility knife, scissors, staple gun, flush mount, spray adhesive.
How to make it: Cut the wood into the shape you want. Place your foam on top of the headboard, trace it and cut it to size. Repeat this with the batting and fabric, leaving both 4-5 inches wider than the headboard. Spray the foam with adhesive to attach it to the board. Attach the foam and then the batting with a staple gun. (Make sure you iron and pull the fabric taught to eliminate any wrinkles.) Attach the headboard to your wall with flush mounts or stand it on the ground behind your bed. For more detailed information, visit Design Sponge.
2. Wall decal headboard
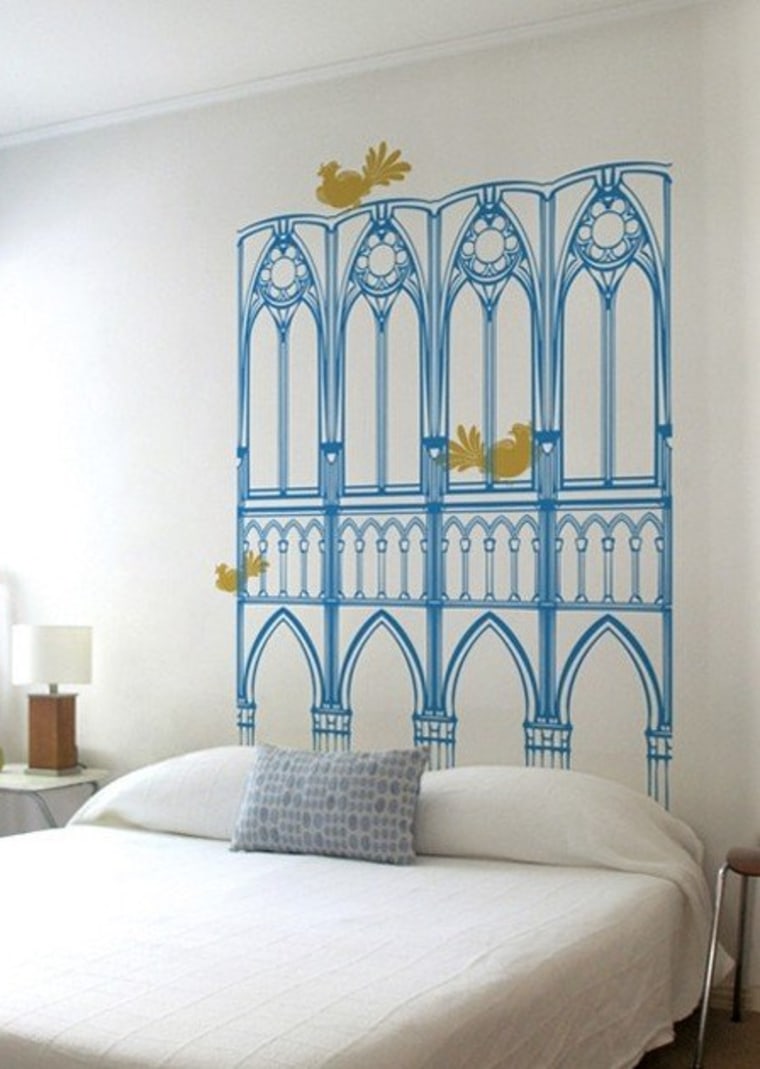
Why we love it: A wall decal is an inexpensive and easy way to update the bland wall behind your bed.
What you need: Adhesive wall decal.
How to make it: Look for decals on Etsy, Amazon, Dali or Blik.
To buy: Mic-century Gothic decal, $55, whatisblik.com.
3. Nail-head headboard
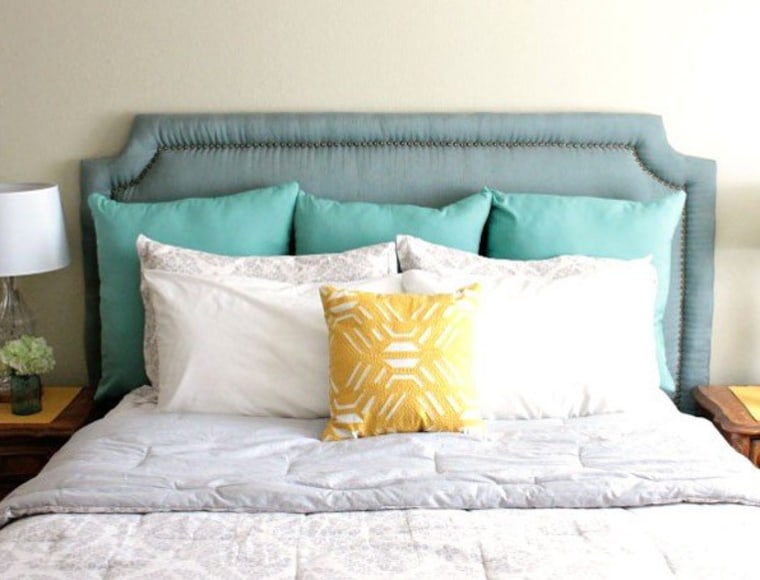
Why we love it: This otherwise simple headboard is brought to life with bronze nail heads.
What you need: Tape measure, carpenter’s level, cardboard, pencil, plywood sheathing (measure desired size prior to purchase), jig saw, sander, foam, spray adhesive, batting, staple gun, staples, fabric, scissors, nail heads, 300 ct., rubber mallet, ruler, hammer, drill and mounting brackets.
How to make it: Measure and mark the desired size of the headboard onto the plywood.Trace the curved edges with a stencil and then cut the shape with the jigsaw. Sand the edges down. Adhere the foam to the plywood with spray adhesive. Stretch the batting around the sides of the headboard and staple on the backside. Repeat with the fabric. Trim off excess batting. Lay the headboard on the ground, and measure 3 inches down from the top edge of the headboard. Set the nail head into the plywood. Repeat the process around the edges, separating each nail head by 1 centimeter, until complete. Mount the headboard to the wall with the brackets. For more detailed information, visit My Clever Nest.
4. Tufted headboard
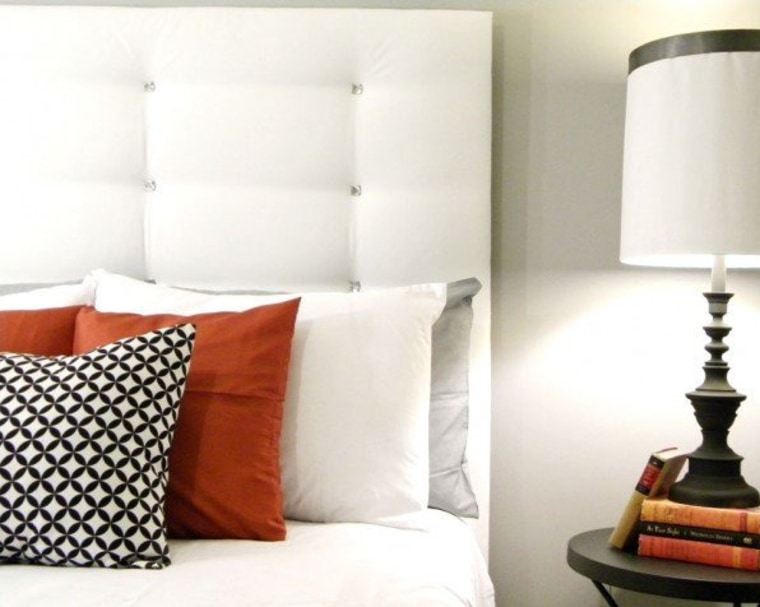
Why we love it: Between its clean lines and clean color, this headboard reminds us of what you’d find in a luxury, modern hotel room.
What you need: Tape measure, carpenter’s level, ¼” thick plywood sheathing (measure desired dimensions prior to purchase), power saw, sander, pencil, two 2” x 4” boards for the legs, screws, drill, thick batting, staple gun, staples scissors, white drapery lining (measure desired dimensions prior to purchase), ruler, craft jewels, hot glue gun and glue sticks.
How to make it: Measure and mark the desired size of the headboard onto the plywood and cut. Sand the edges. Screw the 2” x 4” boards onto the plywood, making sure they are equally distributed. Stretch the batting around the sides of the headboard and staple on the backside. Repeat with the fabric. Trim off excess batting. Equally distribute the tufted pattern across the headboard, stapling down the fabric. Glue the square gems over the staples and let dry. Place the headboard between the bed frame and the wall. For more detailed information, visit Thrifty and Chic.
5. Map headboard
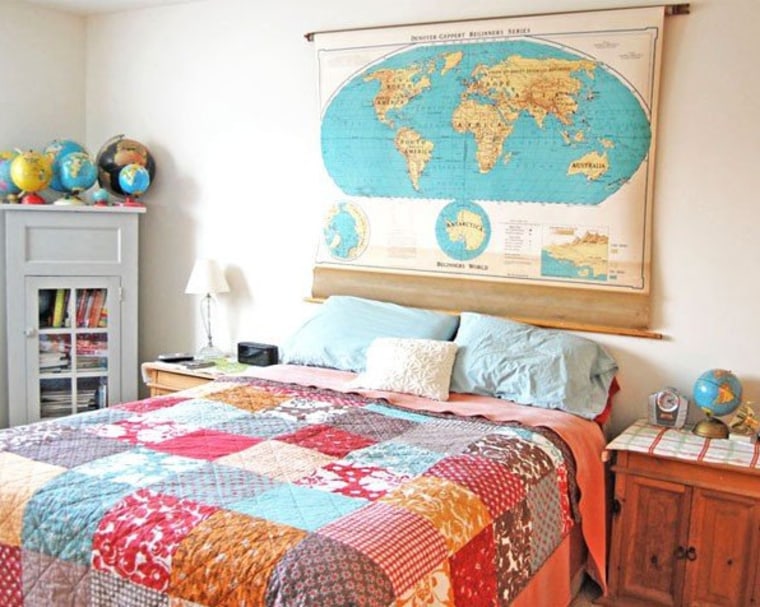
Why we love it: Perfect for travel lovers, the classic, pull-down map adds a graphic statement and a heavy dose of personality to the room.
What you need: A pull-down school map, tape measure, carpenter’s level, pencil, cup hooks and hammer.
How to make it: Align the cup hooks with the wall studs, using the tape measure and level as a guide. Install the cup hooks and hang. For more detailed information, visit Fresh Vintage.
6. French ticking headboard
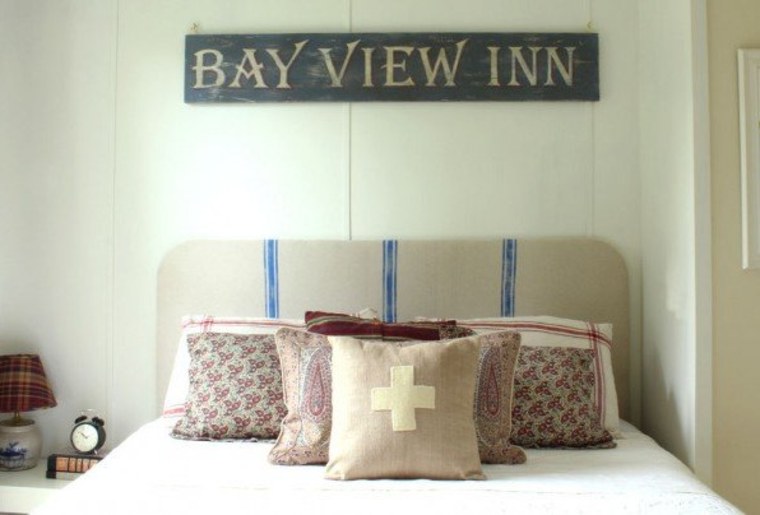
Why we love it: This simple and sturdy French-inspired headboard will make your room feel like a chic country hideaway.
What you need: Tape measure, carpenter’s level, unbleached linen, patterning tape, stencil tape, indigo acrylic paint, foam brush, pencil, ruler, newspaper, circular cardboard template, plywood sheathing, power saw, sander, screws, drill, batting, staple gun, staples, scissors and mounting brackets.
How to make it: To make the French ticking pattern, lightly draw a vertical line down the center of the fabric. Line up the stencil tape with the center line. Fashion two strips of patterning tape on each side of the stencil tape. Lastly, add stencil tape to the outer most sides of the patterning tape. Remove the second set of patterning tape on each side of the center strip. Then remove the center strip. Place newspaper underneath the fabric. Lightly coat the foam brush and paint. Let dry. For the aged, French-linen look, lightly hand-wash the fabric under cold water. Measure and cut the plywood to desired size. Lay out the circular cardboard template on the top corners of the plywood. Cut and sand the edges. Stretch the batting around the sides of the plywood and staple. Repeat the same process with the fabric. Trim off excess batting. Mount the headboard, aligning it with the wall studs. For more detailed information, visit At Home by the Bay.
7. Barn door headboard
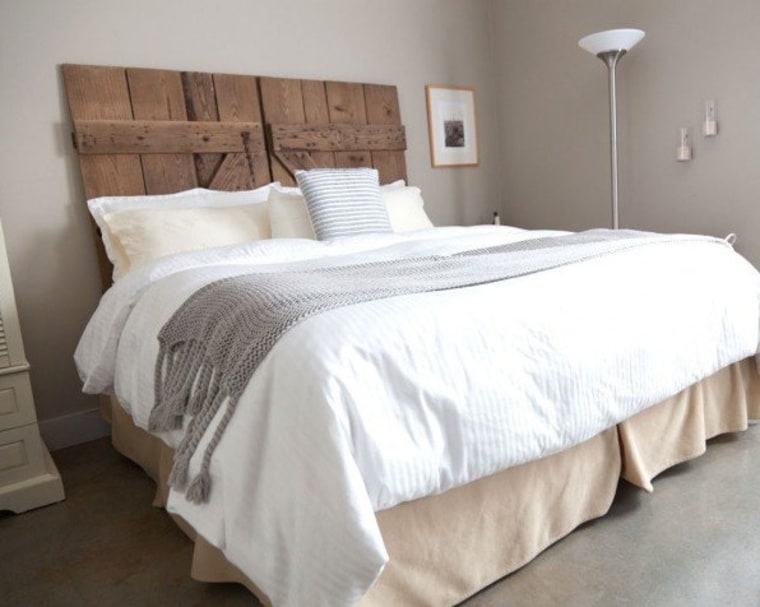
Why we love it: Made from a barn door, this headboard adds a rustic look for a small price tag.
What you need: Unfinished barn door, two 5-gallon buckets, gong brush, dish soap, water, Borax, sponge, latex gloves and mask.
How to make it: Fill up one 5-gallon bucket halfway with warm water and mild dishwashing soap. Fill the other one with clean, warm water. Scrub the doors with the gong brush until clean. Let dry. Sabrina Sexton, from the blog Sweet French Toast, recommends stirring three cups of Borax into one gallon of water and sponging the wood with the solution to eliminate any critters living inside the wood. Let dry. Dust Borax crystals off thoroughly. Place in between the wall. For more detailed information, visit Sweet French Toast.
8. Hand-painted chevron headboard
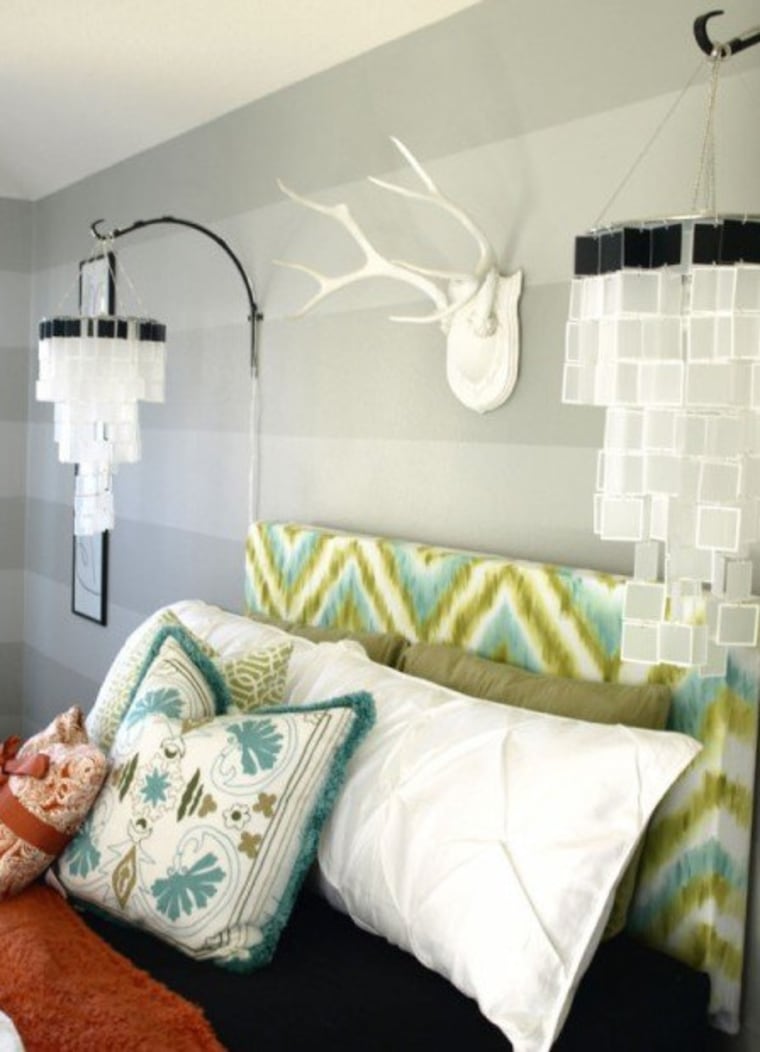
Why we love it: Chevron print is in and this eye-catching pattern takes it to a new level. The funky pattern is unisex enough that your man will love it too.
What you need: Tape measure, carpenter’s level, plywood sheathing (measure desired dimensions prior to purchase), power saw, sander, white cotton twill (measure desired dimensions prior to purchase), scissors, staple gun, staples, tape measure, spray bottle, water, lime green and teal acrylic paint, two foam paintbrushes, a drill and mounting brackets.
How to make it: Measure and mark the desired size of the headboard onto the plywood sheathing and cut. Sand the edges. Stretch the batting around the sides of the plywood and staple. Use the ruler as a guide and layout the chevron pattern onto the fabric lightly with a pencil. Spritz water onto the fabric so the paint will bleed later on. Don't overdo it. Two or three spritzes on the left, center and right sections are enough. Dip the foam brush into the water and then into the first paint color of your choosing. Holding the brush vertically, follow the pre-marked chevron pattern with up-and-down, choppy strokes. Again following the pattern, repeat with the second color. Let dry and mount to the wall. For more detailed information, visit See Cate Create.
9. Ruffles headboard
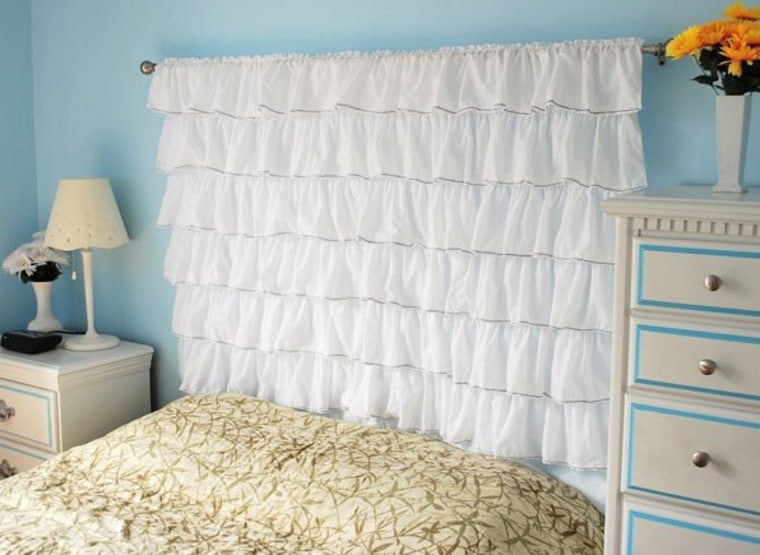
Why we love it: The tiered, ruffle headboard exudes a playful, feminine vibe without looking too girlish.
What you need: Fabric color of your choosing, a sewing machine, thread, tape measure, scissors, screw, drill and curtain rod.
How to make it: First, determine desired dimensions of the headboard. For the ruffle backing, cut the fabric into the desired dimensions. Cut 12 strips from fabric, with each 7” long by the desired width. Split 10 strips into pairs. Layer the pairs. For each pair, stitch the top and edges with white thread and scallop the bottom edges with black thread. Repeat with the remaining pair of strips, leaving space for the curtain rod. Tier the ruffles. Mount the curtain rod and hang the ruffled headboard. For more detailed information, visit Homemaker on a Dime.
10. Framed headboard
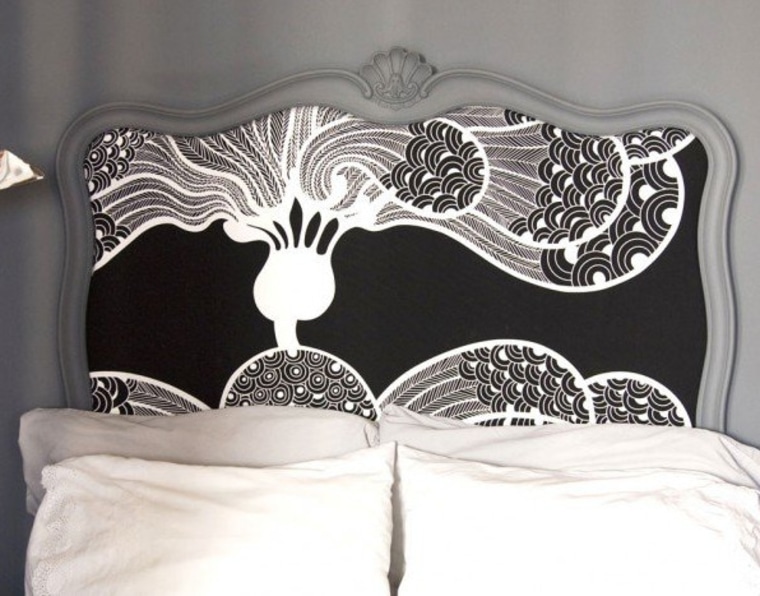
Why we love it: Forget buying expensive artwork! This modern, monochromatic pattern is enough eye candy for one room.
What you need: Ornate frame, high-gloss gray paint, newspaper, gator board, chalk or pencil, scissors, batting, black-and-white IKEA Saralisa fabric, staple gun, staples, hanging wire, nails and hammer.
How to make it: Select an ornate frame and paint it gray. Let it dry on newspaper. Trace the frame’s shape onto the gator board and cut the shape out. Stretch the batting around the sides of the gator board and staple. Repeat the same process with the fabric. Trim off excess batting and fabric. Insert into the frame. Attach hanging wire to the back of the frame and install, hanging it a few inches above the mattress. For more detailed information, visit BlueDogz Design.
11. Tile headboard
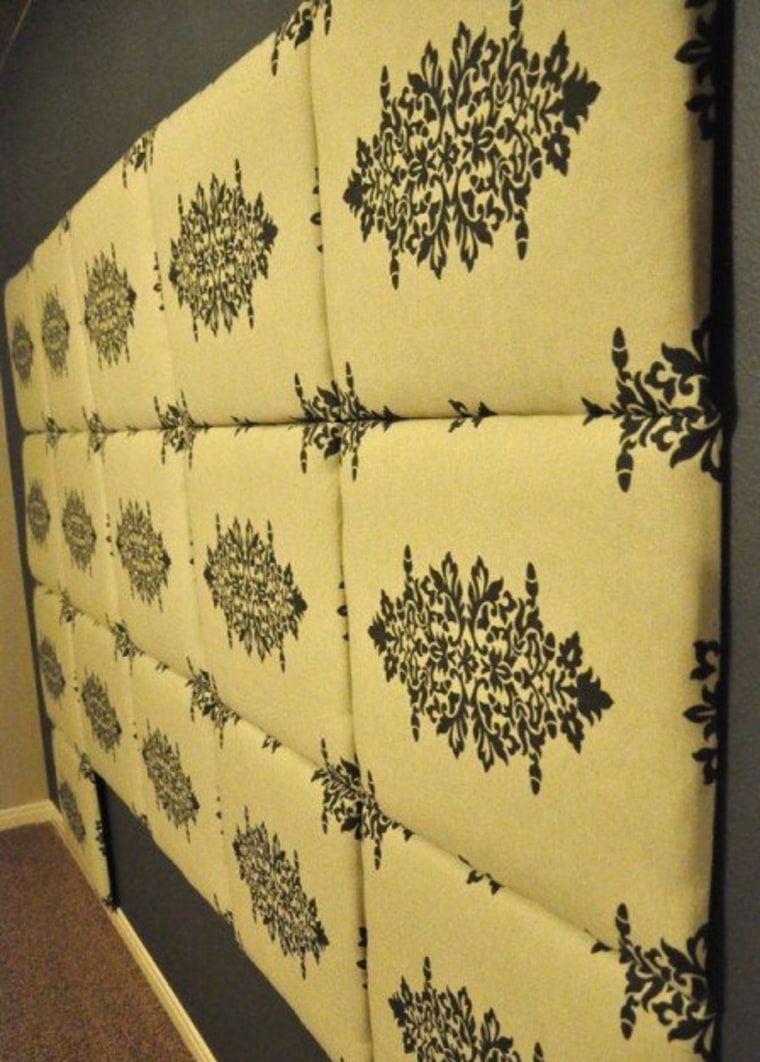
Why we love it: Have a favorite fabric pattern? Wake up to it every morning with this tile headboard.
What you need: Your favorite fabric, carpenter’s level, tape measure, pencil, two ¼” thick sheets of backer board (measure desired dimensions prior to purchase), power saw, two 1” thick foam mattress toppers, scissors, staple gun, staples, screws, drill, liquid nails and D-rings.
How to make it: Outline the backer board on the wall behind the bed. Lightly, divide into squares. Measure the length and width of a square. On the backer board, precisely lay out the square pattern. Cut into individual squares. Cut the foam into the same size as the backer board squares. Repeat the process with the fabric, leaving an extra two inches on all sides of square. Lay out the fabric square with a backer board square resting on top. Place the jagged side of the foam face down on an individual square. Upholster using the staple gun. Repeat until each square is completely covered. Fashion the squares onto the second piece of backer board with hot nails and screws. Mount the finished project onto the wall behind the bed, aligning the hooks with the wall studs. For more detailed information, visit All Things Thrifty.
A version of this article originally appeared on iVillage.
